Gardening is one of life’s simple pleasures, but it can also be a source of creativity and sustainability. One of the easiest ways to combine fun, environmental awareness, and beauty in your garden is by recycling plastic bottles into colorful cup flower pots. This DIY approach not only transforms waste into a functional gardening tool but also adds a charming, personalized touch to your outdoor or indoor space.
Plastic waste is one of the biggest challenges our planet faces. Every year, millions of plastic bottles end up in landfills or oceans, contributing to pollution. By turning these bottles into vibrant flower pots, you give them a second life while creating a garden that is colorful, eco-friendly, and cost-effective.
This guide will take you step by step through the process of making your own recycled plastic bottle cup flower pots, selecting the right plants, and creating a lovely garden that is both sustainable and visually appealing.
Why Recycle Plastic Bottles for Gardening
Using plastic bottles in your garden has several advantages:
- Eco-friendly: Reduces plastic waste and encourages sustainable practices.
- Cost-effective: Eliminates the need to buy new pots.
- Customizable: You can paint, decorate, and shape bottles to match your style.
- Lightweight and durable: Easy to move and resistant to breakage compared to ceramic pots.
- Versatile: Suitable for small herbs, flowers, succulents, and even starter seedlings.
Not only are recycled bottle pots practical, but they also give your garden a whimsical, playful charm that store-bought pots often lack.
Materials Needed
Creating plastic bottle cup flower pots requires only a few basic materials, most of which you probably already have at home:
- Empty plastic bottles (any size, from soda to juice bottles)
- Scissors or a craft knife
- Sandpaper (optional, for smoothing edges)
- Acrylic paints or permanent markers for decoration
- Soil suitable for your chosen plants
- Small plants, seeds, or succulents
- Optional: twine, beads, or stickers for additional decoration
Safety tip: When cutting plastic bottles, handle scissors or knives carefully and consider wearing gloves to protect your hands.
Step 1: Preparing the Plastic Bottles
Start by cleaning the bottles thoroughly. Remove labels and adhesive residue to give a smooth surface for painting or decorating. Wash them in warm, soapy water, then rinse and allow to dry completely.
Next, decide how you want to cut your bottles. For cup flower pots:
- Small pots: Cut the bottle about 4–6 inches from the bottom.
- Medium pots: Cut 6–8 inches from the bottom for slightly deeper pots.
- Large pots: Use the lower half of 1.5- to 2-liter bottles for bigger plants.
Smooth the cut edges with sandpaper to prevent sharp corners that could injure hands or damage roots.
Step 2: Adding Drainage Holes
Drainage is essential to prevent waterlogging and root rot. Use a heated pin, nail, or small screwdriver to poke 3–5 small holes in the bottom of each bottle.
If you are planting delicate seedlings, consider placing a thin layer of gravel or small stones at the bottom before adding soil. This improves drainage further and keeps roots healthy.
Step 3: Painting and Decorating the Pots
This is where your creativity shines. Paint your pots with bright acrylic paints in any color scheme you like—pastels, bold primary colors, or even rainbow gradients. You can also use permanent markers, stickers, or decoupage to add patterns or designs.
Tips for long-lasting decoration:
- Apply a base coat of white paint for brighter colors.
- Allow each layer to dry completely before adding additional designs.
- For outdoor use, seal with a waterproof varnish to protect from rain and sunlight.
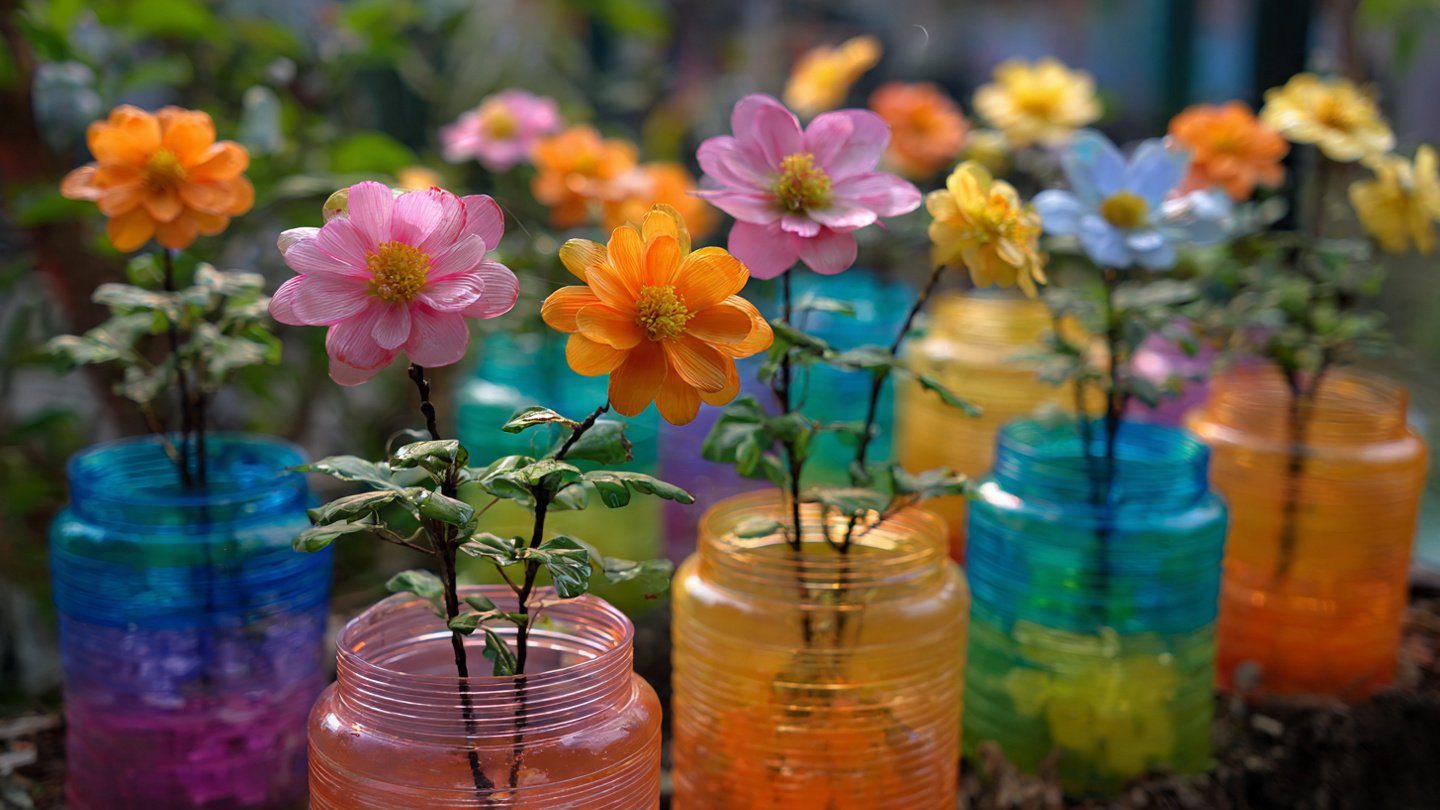
Decorated bottle pots instantly add a playful and colorful element to any garden, balcony, or windowsill.
Step 4: Adding Soil and Plants
Fill your recycled bottle cup pots with a well-draining potting mix suitable for your chosen plants. Lightweight potting soil with added perlite or sand works well for most flowers and herbs.
Choose plants that match your pot size:
- Small pots: Herbs like basil, parsley, thyme, or small succulents.
- Medium pots: Pansies, marigolds, or dwarf lettuce varieties.
- Large pots: Petunias, geraniums, or larger leafy herbs.
Plant seeds or seedlings gently, firm the soil around them, and water lightly. The lightweight plastic pots make it easy to move plants around for sunlight or shade.
Step 5: Placement and Arrangement
Where you place your recycled bottle pots can enhance both aesthetics and plant growth:
- Garden borders: Line them along fences or garden edges for a cheerful border.
- Hanging display: Punch holes near the top of the bottles, tie with twine, and hang them from hooks or rails.
- Window ledges: Perfect for herbs and small flowers, giving easy access to fresh leaves.
- Tiered arrangements: Stack pots creatively using supports to create mini vertical gardens.
Arranging your bottle pots in clusters of colors or heights adds visual interest and draws attention to the eco-friendly theme.
Caring for Your Recycled Bottle Garden
Proper care ensures your flowers thrive in their new home:
- Watering: Monitor moisture carefully. Plastic pots retain water differently than clay, so check soil before watering.
- Sunlight: Most flowering plants need 4–6 hours of direct sunlight. Rotate pots periodically for even growth.
- Fertilizing: Use organic fertilizers or compost tea every 2–3 weeks for vibrant blooms.
- Pruning: Remove dead or faded flowers to encourage continuous growth.
Because the pots are lightweight, it’s easy to adjust their location for seasonal sun changes or to protect plants from harsh weather.
Benefits of Recycling Plastic Bottles for Gardening
Beyond the aesthetic appeal, there are several practical and environmental benefits:
- Reduces waste: Each reused bottle keeps plastic out of landfills and oceans.
- Encourages sustainable habits: Demonstrates practical ways to reuse materials creatively.
- Cost-saving: Avoids buying new pots, making gardening accessible for everyone.
- Encourages creativity: Decorating pots allows artistic expression alongside gardening.
- Portable gardening: Lightweight pots are easy to move indoors during cold weather or storms.
This approach proves that small actions can have a positive environmental impact while enhancing your garden.
Creative Variations and Ideas
- Mini fairy gardens: Use tiny succulents and moss in small bottle cups to create miniature garden scenes.
- Color-coded herbs: Paint each pot a different color for different herbs, making it easy to identify them in your kitchen garden.
- Themed flower arrangements: Mix matching colors for a themed display, such as a rainbow or pastel garden.
- Vertical bottle walls: Attach bottle pots to a wooden frame for a DIY living wall or vertical garden.
These variations allow you to personalize your garden space, regardless of size or location.
Safety Tips and Maintenance
While recycled plastic bottles are versatile, there are a few things to keep in mind:
- Avoid bottles that previously held chemicals or toxic liquids.
- Smooth all cut edges to prevent injury.
- Monitor water drainage to prevent fungal growth or root rot.
- Replace pots if they crack or become brittle over time.
Following these tips ensures your garden remains safe, attractive, and productive.
Final Thoughts
Recycling plastic bottles into colorful cup flower pots is a fun, eco-friendly, and creative way to transform your garden. It allows you to enjoy fresh flowers and herbs while reducing plastic waste and embracing sustainability.
From small balcony gardens to backyard flower beds, this DIY project is perfect for beginners and seasoned gardeners alike. By combining creativity, care, and practicality, you can create a vibrant, whimsical, and environmentally responsible garden that delights the eyes and nourishes the soul.
Next time you finish a bottle, remember—it doesn’t have to be trash. With a few simple steps, it can become a beautiful container for life, color, and growth in your garden.