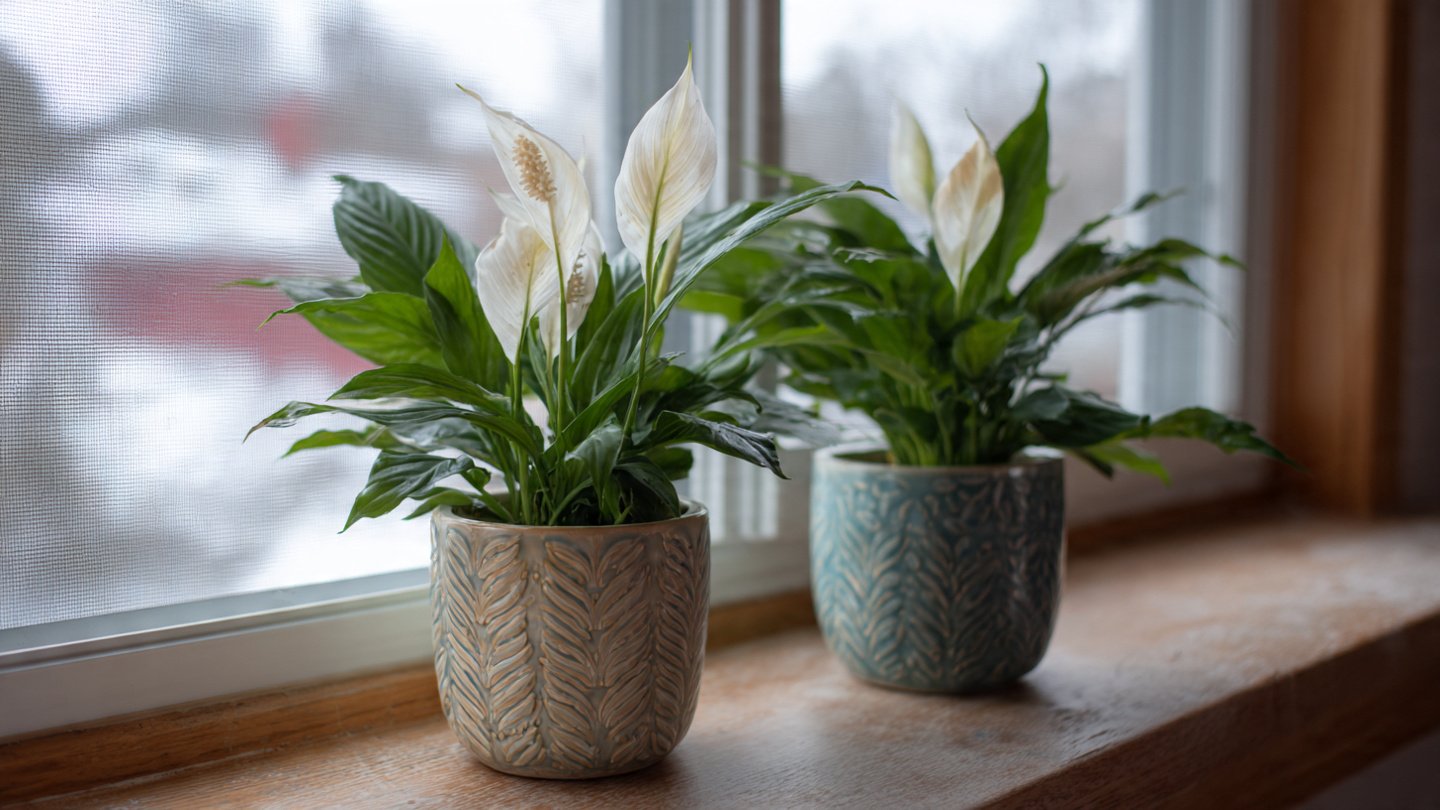
Peace lilies (Spathiphyllum spp.) are among the most popular houseplants for good reason. They are elegant, low-maintenance, and produce stunning white blooms that brighten any space. But like any plant, a peace lily eventually outgrows its pot. When this happens, repotting is essential for continued healthy growth. Knowing when and how to repot ensures your plant thrives, produces lush leaves, and blooms consistently. This guide provides a step-by-step approach for beginners and experienced plant enthusiasts alike.
Signs Your Peace Lily Needs Repotting
Recognizing when a peace lily needs a bigger pot is crucial. Repotting too early or too late can stress the plant. Here are the key indicators:
- Roots growing out of the drainage holes: If roots are poking through the bottom, it’s a clear sign the plant is root-bound.
- Slow growth: If your peace lily isn’t producing new leaves or seems stunted, it may be running out of space to expand.
- Water drains too quickly: A root-bound plant often dries out faster because soil space is reduced.
- Soil compaction: Over time, potting mix breaks down, becoming compacted and reducing aeration.
- Top-heavy or tipping over: If your plant becomes unstable in its pot, it may need a larger container for balance.
Observing these signs helps ensure your peace lily gets the right environment for continued growth.
Best Time to Repot
Timing is important. Repotting at the wrong time can stress the plant and inhibit growth.
- Spring or early summer: The growing season is ideal for repotting. The plant has plenty of energy to recover and establish roots in its new pot.
- Avoid winter: Repotting during dormancy can slow recovery because the plant’s growth is minimal.
By repotting during active growth, your peace lily can bounce back quickly and maintain healthy leaves and blooms.
Choosing the Right Pot
Selecting the correct pot size and type is crucial for healthy root development.
- Size: Choose a pot 1–2 inches larger in diameter than the current one. Too large a pot can lead to waterlogging, while too small a pot will limit growth.
- Material: Terra cotta pots allow airflow and prevent overwatering, while plastic pots retain moisture longer. Choose based on your watering habits.
- Drainage: Ensure the pot has drainage holes to prevent root rot. Peace lilies are sensitive to waterlogged soil.
- Shape: A wider, shallower pot works well for peace lilies, as their roots tend to spread laterally rather than deeply.
A properly sized pot ensures the plant has room to grow without overwhelming the roots.
Preparing the Soil
Peace lilies thrive in well-draining, nutrient-rich soil. The right soil mix prevents waterlogging and encourages healthy root development.
- Recommended mix: Combine equal parts potting soil, peat moss, and perlite for aeration and moisture retention.
- Optional additives: Add a small amount of compost for extra nutrients. Avoid heavy garden soil that can compact easily.
- Soil pH: Peace lilies prefer slightly acidic to neutral soil (pH 5.8–6.5).
A fresh, well-draining mix ensures your repotted peace lily receives optimal nutrition and prevents root rot.
Step-by-Step Repotting Process
Repotting a peace lily is straightforward when done carefully. Follow these steps for minimal stress and maximum success:
Step 1: Remove the Plant
- Gently slide the plant out of its current pot.
- Tap the sides of the pot if roots are stuck.
- Hold the base of the plant, not the leaves, to avoid damage.
Step 2: Inspect and Prune the Roots
- Check for dead, black, or mushy roots and trim them with clean scissors.
- Gently loosen roots if they are tightly coiled to encourage outward growth.
Step 3: Prepare the New Pot
- Place a layer of fresh soil at the bottom of the new pot.
- Position the peace lily so the crown (where leaves emerge) sits slightly above the soil line.
Step 4: Add Soil Around the Roots
- Fill in around the roots with the prepared potting mix.
- Firm the soil gently to eliminate air pockets, but don’t compact too much.
- Leave about 1 inch of space below the rim for watering.
Step 5: Water Thoroughly
- Water immediately after repotting to help the plant settle.
- Ensure excess water drains from the bottom.
Step 6: Position and Care
- Place the peace lily in bright, indirect light.
- Avoid direct sunlight for the first few weeks, which can stress the plant.
- Resume normal watering once the plant is established.
Following these steps ensures a smooth transition and encourages vigorous growth.
Aftercare for a Repotted Peace Lily
Proper care after repotting is essential for recovery and thriving growth:
- Light: Bright, indirect light is ideal. Avoid direct sun, which can scorch leaves.
- Watering: Keep soil evenly moist but not soggy. Overwatering can cause root rot in freshly repotted plants.
- Humidity: Peace lilies enjoy higher humidity. Mist the leaves occasionally or use a humidity tray.
- Fertilization: Wait about 4–6 weeks after repotting before fertilizing to avoid burning new roots. Use a balanced liquid fertilizer every 6–8 weeks during the growing season.
- Monitoring: Watch for stress signs such as drooping leaves or yellowing. Some leaf droop is normal after repotting and usually recovers within a week.
Good post-repot care helps your peace lily flourish and promotes healthy leaf and flower production.
Common Mistakes to Avoid
Even experienced plant owners can make mistakes during repotting. Avoid these to ensure healthy growth:
- Using a pot that’s too large: Can lead to overwatering and root rot.
- Neglecting drainage: Waterlogged soil kills roots quickly.
- Trimming too many roots: Removing too many roots can shock the plant.
- Repotting at the wrong time: Avoid winter or dormancy periods.
- Overfertilizing immediately: Newly repotted plants are sensitive; wait 4–6 weeks.
Awareness of these mistakes helps prevent common problems and keeps your peace lily thriving.
Benefits of Repotting
Repotting a peace lily provides several long-term benefits:
- Encourages growth: Fresh soil and more space allow leaves and flowers to develop fully.
- Prevents root-bound stress: Healthy roots spread properly, improving nutrient uptake.
- Reduces disease risk: Removing old, compacted soil minimizes pathogens and pests.
- Promotes blooms: A healthy, well-potted plant is more likely to produce vibrant white flowers.
- Improves aesthetics: A larger, healthy plant enhances the visual appeal of your home or office.
Regular repotting ensures your peace lily remains a beautiful, thriving centerpiece.
Conclusion
Repotting a peace lily is a vital part of its care routine. Knowing when your plant outgrows its pot, how to choose the right container and soil, and following a careful repotting process ensures your peace lily grows healthier, produces lush leaves, and blooms consistently.
Remember:
- Look for signs like roots emerging from drainage holes, slow growth, and top-heavy plants.
- Repot in spring or early summer when growth is active.
- Choose a pot slightly larger than the current one, with good drainage.
- Use a well-draining, nutrient-rich soil mix.
- Prune roots carefully and provide proper post-repot care, including watering, light, and humidity.
With proper attention, repotting can transform a struggling or root-bound peace lily into a thriving, elegant plant that enhances any living space. By following this guide, your peace lily will continue to bring beauty, serenity, and air-purifying benefits to your home for years to come.