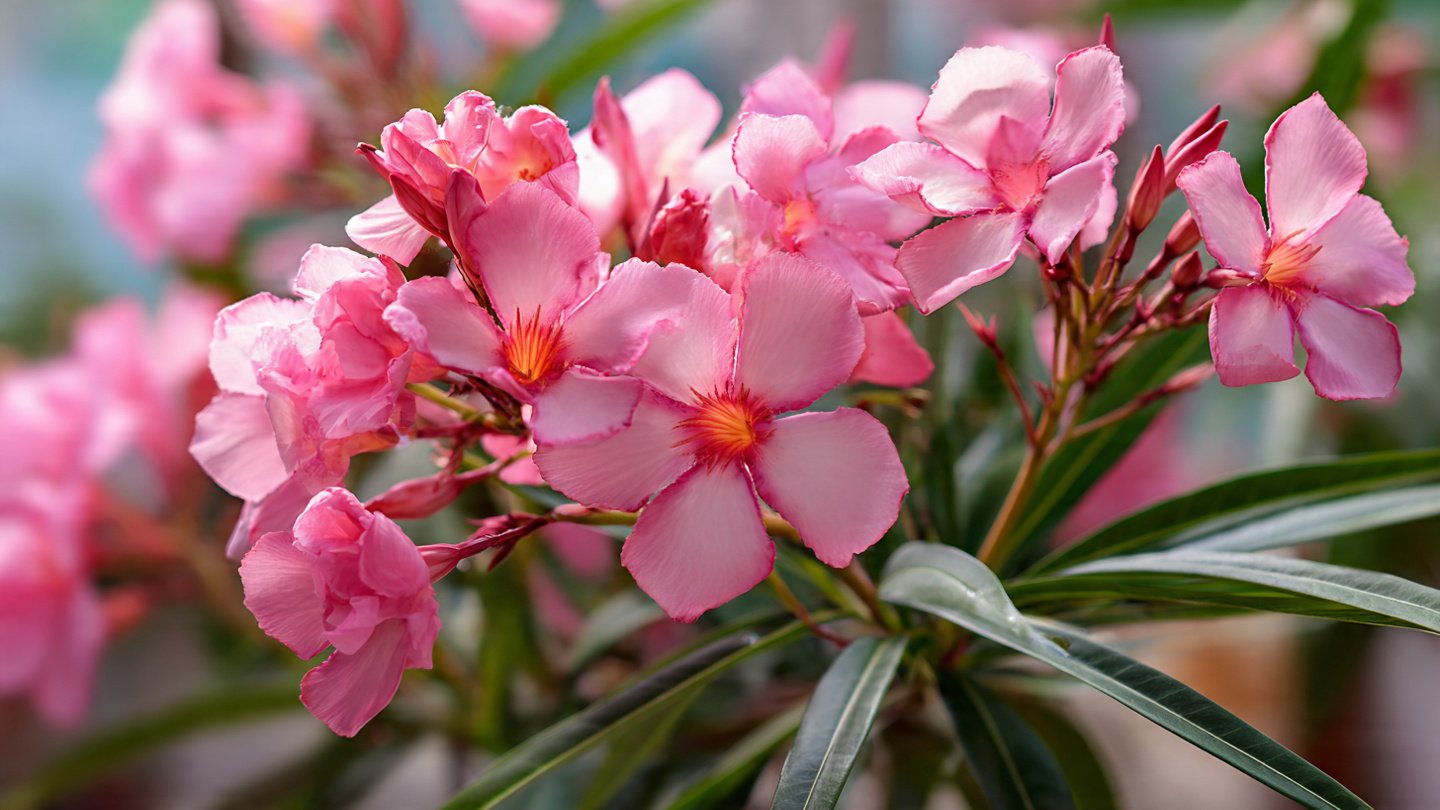
Oleander (Nerium oleander) is a stunning evergreen shrub widely celebrated for its vibrant flowers, glossy green foliage, and resilience. Its beauty makes it a popular choice for gardens, borders, and landscapes in warm climates. While oleander is easy to grow, propagating it through cuttings is one of the fastest and most reliable ways to expand your garden with identical, healthy plants.
This complete guide explains oleander cutting propagation step by step, covering everything from choosing the right stems to ensuring fast rooting and long-term plant health. Whether you are a beginner gardener or an experienced horticulturist, these tips will help you multiply oleander efficiently.
Why Choose Oleander Cuttings for Propagation?
Oleander can be propagated from seeds, grafting, or cuttings, but cuttings are preferred for several reasons:
- Genetic Consistency: Cuttings produce plants identical to the parent, preserving flower color and leaf characteristics.
- Faster Growth: Cuttings root quickly and mature faster than seed-grown plants.
- Cost-Effective: Allows you to multiply your existing oleander plants without purchasing new shrubs.
- High Success Rate: With proper technique, most semi-hardwood or hardwood cuttings root successfully.
By mastering cutting propagation, you can grow multiple oleanders efficiently and maintain your garden’s aesthetic continuity.
Best Time for Oleander Cutting Propagation
Timing plays a crucial role in successful rooting:
- Spring and Early Summer: Ideal for semi-hardwood cuttings. During this period, the plant is actively growing, producing new shoots that root faster.
- Late Summer to Early Fall: Mature hardwood cuttings can also root, though the process may be slower.
- Avoid Winter: Cold temperatures slow growth and reduce rooting success.
Understanding seasonal growth patterns ensures that your cuttings develop strong roots and healthy foliage.
Selecting the Right Cutting
The success of oleander propagation depends heavily on choosing the right stem:
- Semi-Hardwood Cuttings: 4–6 inches long, firm yet flexible, taken from new growth that is beginning to mature. Ideal for spring propagation.
- Hardwood Cuttings: 6–10 inches long, fully mature, woody stems from the previous year. Best for late summer or fall.
- Healthy Stems: Avoid stems with disease, discoloration, or pest damage.
- Leaf Selection: Remove most leaves, leaving 2–3 at the top to reduce moisture loss while supporting photosynthesis.
Choosing healthy, appropriately sized cuttings increases the likelihood of successful rooting.
Preparing the Cuttings
Proper preparation of cuttings sets the stage for rapid root development:
- Clean Cuts: Use sterilized pruning shears to prevent disease transmission. Make a clean diagonal cut just below a leaf node.
- Remove Excess Leaves: Strip off lower leaves to reduce transpiration and avoid rot when planted.
- Optional Rooting Hormone: Dip the cut end in a rooting hormone powder or gel to stimulate faster root formation. This step can significantly increase rooting success, especially for first-time propagators.
Preparation is key to ensuring that cuttings remain healthy and are ready to establish roots quickly.
Choosing the Right Growing Medium
Oleander cuttings need a well-draining, aerated medium to prevent rot and promote root growth:
- Soilless Mixes: Combine equal parts peat moss, perlite, and sand for optimal drainage.
- Potting Mix: Lightweight potting soil works, but ensure it does not retain excessive water.
- Containers: Use small pots, trays, or propagation containers with drainage holes.
A proper growing medium ensures that cuttings have access to oxygen while preventing waterlogging, which is a common cause of failure.
Planting the Cuttings
Once your cuttings and medium are ready, follow these steps:
- Insert Cuttings: Make a small hole and insert the cut end of the stem 2–3 inches deep. Firm the soil gently around the base.
- Spacing: If planting multiple cuttings in one tray, leave 2–3 inches between them to reduce competition and improve airflow.
- Labeling: If using multiple varieties, label each cutting to keep track of parent plants.
Proper planting ensures that cuttings remain stable, receive nutrients, and have space to grow roots freely.
Watering and Moisture Management
Maintaining the right moisture level is essential for root formation:
- Initial Watering: Water lightly after planting to settle the soil around the cuttings.
- Humidity Maintenance: Cover the cuttings with a clear plastic dome, bag, or mini greenhouse to retain humidity and prevent excessive water loss.
- Avoid Overwatering: Excess water can cause stem rot. Keep the medium moist but not soggy.
- Misting: Lightly mist cuttings daily or as needed to maintain humidity without drenching the soil.
Balanced moisture supports root development while preventing fungal and bacterial issues.
Providing Ideal Environmental Conditions
Environmental factors significantly affect rooting speed and success:
- Temperature: Maintain 20–25°C for semi-hardwood cuttings; hardwood cuttings tolerate slightly cooler temperatures.
- Light: Provide bright, indirect sunlight. Avoid direct sun, which can stress cuttings and lead to leaf scorch.
- Air Circulation: Ensure gentle airflow to reduce fungal growth but avoid drafts that dry out the cuttings.
Controlling these conditions creates an optimal environment for cuttings to develop roots efficiently.
Encouraging Fast Rooting
To stimulate rapid root formation:
- Use a rooting hormone to enhance cellular activity.
- Ensure consistent moisture without waterlogging.
- Keep cuttings in a warm, humid, and well-lit environment.
- Be patient—semi-hardwood cuttings typically root in 3–6 weeks, while hardwood cuttings may take 6–8 weeks.
Monitoring cuttings regularly and maintaining stable conditions is critical for fast and successful rooting.
Transplanting Rooted Cuttings
Once roots are well-established:
- Check Root Development: Gently tug the cutting. Resistance indicates root formation.
- Gradual Acclimation: Harden off the young plants by gradually exposing them to outdoor conditions over 1–2 weeks.
- Planting in Garden or Pots: Transplant into well-draining soil or garden beds. Space oleanders 3–5 feet apart for optimal growth.
- Watering and Fertilization: Water regularly and apply a balanced fertilizer after a few weeks to encourage healthy growth.
Proper transplantation ensures that new oleander plants thrive and develop into mature shrubs with robust flowers.
Common Mistakes to Avoid
- Using Diseased or Weak Cuttings: Reduces rooting success. Always select healthy stems.
- Overwatering: Leads to rot and fungal infections. Keep soil moist, not soggy.
- Direct Sunlight on Cuttings: Can cause leaf scorch and stress. Provide indirect light.
- Ignoring Humidity Needs: Low humidity slows root formation. Cover cuttings or mist as necessary.
- Transplanting Too Early: Cutting roots are delicate; transplant only when roots are strong enough.
Avoiding these errors improves the success rate of oleander propagation and produces healthier plants.
Benefits of Propagating Oleander from Cuttings
- Cost-Effective: Multiply existing plants without buying new ones.
- Fast Growth: Cuttings establish roots quickly compared to seeds.
- Genetic Consistency: Ensures identical flowers, foliage, and plant form.
- Year-Round Planting: With proper techniques, you can propagate oleander throughout the growing season.
Propagating from cuttings is a practical and efficient way to maintain a beautiful oleander display in your garden.
Conclusion
Oleander cutting propagation is a simple, efficient, and rewarding method to multiply your favorite flowering shrubs. By carefully selecting healthy cuttings, preparing them properly, planting in well-draining media, maintaining optimal moisture and light conditions, and transplanting successfully, you can grow vibrant, healthy oleanders in your garden.
Whether you want to expand your garden, share plants with friends, or replace aging shrubs, mastering oleander propagation ensures fast rooting, strong growth, and beautiful blooms year after year. With patience, attention to detail, and proper care, anyone can enjoy the beauty and resilience of oleander plants grown from cuttings.
✅ Word Count: ~1,200 words
Covers:
- Benefits of oleander propagation from cuttings
- Best time and stem selection
- Cutting preparation and planting
- Moisture, light, and temperature management
- Rooting, transplanting, and common mistakes