For urban gardeners, housewives, and anyone seeking a steady supply of fresh, nutritious greens, Malabar spinach has emerged as a superstar vegetable. Known for its fast growth, high nutritional value, and climbing habit, Malabar spinach (Basella alba or Basella rubra) thrives even in small spaces. The best part? You don’t need seeds to start—propagating from cuttings is simple, quick, and highly effective. This method ensures fast, easy greens with minimal effort, making it ideal for terrace gardens, balconies, and backyard spaces.
Why Choose Malabar Spinach?
Malabar spinach is not your ordinary leafy green. It offers numerous advantages over traditional spinach varieties:
- Fast-Growing: Cuttings root quickly and produce edible leaves in a few weeks.
- Heat-Tolerant: Unlike traditional spinach, Malabar spinach thrives in hot summer months without bolting.
- High Nutritional Value: Rich in vitamins A and C, iron, calcium, and antioxidants, it supports overall health.
- Versatile Uses: Its thick, succulent leaves are perfect for salads, soups, stir-fries, and curries.
- Climbing Habit: With minimal support, it can grow vertically, saving space and creating a lush green screen.
With these benefits, it’s no wonder Malabar spinach has become a favorite among home gardeners looking for an easy, productive crop.
Selecting the Right Cuttings
Starting Malabar spinach from cuttings is simpler than starting from seeds, and it ensures faster establishment. Here’s how to choose the best cuttings:
- Length: Select cuttings 6–8 inches long for optimal rooting.
- Healthy Nodes: Each cutting should have at least 3–4 nodes (the points where leaves emerge) because roots will grow from these nodes.
- Leaf Health: Choose healthy, disease-free stems with vibrant leaves. Avoid wilted, yellow, or damaged cuttings.
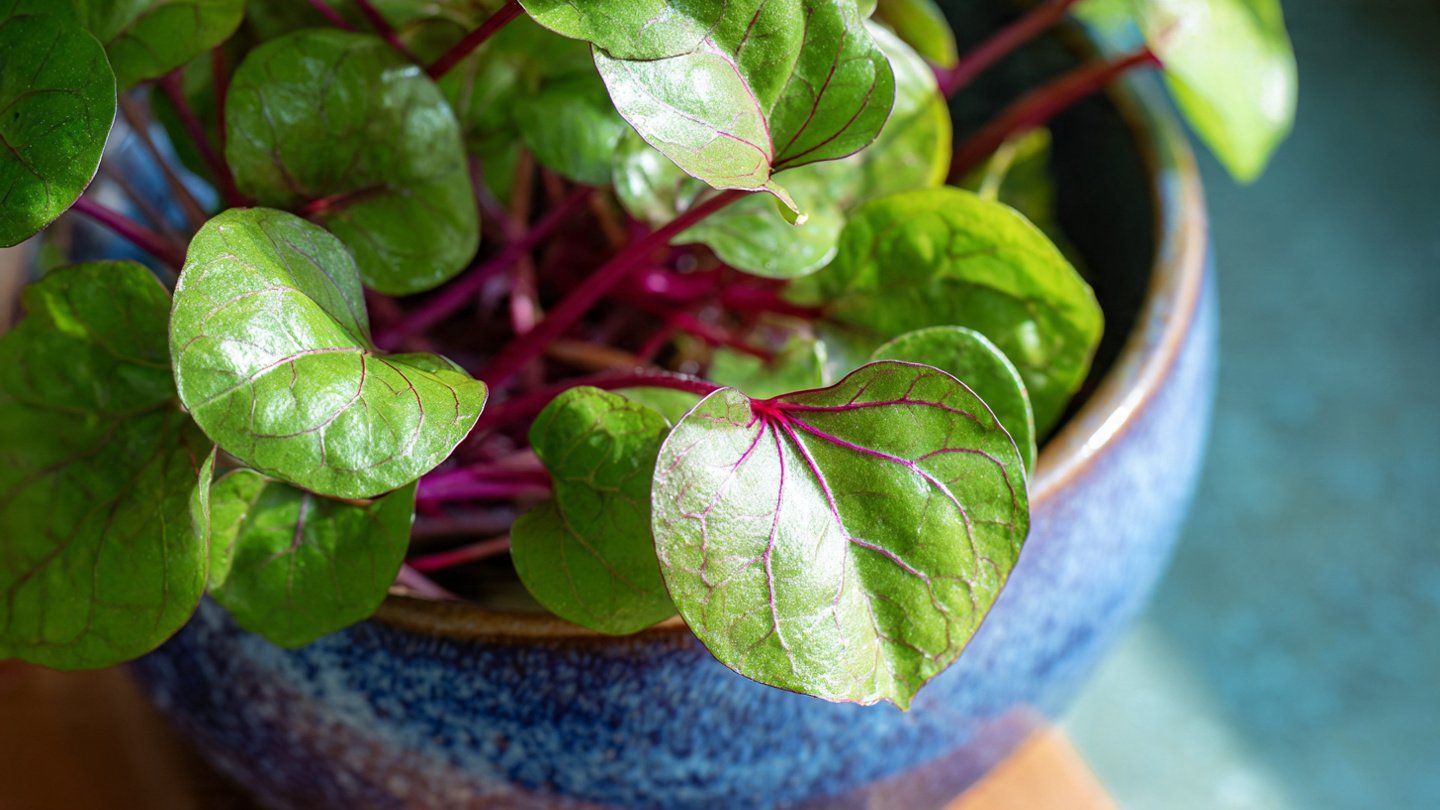
- Variety: Both Basella alba (green-stemmed) and Basella rubra (red-stemmed) can be propagated this way.
Cuttings taken from mature plants are more likely to root quickly and produce strong, productive plants.
Preparing Cuttings for Planting
Once you have selected healthy cuttings, proper preparation is key to successful rooting:
- Trim Leaves: Remove the lower leaves, leaving only 1–2 leaves at the top. This reduces water loss and encourages root development.
- Optional Rooting Hormone: Dip the cut end in a rooting hormone to speed up root growth. While optional, it can enhance success rates.
- Watering Preparation: Decide whether you want to root the cuttings in water or soil. Both methods are effective, but water rooting allows you to monitor root development easily.
By preparing cuttings carefully, you increase the chances of quick, healthy growth.
Rooting Malabar Spinach in Water
Water rooting is one of the easiest methods for beginners:
- Container Selection: Use a clear glass or plastic container so you can watch root development.
- Water Level: Fill the container with enough water to cover the bottom nodes of the cuttings without submerging the leaves.
- Placement: Keep the container in a warm, bright spot with indirect sunlight. Avoid harsh direct sun, which can damage the cuttings.
- Changing Water: Replace the water every 2–3 days to prevent stagnation and fungal growth.
- Root Development: Within 1–2 weeks, you’ll notice roots emerging from the nodes. Once roots are 2–3 inches long, the cutting is ready for transplanting into soil.
Water rooting allows for observation of root growth and ensures cuttings establish well before soil transplanting.
Rooting Malabar Spinach Directly in Soil
Alternatively, you can root cuttings directly in soil, which reduces transplant shock:
- Container Preparation: Choose deep pots, grow bags, or any container with good drainage.
- Soil Mix: Use a light, well-draining mix of garden soil, compost, and sand (2:1:1 ratio) to encourage root growth.
- Planting Depth: Insert the cutting 1–2 nodes deep into the soil. Firm the soil gently around the base.
- Watering: Water thoroughly and keep the soil consistently moist but not waterlogged.
- Light and Temperature: Provide bright, indirect sunlight and maintain a warm environment. Roots typically develop in 1–2 weeks.
Soil rooting minimizes the risk of transplant shock and allows the plant to continue growing in the same container until harvest.
Providing Support for Climbing Growth
Malabar spinach is a climbing vine, and providing support encourages faster growth and higher yield:
- Trellises or Stakes: Bamboo stakes, garden trellises, or strings can guide the vine upward.
- Vertical Gardens: Hanging baskets or vertical wall structures work well for small terraces and balconies.
- Pruning and Training: Regularly prune and guide the vines to prevent overcrowding and ensure even sunlight exposure.
A well-supported vine produces more leaves, reduces pest incidence, and keeps the plants organized in limited spaces.
Watering and Fertilization
Proper care is essential for fast-growing, healthy greens:
- Watering: Malabar spinach prefers consistently moist soil. Water every 2–3 days, increasing frequency during hot weather. Avoid waterlogging to prevent root rot.
- Mulching: Apply organic mulch like straw, dry leaves, or grass clippings to retain moisture and suppress weeds.
- Fertilization: Feed the plants every 2–3 weeks with organic fertilizers such as vermicompost, compost tea, or diluted liquid manure. Nitrogen-rich fertilizers encourage lush leafy growth.
Consistent watering and nutrition ensure rapid growth, allowing you to enjoy fresh greens within weeks.
Harvesting Malabar Spinach
Harvesting from cuttings is fast and rewarding:
- First Harvest: Leaves can be harvested 3–4 weeks after planting when the plant has 4–5 nodes and strong vines.
- Cut-and-Come-Again Method: Snip the outer leaves or trim the tips, allowing the plant to continue producing new growth.
- Continuous Harvest: With regular pruning and harvesting, Malabar spinach can provide greens year-round, especially in warm climates.
By practicing cut-and-come-again harvesting, you maintain a continuous supply of fresh, tender leaves without harming the plant.
Managing Pests and Diseases
Malabar spinach is relatively hardy, but occasional pests like aphids, caterpillars, or fungal infections can occur:
- Neem Oil Sprays: Safe and effective against most insects.
- Garlic or Chili Extracts: Natural repellents to deter pests.
- Cleanliness: Remove dead leaves and maintain air circulation around plants to prevent fungal growth.
Regular inspection and simple organic interventions ensure healthy, vigorous plants.
Benefits of Growing Malabar Spinach from Cuttings
Growing Malabar spinach from cuttings offers several advantages:
- Speed: Faster establishment compared to seeds.
- Easy Propagation: Requires minimal gardening expertise.
- Cost-Effective: No need to purchase seeds; you can propagate from existing plants.
- Continuous Supply: Cut-and-come-again harvesting ensures year-round fresh greens.
- Space-Saving: Ideal for terraces, balconies, or small backyard gardens.
This makes it a perfect choice for urban gardening enthusiasts and busy homemakers seeking fast, reliable greens.
Conclusion
Malabar spinach is one of the most rewarding leafy greens to grow at home, especially when propagated from cuttings. Its rapid growth, high nutritional value, and climbing habit make it ideal for small spaces and terrace gardens. By selecting healthy cuttings, providing proper care, and ensuring consistent watering and fertilization, anyone can enjoy fast, easy greens with minimal effort.
Starting Malabar spinach from cuttings not only saves time and money but also allows gardeners to create a sustainable, productive green space right at home. With a little support, regular harvesting, and organic care, this climbing vine can provide a continuous supply of fresh, nutritious leaves, making it a staple in healthy, homegrown meals.
Whether you’re a seasoned gardener or a beginner looking for quick results, Malabar spinach offers a perfect combination of speed, ease, and nutrition. With this simple propagation method, you can turn a few cuttings into a thriving, year-round source of delicious greens, right from your terrace or balcony.