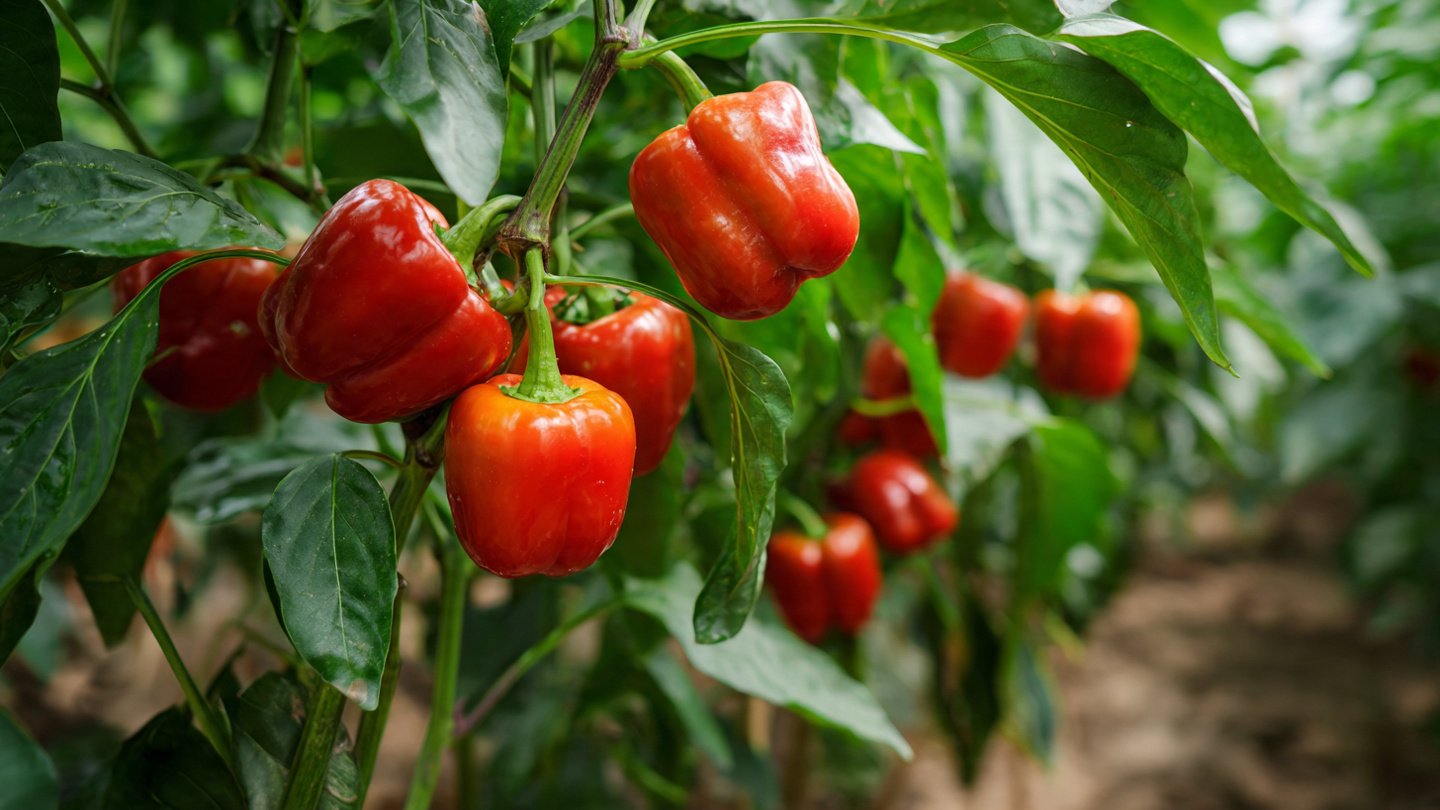
Growing fresh vegetables at home doesn’t require a large backyard or expensive equipment. Even in small apartments or homes with limited outdoor space, you can enjoy homegrown produce by using simple, creative methods. One of the easiest and most budget-friendly ways is growing bell peppers—also known as capsicum—in plastic bottles. This beginner-friendly approach is perfect for balconies, windowsills, rooftops, or patios and allows you to recycle plastic waste while producing healthy vegetables.
This step-by-step guide will show you exactly how to grow bell peppers in plastic bottles at home, from seed to harvest, using minimal space and resources.
Why Grow Bell Peppers in Plastic Bottles?
Bell peppers are an excellent choice for container gardening. They have a compact growth habit, adapt well to limited soil space, and thrive in warm, sunny conditions. Plastic bottles are readily available, lightweight, easy to move, and perfect for beginners who want to start small.
Using plastic bottles also supports sustainable living. Instead of throwing bottles away, you give them a second life as plant containers, reducing waste while growing nutritious food rich in vitamins A and C.
What You’ll Need to Get Started
Before planting, gather all your materials. Most of these items are inexpensive or already available at home.
You will need clean plastic bottles (2-liter bottles work best), a sharp cutter or scissors, potting soil, compost or organic fertilizer, small stones or gravel for drainage, bell pepper seeds or seedlings, water, and a sunny location. Optional items include a marker for labeling, gloves, and a small stick for plant support.
Wash the bottles thoroughly and remove labels so light can reach the soil.
Preparing Plastic Bottles for Bell Peppers
Bell pepper plants need adequate root space, so bottle preparation is important. Cut the bottle horizontally, keeping the bottom portion as the planter. Alternatively, cut a rectangular opening on one side if you want to grow horizontally.
Poke several small drainage holes at the bottom of the bottle to prevent waterlogging. Proper drainage is essential, as bell peppers are sensitive to excess moisture.
If placing the bottles outdoors, you can keep them on the ground, a shelf, or hang them securely. Make sure the bottle is stable and won’t tip over as the plant grows.
Creating the Right Soil Mix
Healthy soil is the foundation of successful bell pepper growth. Use a light, well-draining potting mix rather than garden soil, which can become compacted in containers.
A good soil mix includes potting soil blended with compost or well-rotted manure. Add a small amount of sand or perlite to improve drainage. Place a thin layer of small stones or gravel at the bottom of the bottle, then fill it with soil, leaving about an inch of space at the top.
Lightly moisten the soil before planting.
Starting Bell Peppers from Seeds
Bell peppers grow well from seeds, though they require patience. Sow seeds about a quarter inch deep in the soil. If planting multiple seeds, space them evenly.
Water gently after planting and place the bottle in a warm, sunny spot. Bell pepper seeds germinate best in warm temperatures and may take 7 to 14 days to sprout.
Once seedlings emerge, ensure they receive plenty of sunlight. If more than one seedling grows in a bottle, thin them out, leaving the strongest plant.
Transplanting Seedlings Into Bottles
If you’re using nursery seedlings instead of seeds, transplant them carefully. Make a hole in the soil large enough to accommodate the roots. Place the seedling gently into the hole and firm the soil around it.
Water lightly after transplanting to help the plant settle. Avoid disturbing the roots too much, as bell peppers can be sensitive during early growth stages.
Sunlight Requirements for Healthy Growth
Bell peppers love sunlight. They need at least six to eight hours of direct sunlight each day to grow strong and produce fruit. Place your bottles in a sunny balcony, terrace, or near a bright window.
If sunlight is limited, supplement with grow lights to ensure healthy development. Without enough light, plants may become weak and fail to produce peppers.
Watering Bell Peppers Correctly
Watering is one of the most important aspects of growing bell peppers in plastic bottles. Keep the soil consistently moist but never soggy.
Water deeply when the top inch of soil feels dry. During hot weather, daily watering may be necessary, while cooler conditions may require less frequent watering. Always check soil moisture before watering.
Overwatering can cause root rot, while underwatering can lead to flower drop and poor fruit development.
Feeding and Fertilizing Capsicum Plants
Bell peppers are moderate feeders and benefit from regular nutrients. Compost mixed into the soil provides a good foundation, but additional feeding helps during flowering and fruiting stages.
Use a balanced organic liquid fertilizer or compost tea every two to three weeks. Avoid high-nitrogen fertilizers, as they promote leaf growth at the expense of fruit production.
Supporting the Growing Plant
As bell pepper plants grow, they may need support, especially once fruits begin to form. Insert a small stick or bamboo stake into the bottle and gently tie the plant to it using soft string.
Support prevents the plant from bending or breaking under the weight of peppers and helps maintain good airflow around the leaves.
Managing Pests and Diseases Naturally
Growing bell peppers in bottles reduces pest problems, but insects like aphids or whiteflies can still appear. Inspect plants regularly for signs of pests or disease.
Natural remedies such as neem oil spray, garlic water, or mild soap solution work well. Remove damaged leaves promptly and ensure proper air circulation to prevent fungal diseases.
Flowering and Fruit Development
Bell pepper plants usually begin flowering 40 to 60 days after planting. Flowers will eventually develop into peppers if conditions are right.
Avoid stressing the plant during this stage. Maintain consistent watering, adequate sunlight, and regular feeding. Sudden temperature changes or water stress can cause flowers to drop.
Harvesting Bell Peppers
Bell peppers can be harvested when they reach a usable size, even if they are still green. Leaving them longer allows them to change color and develop a sweeter flavor.
Use clean scissors or a knife to cut peppers from the plant rather than pulling them off. Regular harvesting encourages the plant to produce more fruit.
Benefits of Growing Bell Peppers in Plastic Bottles
Growing bell peppers in plastic bottles offers multiple benefits. It saves space, reduces plastic waste, and provides fresh, chemical-free vegetables. It also builds gardening confidence, especially for beginners.
This method is cost-effective, flexible, and suitable for urban living. With proper care, a single bottle-grown plant can produce multiple peppers over the season.
Grow Fresh Food in Small Spaces
Learning how to grow bell peppers in plastic bottles proves that gardening doesn’t require large spaces or complicated tools. With sunlight, good soil, regular watering, and patience, anyone can grow healthy capsicum at home.
This simple step-by-step approach turns everyday plastic waste into a productive garden, helping you enjoy fresh vegetables while supporting sustainable living—one bottle at a time.