Cardamom, often called the “queen of spices,” is celebrated for its distinct aroma and flavor that elevates both culinary and medicinal preparations. Native to tropical regions of India and Sri Lanka, this spice has been prized for centuries for its rich fragrance, digestive benefits, and unique taste. While commercially grown cardamom is a tropical crop requiring specific conditions, with the right approach, you can successfully grow cardamom at home—even in containers or small garden spaces. This guide will walk you step by step on how to grow a thriving cardamom plant at home, from seed to harvest.
Why Grow Cardamom at Home?
Growing cardamom at home offers several advantages:
- Fresh Aromatic Spices: Homegrown cardamom pods retain maximum flavor and fragrance, making them superior to store-bought alternatives.
- Cost Savings: High-quality cardamom is expensive in stores; growing your own reduces long-term costs.
- Medicinal Benefits: Cardamom supports digestion, oral health, and respiratory wellness. Having it fresh at home ensures you get maximum benefits.
- Aesthetic Value: Cardamom plants are lush and green, adding beauty to any garden or indoor space.
- Sustainable Gardening: Growing cardamom at home reduces dependency on commercial agriculture, making it an eco-friendly choice.
With proper care, cardamom can be a long-lasting addition to your home garden, yielding aromatic pods for years.
Step 1: Understanding Cardamom Plants
Cardamom belongs to the genus Elettaria and grows as a perennial herb with long, slender stems and broad, green leaves. Its unique features include:
- Height: Typically 3–4 feet indoors; outdoors, it can reach 6–10 feet in tropical gardens.
- Climate Needs: Warm, humid conditions with temperatures between 15–35°C (59–95°F).
- Shade Requirement: Cardamom thrives under partial shade, as direct sunlight can scorch leaves.
- Soil Needs: Well-draining, fertile, and rich in organic matter with a slightly acidic pH (5.5–6.5).
Understanding these conditions helps you mimic the plant’s natural habitat at home, ensuring healthy growth.
Step 2: Choosing Seeds or Rhizomes
Cardamom can be propagated using either seeds or rhizomes (underground stems):
- Seeds: Use fresh, viable cardamom seeds extracted from fully matured pods. Soak them in warm water for 24–48 hours to enhance germination. Seeds can take 2–3 months to germinate, so patience is essential.
- Rhizomes: Healthy rhizomes with at least one bud can be planted directly in soil. This method is faster and often yields fruit sooner than seeds.
For beginners, rhizomes are recommended because they reduce waiting time and increase the chances of success.
Step 3: Preparing the Planting Medium
Cardamom plants require nutrient-rich, well-draining soil. You can prepare a suitable mix using:
- 2 parts garden soil or loamy soil
- 1 part well-rotted compost or cow manure
- 1 part sand or perlite for aeration
Ensure the soil is loose, moist, and fertile. Adding mulch or leaf litter helps retain moisture and provides a natural source of nutrients.
Step 4: Planting Cardamom
For Seeds:
- Fill a shallow tray or small pot with the prepared soil mix.
- Sow seeds 1–2 cm deep and cover lightly with soil.
- Water gently to avoid displacing seeds.
- Place the tray in a shaded, warm location with indirect sunlight.
For Rhizomes:
- Dig a hole about 5–7 cm deep in your pot or garden bed.
- Place the rhizome horizontally, ensuring the bud is facing upward.
- Cover lightly with soil and press gently.
- Water thoroughly to settle the soil around the rhizome.
Keep the soil consistently moist but not waterlogged, as excessive water can cause rot.
Step 5: Ideal Growing Conditions
Cardamom plants need specific conditions to thrive:
- Light: Indirect or filtered sunlight is ideal. Indoors, place the plant near a bright window; outdoors, partial shade under a tree works best.
- Temperature: Maintain temperatures between 15–35°C. Avoid sudden temperature drops, which can stress the plant.
- Humidity: Cardamom loves humidity. Mist leaves regularly or place a shallow tray of water nearby to increase moisture in the air.
- Soil Moisture: Water consistently to keep the soil damp but well-drained. Mulching reduces evaporation and keeps roots cool.
Replicating these tropical conditions ensures vigorous growth and eventual flowering.
Step 6: Fertilization and Nutrient Care
Fertilizing cardamom is crucial for healthy foliage and flowering:
- Organic Fertilizers: Use compost, well-rotted manure, or leaf mold every 2–3 months.
- Liquid Fertilizers: A diluted liquid organic fertilizer every 4–6 weeks promotes leafy growth.
- Balanced NPK: Nitrogen encourages leafy growth, phosphorus supports flowering, and potassium aids fruit formation.
Regular feeding ensures your plant has enough nutrients for long-term growth and a good harvest.
Step 7: Pruning and Maintenance
Pruning cardamom plants helps maintain shape, remove dead or damaged leaves, and improve air circulation:
- Remove yellowing or damaged leaves regularly.
- Trim weak or overcrowded stems to allow light penetration.
- Thin out older growth if the plant becomes too dense.
Pruning also reduces the risk of fungal infections and promotes stronger shoots.
Step 8: Flowering and Pollination
Cardamom plants usually flower after 2–3 years if grown from seeds, or within 12–18 months if grown from rhizomes. Flowers are small, pale green, and grow along the base of leafy stems.
- Pollination: Insects like bees naturally pollinate cardamom flowers. Hand-pollination can improve pod formation in indoor setups.
- Flower Care: Avoid overwatering and ensure adequate shade to prevent stress during flowering.
Proper flowering leads to the formation of aromatic pods, the prized part of the plant.
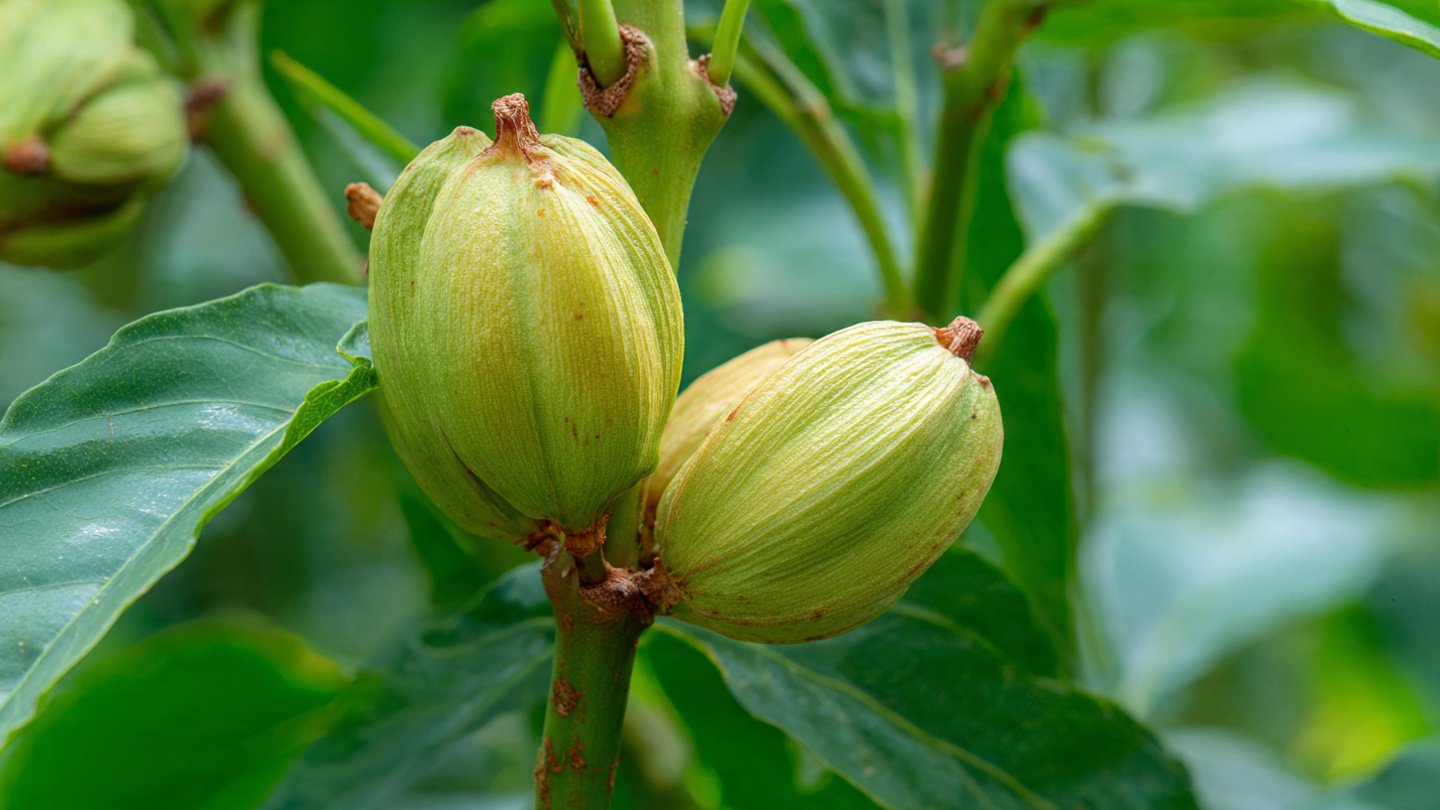
Step 9: Fruit Development and Harvesting
Cardamom pods take 3–4 months to mature after flowering. Signs of readiness include:
- Green, plump pods with a firm texture
- Slightly softening at the tip (indicating internal seeds are fully developed)
Harvesting Tips:
- Use scissors or a small knife to cut pods carefully, avoiding damage to the plant.
- Harvest pods in clusters as they mature; staggered harvesting ensures continuous production.
- Dry the pods in shade for 7–10 days to preserve aroma and flavor.
Proper harvesting ensures the pods retain maximum fragrance and spice quality.
Common Challenges and Solutions
Growing cardamom at home comes with some challenges, but they can be managed with careful attention:
- Pests: Aphids, mealybugs, and mites may attack leaves. Neem oil or insecticidal soap works effectively.
- Fungal Infections: Overwatering or poor ventilation can lead to root rot or leaf spot. Ensure well-draining soil and adequate air circulation.
- Slow Growth: Seed-grown plants take longer to flower. Patience is key, or start with rhizomes for faster results.
- Nutrient Deficiency: Yellowing leaves may indicate nitrogen deficiency. Add compost or organic fertilizer as needed.
Regular monitoring and maintenance ensure healthy, productive cardamom plants.
Benefits of Growing Cardamom at Home
- Aromatic and Culinary Use: Fresh cardamom pods enhance teas, desserts, curries, and savory dishes.
- Health Benefits: Cardamom supports digestion, reduces inflammation, and aids in detoxification.
- Eco-Friendly: Growing at home reduces reliance on commercial farming and transport, lowering carbon footprint.
- Aesthetic Appeal: Lush foliage adds greenery and elegance to your indoor or outdoor garden.
- Cost Efficiency: Homegrown cardamom reduces the need to purchase expensive pods from stores.
These benefits make growing cardamom at home both rewarding and practical.
Conclusion
Growing a cardamom plant at home may require patience and care, but the rewards are well worth the effort. From selecting healthy seeds or rhizomes to creating the ideal growing environment, nurturing seedlings, and eventually harvesting aromatic pods, each step brings satisfaction and the joy of cultivating your own spice.
Whether you’re an experienced gardener or a beginner, cardamom is an ideal choice for home cultivation. With proper care, attention, and patience, you can enjoy fresh, flavorful, and aromatic cardamom right from your garden or terrace. Not only does it enhance your culinary creations, but it also adds beauty, greenery, and sustainability to your home.
Start today, and watch your cardamom plant grow into a lush, productive source of aromatic spice—a true testament to the rewards of home gardening.