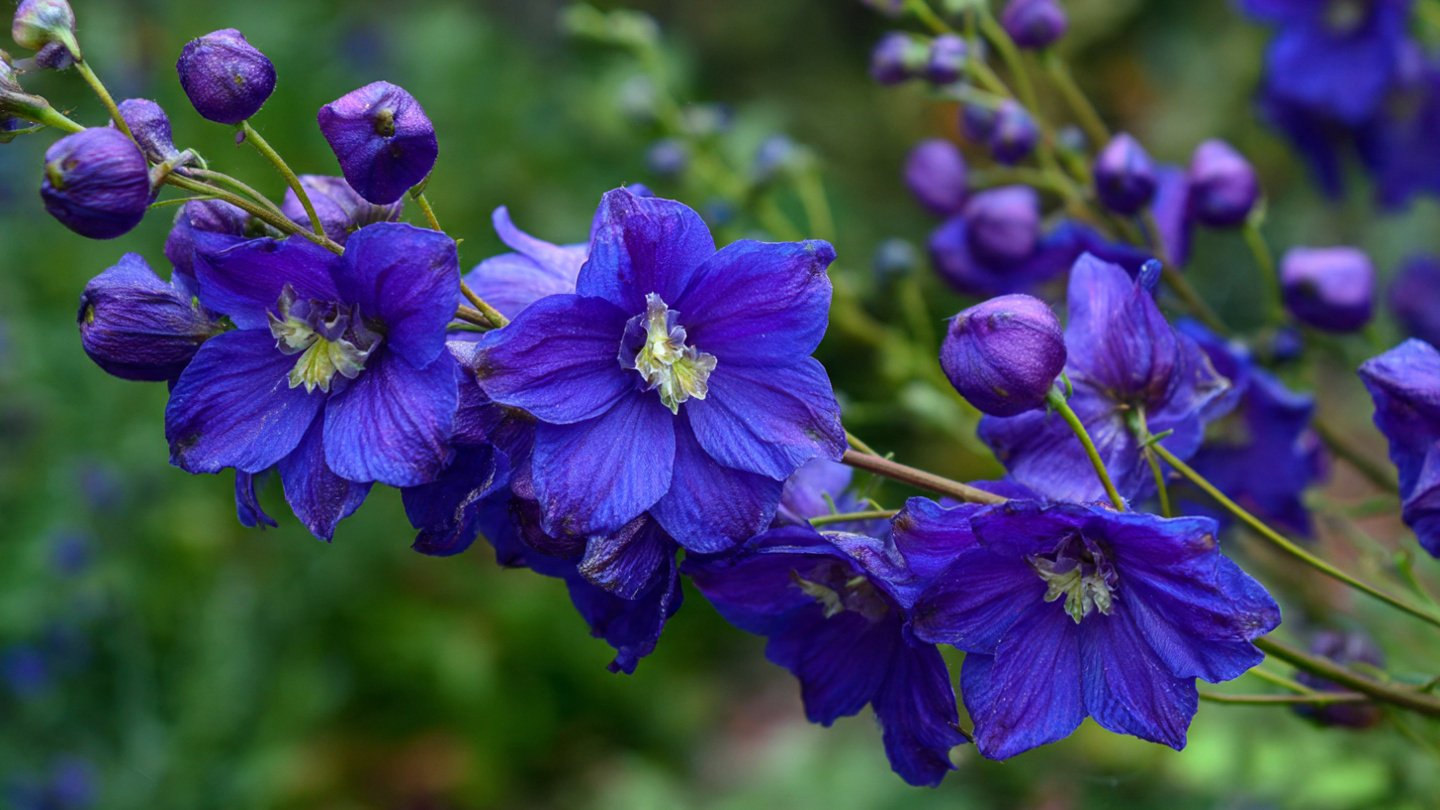
Few flowers capture the delicate charm of a summer garden like larkspur (Delphinium spp.). With its tall, spiky blooms and shades ranging from vibrant blue to soft pinks and purples, larkspur can transform any garden bed into a vertical wonder of color and elegance. While it may seem like a flower for experienced gardeners, growing larkspur from seed is easier than many realize, and it can be done successfully with a few simple steps.
This guide provides a step-by-step approach to achieving a flourishing larkspur garden, whether you are a beginner or a seasoned home gardener.
Understanding Larkspur: Why Start From Seed?
Larkspur is an annual or biennial plant (depending on the variety), meaning it completes its life cycle within one or two growing seasons. Starting from seed offers several advantages:
- Cost-effective: Seeds are much cheaper than buying mature plants.
- Variety selection: You can choose from a wide range of colors and heights.
- Stronger plants: Plants grown from seeds often adapt better to local conditions.
- Extended flowering: Home-grown larkspur often blooms more abundantly and longer than store-bought plants.
Growing from seed requires patience, but the payoff is a tall, vibrant garden filled with elegant blooms.
Step 1: Selecting the Right Larkspur Variety
Before sowing, choose a variety that suits your garden’s conditions:
- Annual Larkspur: Fast-growing, blooms in the first year, height ranges from 12–36 inches.
- Biennial Larkspur: Slower to establish, blooms the second year, can reach up to 48 inches.
- Color Selection: Available in blue, pink, purple, and white. Blue shades are especially popular in cottage gardens.
Select a variety that matches your desired height, bloom time, and color palette.
Step 2: Preparing Seeds for Germination
Larkspur seeds have a natural dormancy period and benefit from pre-treatment to improve germination rates. Two effective methods include:
- Cold Stratification:
- Place seeds in a damp paper towel inside a sealed plastic bag.
- Refrigerate for 2–3 weeks before planting.
- This mimics winter conditions, “waking up” the seed for spring growth.
- Soaking:
- Soak seeds in lukewarm water for 12–24 hours before sowing.
- This softens the seed coat and encourages quicker germination.
Both techniques increase germination success and lead to stronger seedlings.
Step 3: Choosing the Right Planting Location
Larkspur thrives in full sun to partial shade and prefers well-draining soil. Consider these factors:
- Soil: Loamy, fertile soil with a pH of 6.0–7.0 is ideal.
- Drainage: Avoid low spots where water can pool and rot seeds.
- Spacing: Larkspur plants grow tall and need adequate air circulation; leave 8–12 inches between plants.
Selecting a sunny, protected location ensures strong stems and vibrant blooms.
Step 4: Sowing Seeds Correctly
Larkspur seeds can be directly sown outdoors or started indoors for an early start.
Direct Sowing:
- Sow seeds 0.25–0.5 inches deep in prepared soil.
- Water gently to avoid washing away seeds.
- Thin seedlings once they reach 2–3 inches tall to prevent overcrowding.
Indoor Start:
- Use seed trays or small pots filled with seed-starting mix.
- Sow seeds lightly and cover with a thin layer of soil.
- Keep the soil moist but not waterlogged.
- Transplant seedlings outdoors after 2–3 weeks, once they are strong enough to handle.
Early indoor sowing can advance flowering by several weeks, giving your garden an earlier burst of color.
Step 5: Watering for Healthy Growth
Proper watering is crucial for larkspur development:
- Keep soil consistently moist during germination and early growth.
- Reduce watering slightly once plants establish to prevent root rot.
- Water at the base of the plant rather than overhead to avoid fungal issues.
Consistent moisture encourages strong roots and tall stems, essential for flourishing blooms.
Step 6: Fertilizing Naturally
While larkspur does not require heavy fertilization, providing balanced nutrients supports lush growth and vibrant flowers:
- Use organic compost or well-rotted manure when preparing the soil.
- Apply a liquid seaweed or compost tea every 3–4 weeks during active growth.
- Avoid excessive nitrogen, which encourages leafy growth at the expense of flowers.
Natural fertilization promotes healthy stems, more blooms, and thicker plants without chemicals.
Step 7: Supporting Tall Stems
Many larkspur varieties grow tall and slender, making them susceptible to wind damage:
- Use stakes or plant supports to keep stems upright.
- Insert stakes early, before plants become top-heavy.
- Tie stems loosely to supports to avoid breaking delicate shoots.
Proper support ensures your larkspur garden remains visually striking and damage-free.
Step 8: Pruning and Deadheading
Encouraging repeated flowering and bushier growth involves removing spent flowers:
- Cut off faded blooms promptly to redirect energy into new flower production.
- Avoid cutting healthy leaves; focus on the flowering stalks.
- Regular deadheading can extend the bloom period by several weeks.
This simple practice helps maintain a full, flourishing appearance in your garden.
Step 9: Managing Pests and Diseases Naturally
Larkspur is generally hardy but can face challenges such as:
- Aphids and leaf miners – Remove manually or use neem oil spray.
- Powdery mildew – Improve air circulation and avoid wetting leaves.
- Slugs and snails – Use natural deterrents like crushed eggshells or diatomaceous earth.
Healthy, pest-free plants grow taller, stronger, and more abundant flowers.
Step 10: Encouraging Self-Seeding
One of the joys of larkspur is that it readily self-seeds, ensuring a thriving garden year after year:
- Allow a few flowers to produce seeds at the end of the season.
- Collect seeds for next year or leave them to fall naturally.
- Cover young seedlings lightly to protect from birds or heavy rain.
Self-seeding reduces the effort needed to maintain a flourishing larkspur garden annually.
Seasonal Care Tips
- Spring: Sow seeds and prepare soil; maintain moisture.
- Summer: Support stems, fertilize organically, and deadhead regularly.
- Autumn: Collect seeds and allow some plants to self-seed.
- Winter: Protect seedlings and young plants from frost if necessary.
Adapting care to seasonal changes ensures continuous growth and strong flowering cycles.
Tips for a Colorful Larkspur Display
- Mix heights and colors: Combine tall blue spikes with shorter pink or purple varieties.
- Companion planting: Larkspur pairs well with roses, foxgloves, and other cottage garden favorites.
- Succession planting: Sow seeds in intervals to stagger blooms for a longer display.
These tips create a garden that is both visually appealing and naturally flourishing.
Common Mistakes to Avoid
- Overcrowding: Leads to spindly plants and poor air circulation.
- Excess nitrogen: Promotes foliage but reduces flower formation.
- Neglecting sunlight: Results in weak stems and sparse blooms.
- Ignoring support needs: Tall plants may flop in wind or rain.
- Harvesting too early: Cutting flowers before peak bloom reduces aesthetic impact.
Avoiding these mistakes ensures your larkspur garden thrives year after year.
Final Thoughts
Growing larkspur from seed is a rewarding way to enhance your garden’s beauty. With patience, careful attention to soil, light, and water, and a few natural gardening techniques, you can cultivate a flourishing garden filled with tall, vibrant larkspur spikes.
By following these simple steps—seed selection, proper sowing, nurturing, staking, and regular care—any gardener can transform their outdoor space into a breathtaking summer sanctuary where larkspur blooms in abundance.
The key is to work with nature, not against it: healthy soil, natural fertilization, proper sunlight, and seasonal care all contribute to a thriving garden. Once established, your larkspur garden will not only provide stunning blooms but also self-seed for future seasons, making it a long-term source of beauty and fragrance in your home landscape.