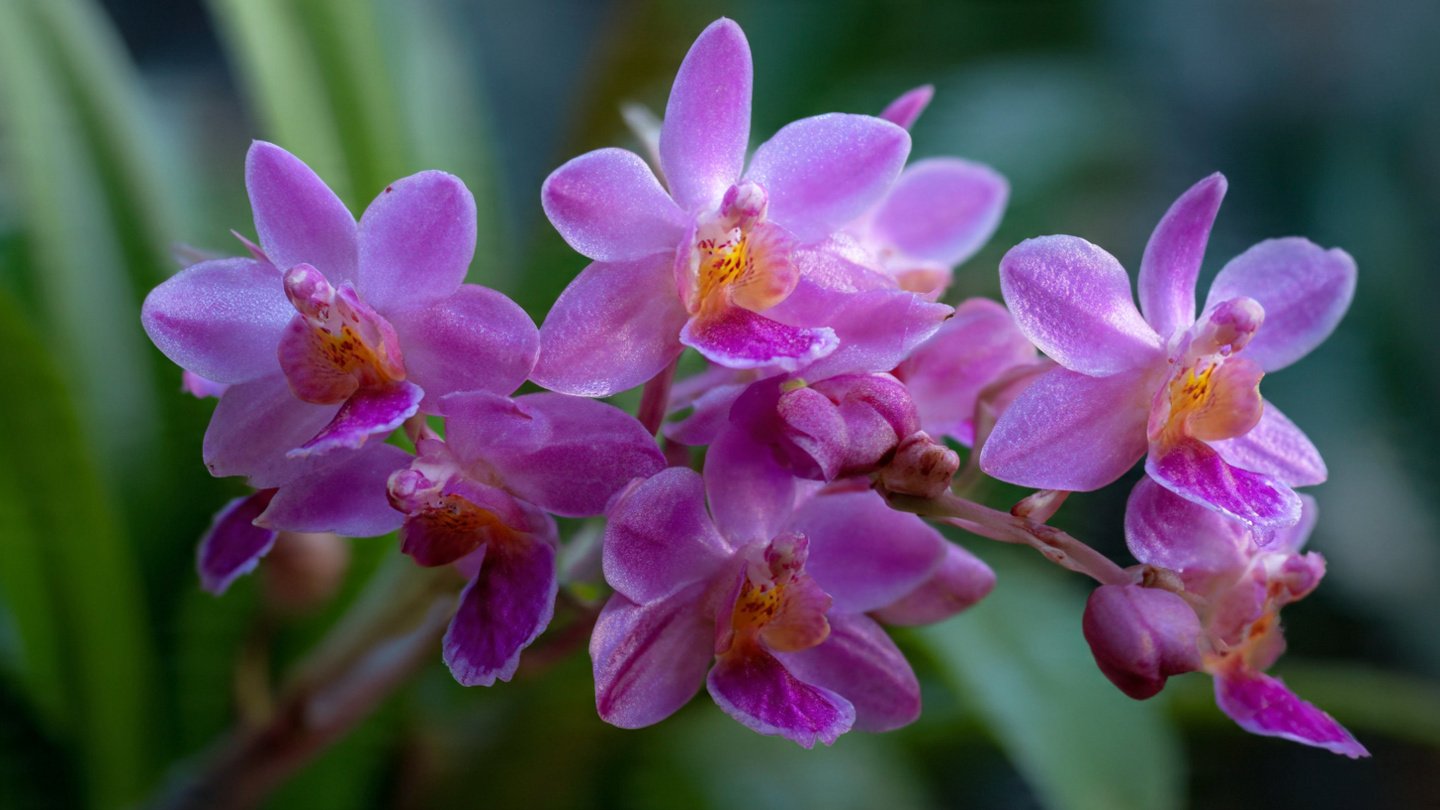
Orchids are among the most elegant and captivating flowering plants, admired for their vibrant colors, exotic shapes, and long-lasting blooms. Yet, getting orchids to produce bigger, longer-lasting flowers requires more than just good lighting and proper watering. One of the most critical factors is fertilization. Knowing how often to fertilize an orchid and how to do it correctly can make the difference between a few blooms that fade quickly and a spectacular display that lasts weeks or even months.
This comprehensive guide will cover everything you need to know about orchid fertilization, including the right frequency, fertilizer types, growth stage adjustments, and practical tips to maximize bloom size and longevity.
Step 1: Understanding Orchid Nutrition
Orchids are epiphytic plants, meaning they naturally grow on trees rather than in soil. This unique adaptation affects their nutrient needs. Orchids absorb nutrients primarily through their roots and sometimes through their leaves, so fertilization is essential to support flower production and overall plant health.
Orchids need three primary macronutrients:
- Nitrogen (N): Promotes lush, green foliage and vegetative growth.
- Phosphorus (P): Strengthens roots and encourages flower spike formation.
- Potassium (K): Improves flower size, color, and longevity, as well as overall plant vigor.
Additionally, orchids require trace elements such as magnesium, calcium, and iron to maintain healthy metabolism and vibrant blooms.
Step 2: Choosing the Right Fertilizer
The fertilizer you select directly influences how often you can feed your orchid and the size and duration of its blooms. Common options include:
- Balanced Fertilizers (20-20-20): Provide equal amounts of N-P-K, suitable for general growth during vegetative stages.
- Bloom-Boosting Fertilizers (10-30-20 or similar): Higher in phosphorus to encourage flower spike development and longer-lasting blooms.
- Water-Soluble Fertilizers: Easily absorbed by roots; ideal for weekly feeding.
- Slow-Release Fertilizers: Release nutrients gradually but require careful monitoring to avoid over-fertilization.
For optimal bloom size and longevity, most orchid growers recommend alternating between balanced fertilizers during growth and bloom-boosting fertilizers during flower production.
Step 3: Understanding the Orchid Growth Cycle
Fertilization frequency should be adjusted according to the orchid’s growth cycle. Orchids typically go through active growth, flower spike formation, flowering, and rest periods.
- Active Growth (Vegetative Stage): During new leaf and root development, use a balanced fertilizer to support strong foliage.
- Flower Spike Development: Switch to a bloom-boosting fertilizer higher in phosphorus to encourage flower spikes.
- Blooming Phase: Continue bloom-specific fertilizer at a slightly reduced strength to sustain flowers without over-stimulating foliage growth.
- Resting/Dormant Phase: Reduce or stop fertilization entirely; the plant conserves energy during this slower growth period.
Aligning fertilization with growth stages ensures maximum bloom potential and healthy plant development.
Step 4: The “Weakly, Weekly” Approach
A proven method for feeding orchids is the “weakly, weekly” approach, which emphasizes frequent, diluted feeding rather than occasional high doses.
- Dilution: Use fertilizer at one-quarter to one-half the recommended strength on the package.
- Frequency: Feed once per week for water-soluble fertilizers.
- Pre-Watering: Water your orchid before applying fertilizer to prevent root burn.
This approach mimics the orchid’s natural low-dose nutrient absorption in the wild and supports continuous flower development without overloading the plant.
Step 5: Adjusting Fertilization Frequency
While the “weakly, weekly” method is standard, certain conditions can require adjustments:
- Slow Growth or Low Light: Reduce feeding to once every two weeks, as the plant’s nutrient needs are lower.
- Rapid Growth or High Light: Increase frequency to once per week or slightly stronger solution to match higher metabolic demand.
- Indoor vs Outdoor Orchids: Indoor orchids with consistent conditions often require less fertilizer than orchids grown in greenhouse or outdoor settings.
Adjusting feeding frequency based on environmental factors ensures optimal nutrient uptake and healthy blooms.
Step 6: Fertilization for Bigger Blooms
To achieve bigger, longer-lasting flowers, phosphorus and potassium are essential:
- Phosphorus: Supports flower spike initiation and development. Fertilizers with higher phosphorus content during spike formation result in more robust blooms.
- Potassium: Strengthens petals, enhances color intensity, and prolongs bloom duration. Feeding potassium-rich fertilizers during flowering improves overall flower quality.
- Balanced Nitrogen: Maintain moderate nitrogen to avoid excessive leaf growth at the expense of flowers.
By targeting nutrients specific to flowering, you can maximize bloom size and longevity.
Step 7: Foliar Feeding
Some orchid growers supplement root fertilization with foliar feeding, spraying diluted fertilizer directly onto leaves:
- Dilution: Use one-quarter strength to prevent leaf burn.
- Frequency: Once every 2–3 weeks during active growth.
- Time of Day: Apply in the morning or evening to avoid direct sunlight on wet leaves, which can cause burns.
Foliar feeding is especially useful when root access is limited or when rapid nutrient absorption is needed for flower spikes.
Step 8: Preventing Fertilizer Burn
Over-fertilization is one of the most common causes of orchid stress and flower loss. Symptoms of fertilizer burn include yellowing or brown leaf tips, stunted growth, and root damage.
To prevent burn:
- Always dilute fertilizer to half or quarter strength.
- Water plants thoroughly before fertilizing.
- Occasionally flush the potting medium with plain water to remove excess salts.
- Avoid fertilizing dormant orchids or during low-light winter months.
Proper precautions ensure orchids remain healthy and produce blooms without stress.
Step 9: Fertilizer and Water Quality
Water quality affects how efficiently orchids absorb nutrients:
- Tap Water: Can contain chlorine or minerals that may build up in soil. Let tap water sit for 24 hours or use filtered water.
- Rainwater: Ideal for orchids due to low mineral content.
- pH Considerations: Orchids prefer slightly acidic to neutral soil (pH 5.5–6.5). Regular monitoring ensures nutrients are available for uptake.
Good water quality enhances fertilizer effectiveness, contributing to bigger, healthier flowers.
Step 10: Supporting Growth Alongside Fertilization
Fertilizer works best when combined with proper cultural care:
- Light: Orchids require bright, indirect light; insufficient light reduces flower size and longevity.
- Temperature: Maintain stable daytime and nighttime temperatures according to species requirements.
- Humidity: Orchids thrive in 50–70% humidity; low humidity can dry flowers prematurely.
- Airflow: Prevent fungal diseases and encourage pollination with gentle airflow around leaves.
Fertilization alone cannot compensate for poor environmental conditions, so holistic care is essential.
Step 11: Fertilization During Blooming
During flowering, continue using bloom-focused fertilizers, but at a slightly reduced concentration:
- Frequency: Once every 2–3 weeks instead of weekly.
- Strength: Half-strength solution ensures flowers remain vibrant without stimulating excessive leaf growth.
- Observation: Monitor flower color and longevity; adjust feeding if blooms fade prematurely.
This careful approach promotes long-lasting, large blooms while maintaining plant health.
Step 12: Fertilization During Dormancy
After flowering, orchids often enter a slower growth period. Fertilization during dormancy should be minimal or paused entirely:
- Reduce Fertilizer: Feed once every 4–6 weeks or stop completely.
- Focus on Water: Keep roots hydrated but avoid waterlogging.
- Light Maintenance: Ensure adequate indirect light to prevent leaf yellowing.
Proper rest allows the plant to recharge energy for the next flowering cycle.
Step 13: Monitoring Results and Adjusting
Orchid care is dynamic, so monitoring is key:
- Leaf Color and Firmness: Dark green, firm leaves indicate balanced nutrition; yellowing suggests adjustment is needed.
- Root Health: Healthy roots are firm and white or green; brown or mushy roots may indicate overfeeding.
- Flower Longevity: Longer-lasting flowers indicate proper fertilization and environmental conditions.
- Growth Rate: Vigorous growth in leaves and roots shows the plant is thriving.
Observing these factors allows you to fine-tune fertilizer type, strength, and frequency for the best blooms.
Conclusion
Fertilizing orchids correctly is crucial for producing bigger, longer-lasting blooms. By understanding your orchid’s nutritional needs, selecting the right fertilizer, timing applications according to the growth cycle, and adjusting frequency with environmental conditions, you can ensure spectacular flowers year after year.
The “weakly, weekly” approach, combined with bloom-specific fertilizers, proper watering, good light, and humidity management, provides the foundation for healthy orchids and extended floral displays. Additionally, careful monitoring prevents over-fertilization, root damage, and premature flower loss.
Ultimately, fertilization is not just about feeding—it’s about nurturing your orchid at every stage of growth, promoting vigorous health and stunning, long-lasting blooms that can brighten your home for weeks on end. With patience, observation, and the right techniques, your orchid can thrive, producing flowers that are larger, more colorful, and more durable than ever.