Fresh, crisp salad greens are a staple in any healthy diet. Imagine stepping out to your window box and harvesting your own organic lettuce, arugula, spinach, and kale—all grown by your own hands. Growing salad greens in a window box is not only convenient but also rewarding, allowing you to enjoy nutritious, chemical-free produce even in small urban spaces.
This guide will walk you through everything you need to know to successfully grow your own organic salad greens in a window box, from choosing the right varieties and soil to harvesting lush leaves throughout the season.
Why Grow Salad Greens in a Window Box?
Window boxes offer several advantages for home gardeners:
- Space-saving: Ideal for apartments, balconies, or homes without a backyard.
- Accessibility: Harvest fresh leaves anytime without leaving your kitchen.
- Organic control: You control soil, water, and fertilizers, ensuring truly organic produce.
- Pest management: Elevation reduces exposure to many ground-dwelling pests.
- Aesthetic value: Window boxes enhance your living space with greenery and color.
Even a small window box can produce enough salad greens for a family of two or three throughout the growing season, making it both practical and sustainable.
Choosing the Right Window Box
Not all window boxes are ideal for salad greens. When selecting one, consider:
- Size: Choose a box at least 8–10 inches deep to allow adequate root growth. Longer boxes let you plant multiple rows, maximizing yield.
- Material: Wood, plastic, and resin are popular. Wood looks natural and insulates roots, while plastic is lightweight and retains moisture.
- Drainage: Ensure your box has drainage holes to prevent waterlogging and root rot.
Tip: If drainage holes are limited, place a layer of gravel or small stones at the bottom to improve water flow.
Selecting the Best Organic Salad Greens
Choosing the right varieties is essential for window-box success. Opt for leafy greens that grow well in containers, have shallow roots, and mature quickly. Popular options include:
- Lettuce: Butterhead, leaf, and romaine varieties are perfect for small containers.
- Spinach: Baby spinach grows quickly and is easy to harvest repeatedly.
- Arugula: Adds a spicy, peppery flavor and thrives in partial shade.
- Kale: Dwarf or baby kale varieties are ideal for limited space.
- Mesclun mixes: Combine multiple microgreens for variety and fast harvest.
Starting with organic seeds ensures your greens are truly chemical-free and supports sustainable practices.
Preparing Organic Soil
Healthy soil is the foundation of successful window-box gardening. Your soil mix should:
- Be lightweight and well-draining
- Contain nutrient-rich organic matter
- Retain moisture without becoming soggy
A good mix can include:
- 50% organic potting soil
- 30% compost for nutrients
- 20% coconut coir or perlite for aeration and moisture retention
Avoid garden soil from the ground, as it may compact in shallow boxes and carry pests or diseases.
Planting Your Salad Greens
Once your window box is ready, you can start planting:
- Sow seeds directly into the soil at the recommended depth (usually ¼–½ inch).
- Thin seedlings once they sprout to avoid overcrowding, giving each plant enough space to grow. Typical spacing for leaf lettuce and spinach is 2–3 inches apart.
- Plant in succession every 2–3 weeks to ensure continuous harvest throughout the season.
For smaller greens like arugula or microgreens, planting closer together is fine, as you’ll harvest leaves early before plants mature fully.
Light Requirements
Salad greens need adequate sunlight to thrive:
- Full sun: 4–6 hours per day is ideal for lettuce, spinach, and kale.
- Partial shade: Arugula, mesclun mixes, and some leafy greens tolerate 2–4 hours of sunlight.
If your window faces north or receives limited sunlight, consider supplementing with LED grow lights to encourage healthy growth and prevent leggy plants.
Watering Your Window Box
Consistent watering is key for tender, juicy greens. Tips include:
- Water evenly and regularly, keeping soil moist but not waterlogged.
- Check soil daily, as window boxes dry faster than ground beds, especially in hot or windy conditions.
- Water in the morning to reduce evaporation and give leaves time to dry, lowering the risk of fungal diseases.
Tip: Adding mulch or a thin layer of straw helps retain moisture and cools the soil during hot months.
Organic Fertilization
Even with compost-rich soil, your salad greens may benefit from extra nutrients, especially in small containers.
- Use liquid organic fertilizers such as seaweed extract, fish emulsion, or compost tea every 2–3 weeks.
- Avoid chemical fertilizers, which can accumulate in shallow soil and affect flavor.
- Rotate nutrient sources to ensure a balanced supply of nitrogen, phosphorus, and potassium, promoting lush leafy growth.
Healthy leaves are not only more flavorful but also more resistant to pests and disease.
Managing Pests and Diseases Organically
Window boxes reduce some garden pests, but leafy greens are still vulnerable to:
- Aphids – Spray with water or neem oil.
- Slugs and snails – Use crushed eggshells or copper tape around the box edges.
- Powdery mildew – Ensure proper spacing and airflow; remove affected leaves.
Regular inspection allows you to act early, preventing infestations from spreading.
Harvesting Your Greens
One of the best parts of growing salad greens is harvesting:
- Cut-and-come-again method: Harvest outer leaves first, leaving the inner leaves to continue growing.
- Microgreens: Harvest tiny seedlings 2–3 weeks after sowing for nutrient-dense greens.
- Timing: Pick in the morning for the freshest flavor and maximum crispness.
With proper care, a single window box can provide weeks of continuous harvest, keeping your salad bowls fresh and abundant.
Seasonal Considerations
Salad greens grow best in cooler temperatures (50–70°F / 10–21°C). In hot summer months, some greens may bolt quickly and become bitter. To extend your growing season:
- Provide partial shade in intense sun.
- Use succession planting to replace bolting plants with new seedlings.
- Consider cold frames or frost covers in winter for hardy greens like kale and spinach.
By planning carefully, you can enjoy fresh salad greens almost year-round.
Creative Tips for Window-Box Gardening
To make the most of your small space and boost productivity:
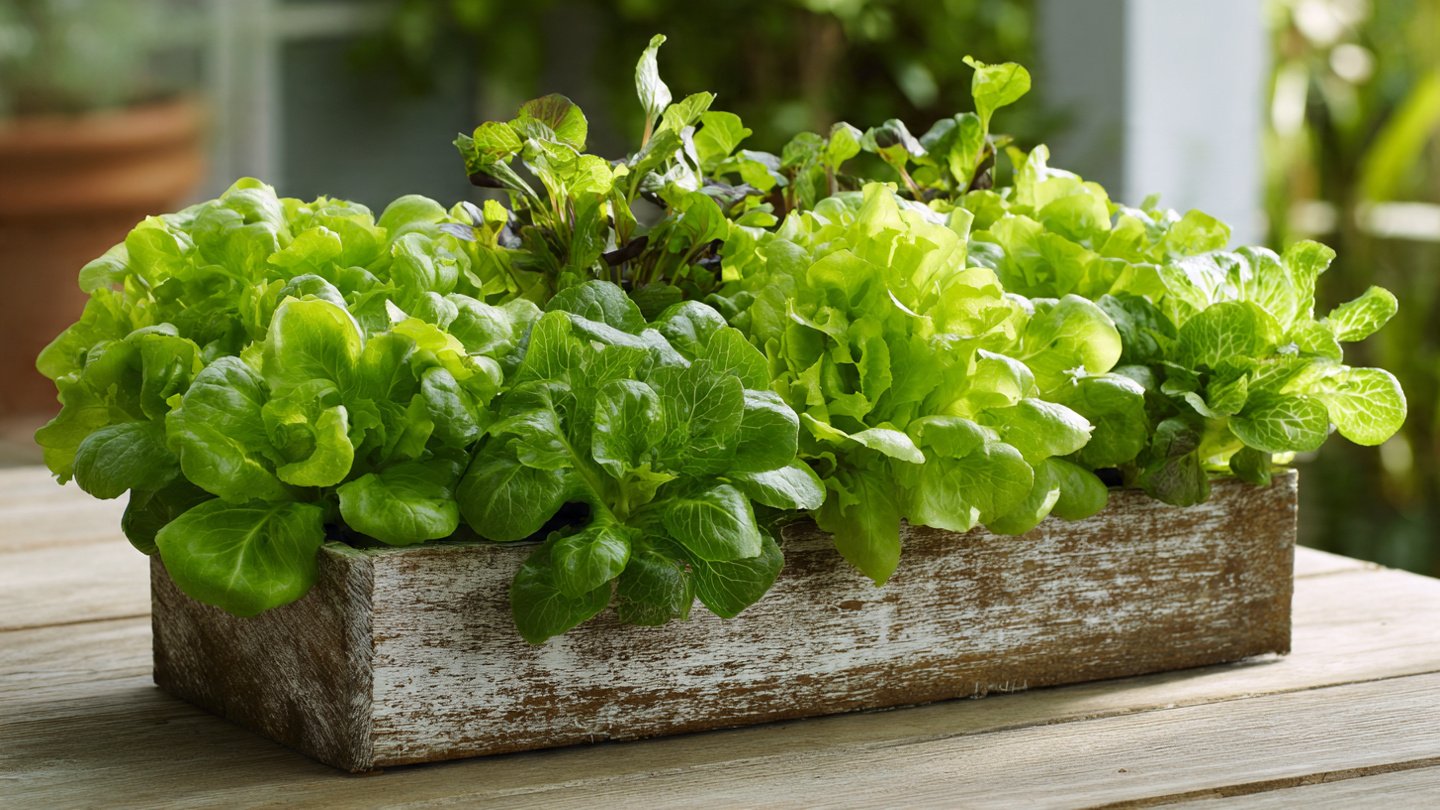
- Mix colors and textures—combine lettuce, arugula, and baby kale for a visually appealing salad box.
- Use vertical space—attach small trellises or netting to grow climbing greens like sugar snap peas alongside your salad box.
- Reuse kitchen scraps—add composted veggie scraps to your soil mix for additional nutrients.
- Rotate crops—plant different greens in each season to reduce disease risk and maintain soil fertility.
A well-designed window box is both functional and decorative, adding beauty and freshness to your home.
Conclusion
Growing your own organic salad greens in a window box is an achievable and rewarding endeavor. By choosing the right container, planting nutrient-rich soil, selecting suitable varieties, and maintaining consistent care, even gardeners with limited space can enjoy crisp, flavorful, chemical-free greens.
Beyond nutrition and convenience, this practice promotes sustainable living, reduces waste, and allows you to reconnect with the food you eat. From balcony novices to seasoned gardeners, window-box salad greens offer a delightful way to bring nature, freshness, and creativity directly to your home.
With patience, proper planning, and regular attention, your window box can become a year-round source of fresh, organic salad greens, transforming a simple ledge into a thriving, healthy garden.