Chickpeas might seem like a crop reserved for wide-open farms or experienced gardeners, but the truth is surprisingly encouraging: you can grow chickpeas successfully in a simple garden pot, even with limited space. With the right preparation, a bit of patience, and an understanding of how chickpeas grow, your balcony, patio, or backyard corner can produce a rewarding harvest of these nutritious legumes.
Growing chickpeas in pots isn’t just practical—it’s satisfying. From watching the delicate seedlings emerge to harvesting pods you raised yourself, the process connects you more closely to your food. Let’s walk step by step through everything you need to know to grow chickpeas successfully in a container.
Understanding Chickpeas and Their Needs
Chickpeas, also known as garbanzo beans, are cool-season legumes that prefer mild temperatures and plenty of sunlight. They grow as bushy plants, typically reaching 12 to 24 inches tall. Unlike climbing beans, chickpeas don’t need trellises, which makes them especially suitable for pots.
They also have a unique advantage: chickpeas fix nitrogen in the soil. This means they improve soil fertility by working with beneficial bacteria in their roots. While this doesn’t eliminate the need for good soil, it does mean they’re less demanding than many other vegetables.
Choosing the Right Pot
The success of potted chickpeas starts with the container. Chickpeas develop a moderately deep root system, so shallow pots won’t work well.
Choose a pot that is:
- At least 10–12 inches deep
- 10–14 inches wide per plant
- Equipped with drainage holes
Clay pots are excellent because they allow excess moisture to evaporate, reducing the risk of root rot. Plastic pots also work well, especially in hotter climates where moisture retention is helpful. If space is limited, a large grow bag or bucket with drainage holes can be a practical alternative.
Selecting Quality Chickpea Seeds
Not all chickpeas are the same. For pot gardening, choose seeds specifically sold for planting rather than dried chickpeas from the grocery store. Planting seeds are more likely to germinate and are disease-free.
There are two main types:
- Desi chickpeas: Smaller, darker, and more tolerant of heat and drought
- Kabuli chickpeas: Larger, lighter-colored, and commonly used in cooking
Both types grow well in containers, but desi varieties are often more forgiving for beginners.
Preparing the Ideal Soil Mix
Chickpeas thrive in loose, well-draining soil. Heavy or compacted soil can stunt growth and encourage disease.
A good potting mix for chickpeas includes:
- High-quality potting soil
- Compost or well-rotted manure (about 20–30%)
- A handful of sand or perlite for drainage
Avoid soil mixes that retain too much water. Chickpeas dislike soggy roots and perform best in soil that stays lightly moist but never waterlogged.
Before planting, lightly moisten the soil so it’s evenly damp but not wet.
Planting Chickpeas in a Pot
Planting chickpeas is simple, but spacing matters.
- Soak seeds in water for 8–12 hours before planting to speed up germination.
- Fill the pot with soil, leaving about an inch of space at the top.
- Plant seeds about 1–2 inches deep.
- Space seeds at least 3–4 inches apart if planting more than one in a large pot.
- Cover gently with soil and water lightly.
Place the pot in a sunny location immediately after planting.
Sunlight Requirements
Chickpeas need full sun to thrive. Aim for at least 6–8 hours of direct sunlight daily. A sunny balcony, rooftop, or south-facing patio is ideal.
If your plant doesn’t get enough light, it may grow leggy, produce fewer flowers, and yield fewer pods. If natural sunlight is limited, supplemental grow lights can help, especially during early growth stages.
Watering the Right Way
Proper watering is one of the most important factors in successful chickpea growth.
- Water gently after planting and keep soil slightly moist during germination.
- Once established, water deeply but less frequently.
- Allow the top inch of soil to dry between waterings.
Overwatering is a common mistake. Too much moisture can cause root rot or fungal diseases. Chickpeas are relatively drought-tolerant once mature, so it’s better to underwater slightly than to overdo it.
Fertilizing: Less Is More
Because chickpeas fix nitrogen, they don’t need heavy fertilization. In fact, too much nitrogen can result in lush foliage but poor pod production.
If your soil mix includes compost, that may be enough. If you choose to fertilize:
- Use a balanced, low-nitrogen organic fertilizer
- Apply once at flowering stage
- Avoid frequent feeding
Healthy soil does most of the work for chickpeas.
Supporting Healthy Growth
Chickpea plants are generally sturdy, but container-grown plants may benefit from light support, especially in windy areas. A small stick or bamboo skewer can help keep the plant upright without restricting growth.
Keep an eye on weeds, even in pots. Remove them early so they don’t compete for nutrients and water.
Managing Pests and Diseases
Chickpeas grown in pots face fewer pest problems than those in the ground, but issues can still arise.
Common pests include aphids and leaf miners. These can often be controlled by:
- Spraying leaves with water to dislodge insects
- Using neem oil or mild soapy water
- Encouraging beneficial insects
Good air circulation and proper watering help prevent fungal diseases. Avoid wetting the leaves frequently, and remove any yellow or diseased foliage promptly.
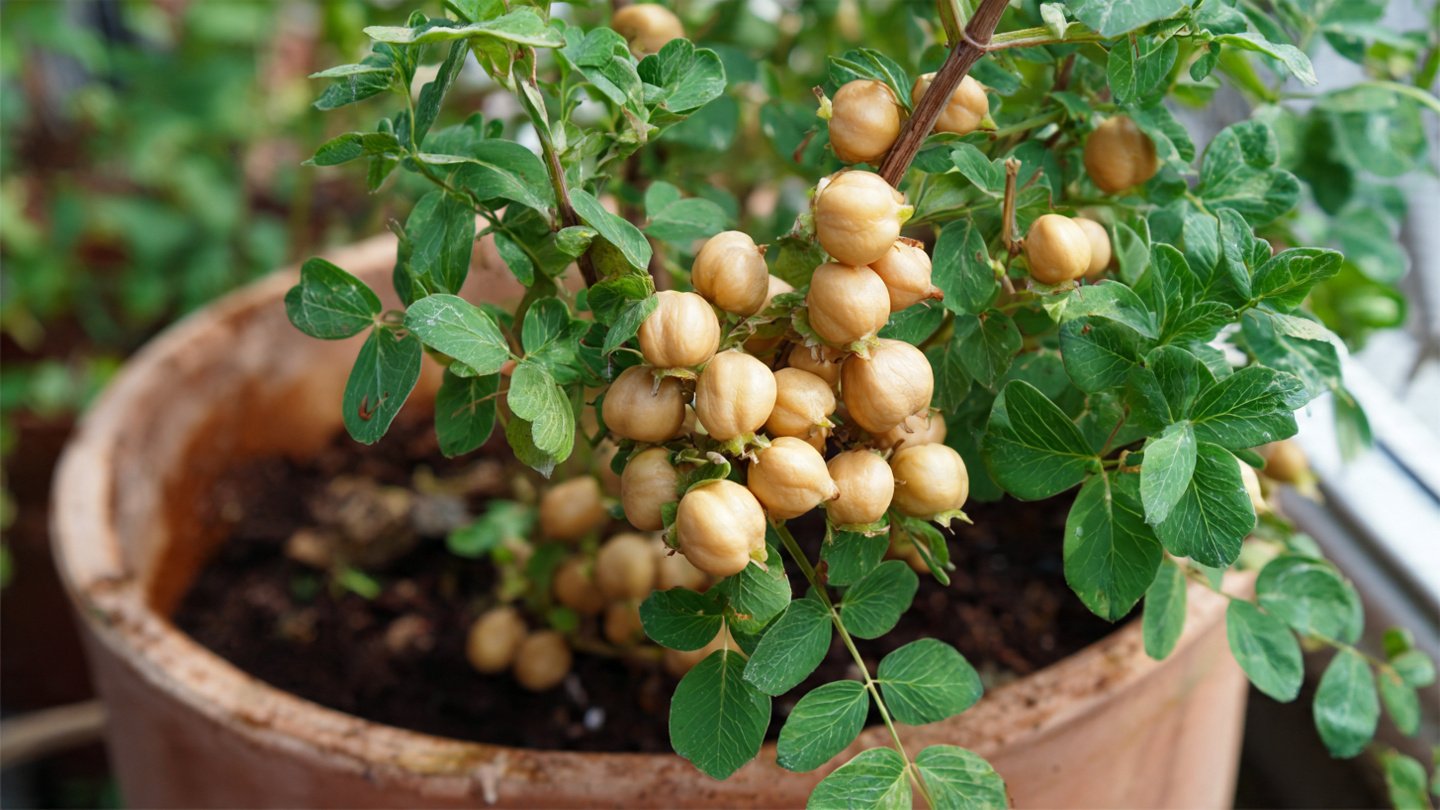
Flowering and Pod Development
About 40–50 days after planting, chickpea plants begin to flower. Small, delicate white or pink blossoms appear, followed by green pods. Each pod usually contains one or two chickpeas.
This stage requires patience. Continue regular watering and avoid disturbing the plant. Stress during flowering can reduce yields.
Knowing When to Harvest
Chickpeas can be harvested in two ways:
- Green chickpeas: Harvest when pods are still green and tender. These are fresh, sweet, and can be eaten like edamame.
- Dry chickpeas: Allow pods to turn brown and dry completely on the plant. This takes around 90–110 days from planting.
For dry harvest, stop watering once most pods begin to dry. When the plant is fully dry, pull it out and shell the pods. Allow the chickpeas to dry further before storage.
Storing Your Harvest
Store dried chickpeas in airtight containers in a cool, dry place. Properly dried chickpeas can last for months and even up to a year. For seeds, choose the healthiest beans and store them separately for next season.
Why Growing Chickpeas in Pots Is Worth It
Growing chickpeas in a simple garden pot proves that you don’t need acres of land to produce meaningful food. It teaches patience, observation, and the value of working with nature instead of against it.
With minimal input and a little daily care, a humble pot can provide protein-rich food, improve your gardening skills, and give you a deeper appreciation for where your meals come from. Whether you’re a beginner gardener or someone experimenting with container crops, chickpeas are a rewarding and achievable choice.
In the end, success comes down to sunlight, well-drained soil, thoughtful watering, and time. Give your chickpeas what they need, and they’ll quietly return the favor—one pod at a time.