Garlic, often called the “king of herbs,” is a kitchen essential that adds flavor, aroma, and health benefits to countless dishes. It’s packed with antioxidants, supports the immune system, and even has natural antibacterial and antifungal properties. While garlic is readily available at grocery stores, growing your own at home is not only easy but also incredibly rewarding.
Even better, you can grow unlimited garlic from just a single clove. This simple, beginner-friendly gardening trick allows you to create a continuous supply of fresh garlic without ever having to buy more seeds. In this guide, we’ll walk you through the step-by-step process to grow garlic at home, from planting a single clove to harvesting and multiplying your crop.
Why Grow Garlic at Home?
Before diving into the planting process, let’s explore why homegrown garlic is a smart choice:
- Freshness and Flavor: Homegrown garlic is fresher, more aromatic, and stronger in flavor than store-bought bulbs.
- Cost-Effective: One clove can multiply into dozens, saving money over time.
- Chemical-Free: You control what goes into your soil and plants, avoiding pesticides and preservatives.
- Easy to Grow: Garlic is low-maintenance and requires minimal effort, making it perfect for beginners.
- Year-Round Supply: With proper care, you can stagger plantings to enjoy garlic all year.
Step 1: Choose the Right Garlic Clove
Garlic comes in two main types: hardneck and softneck.
- Hardneck Garlic: Produces a flowering stalk called a scape, grows well in colder climates, and has robust flavor.
- Softneck Garlic: Stays milder in flavor, stores longer, and is often preferred for warmer climates.
For home gardening beginners, either type works well. Choose a large, healthy clove from a disease-free bulb. Avoid small or damaged cloves, as they may produce weak plants.
Step 2: Prepare the Clove
Preparing the clove properly ensures fast germination and healthy growth:
- Separate the Cloves: Break the garlic bulb carefully into individual cloves, keeping the papery skin intact.
- Select the Largest Clove: Planting the largest clove will result in a stronger, more productive garlic plant.
- Avoid Damaging the Base: The basal plate at the bottom of the clove is where roots will grow. Handle gently.
Step 3: Choose the Right Planting Spot
Garlic prefers sunny locations with at least 6–8 hours of direct sunlight per day.
- Soil: Loose, well-draining soil rich in organic matter is ideal. Garlic doesn’t like waterlogged soil, which can cause rot.
- Containers: If you don’t have a garden bed, garlic grows perfectly in pots or raised beds. A 10–12 inch deep container works best.
Step 4: Plant the Garlic Clove
Planting garlic is simple and fast:
- Soil Preparation: Loosen the soil and mix in compost or well-rotted manure to boost fertility.
- Plant Depth: Push the clove into the soil 2–3 inches deep, with the pointed tip facing upward.
- Spacing: Place cloves 4–6 inches apart to allow enough space for bulbs to grow.
- Watering: Water lightly after planting to settle the soil. Avoid overwatering at this stage.
Step 5: Care for Garlic Plants
Garlic is low-maintenance but benefits from proper care:
1. Watering
- Keep the soil evenly moist, especially during the first few weeks as roots develop.
- Reduce watering as the bulb matures to prevent rot.
2. Mulching
- Apply a 2–3 inch layer of straw, dried leaves, or grass clippings around the cloves.
- Mulching helps retain moisture, suppress weeds, and keeps soil temperature consistent.
3. Fertilization
- Use organic fertilizers like compost tea or balanced NPK fertilizer once every 4–6 weeks.
- Avoid excessive nitrogen, which encourages leafy growth instead of bulb development.
4. Sunlight
- Ensure garlic receives at least 6 hours of sunlight daily.
- In shaded spots, the plant may grow slowly and produce smaller bulbs.
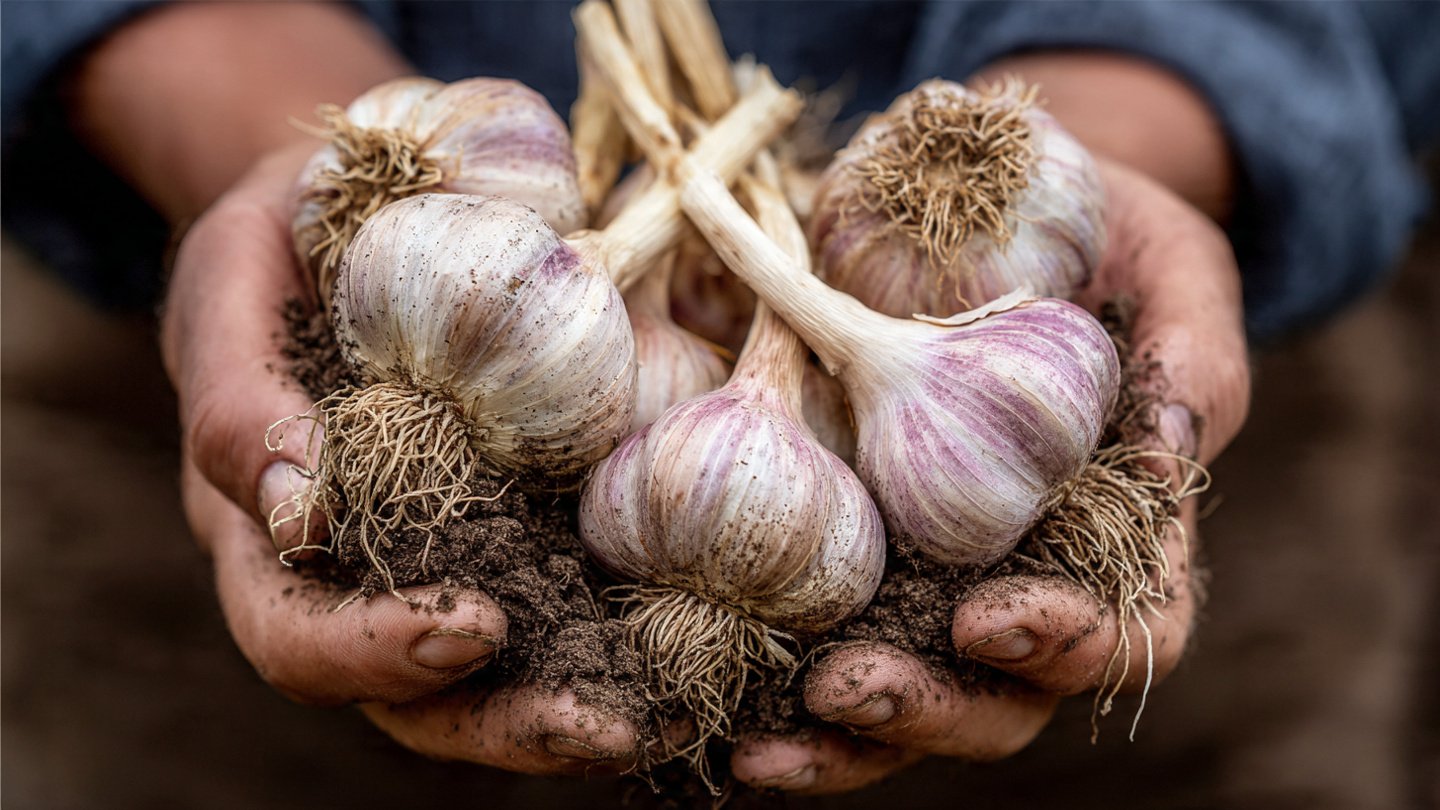
Step 6: Harvesting Garlic
Garlic is typically ready for harvest 7–9 months after planting, depending on the variety and growing conditions.
- Signs of Readiness: Leaves will start to turn yellow and begin to dry out.
- Harvest Technique: Carefully dig around the bulb with a garden fork, lifting the entire plant.
- Curing: Brush off excess soil and let the bulbs dry in a shaded, airy location for 2–3 weeks. This curing process improves storage life and flavor.
Step 7: Multiplying Your Garlic Supply
The best part of this method is unlimited propagation from a single clove:
- Save the Best Bulbs: Select healthy, large bulbs from your first harvest.
- Separate Cloves: Break them apart and use each clove to plant a new batch.
- Continuous Cycle: With proper timing, you can stagger plantings every few months for a continuous supply of fresh garlic.
This simple cycle means one clove today can supply you with dozens of bulbs in the next year, making it the easiest gardening trick for beginners.
Tips for Fast and Healthy Growth
- Choose Large Cloves: Bigger cloves produce bigger bulbs faster.
- Avoid Waterlogging: Garlic is prone to rot if soil stays soggy.
- Remove Flower Stalks (Optional): If growing hardneck garlic, cutting off flower stalks early allows the plant to focus energy on bulb growth.
- Use Companion Plants: Plant garlic near tomatoes, roses, or peppers to repel pests naturally.
- Rotate Crops: Avoid planting garlic in the same soil consecutively to prevent disease buildup.
Advantages of Homegrown Garlic
- Better Taste: Fresh garlic from your garden is pungent and aromatic.
- Chemical-Free: You control fertilizers and pesticides.
- Cost-Effective: One clove can multiply into dozens, reducing grocery bills.
- Health Benefits: Garlic’s antioxidants and nutrients are maximized when fresh.
- Sustainable Gardening: Growing at home reduces packaging waste and transportation impact.
Common Mistakes to Avoid
- Planting Cloves Upside Down: Always plant the pointed end upward.
- Overcrowding: Garlic needs space to form large bulbs. Plant 4–6 inches apart.
- Excess Water: Too much water can cause rot or fungal diseases.
- Ignoring Sunlight: Garlic bulbs need sunlight for strong growth.
- Neglecting Mulch: Mulching helps maintain moisture and keeps weeds away.
Conclusion
Growing garlic at home is one of the simplest, most rewarding gardening experiences, especially for beginners. Using just one clove, you can start a cycle of planting, harvesting, and multiplying to enjoy a virtually unlimited supply of fresh, aromatic garlic.
By following this easy method:
- Choose a healthy clove and plant in well-draining soil.
- Water, mulch, and fertilize properly to encourage strong growth.
- Harvest at the right time and cure the bulbs for long-term storage.
- Multiply your harvest by using cloves from each crop for continuous planting.
Whether you have a small balcony, garden bed, or raised container garden, garlic is a perfect choice for home gardeners seeking low-maintenance, high-reward crops. This simple trick ensures you’ll never run out of fresh garlic while enjoying the satisfaction of growing your own food.
Start with one clove today, and in months, you’ll have a thriving garlic garden that keeps on giving—healthy, flavorful, and completely homegrown!