Ginger is one of the most versatile and aromatic plants you can grow at home. Known for its culinary, medicinal, and health benefits, fresh ginger elevates the flavor of dishes, teas, and smoothies. While many people purchase ginger from the store, growing your own ginger at home is surprisingly easy, even for beginners. With the right soil, containers, and care, you can harvest big, fresh ginger rhizomes right from your kitchen or garden. This guide walks you through the entire process, step by step.
Why Grow Ginger at Home?
Homegrown ginger offers several advantages:
- Freshness and flavor: Nothing compares to freshly harvested ginger in taste and aroma.
- Cost-effective: Store-bought ginger can be expensive, and growing your own ensures a constant supply.
- Pesticide-free: You control what goes into the soil, so your ginger is organic and safe.
- Decorative plant: Ginger’s lush green foliage and unique growth habit add beauty to gardens and indoor spaces.
For beginners, ginger is a forgiving plant that thrives in warm, humid conditions and does not require complicated maintenance.
Understanding Ginger
Before planting, it helps to know the basics of ginger:
- Botanical name: Zingiber officinale
- Plant type: Perennial rhizome
- Preferred climate: Warm, tropical, or subtropical
- Growth habit: Grows from rhizomes underground, producing green shoots above ground
- Harvest time: Typically 8–10 months for mature rhizomes
Unlike many plants, ginger grows underground, so the rhizomes are the edible part. Healthy leaves indicate the rhizomes are developing well beneath the soil.
Choosing the Right Ginger Rhizome
The key to a successful harvest starts with the right planting material:
- Select plump, firm ginger pieces with visible “eyes” or buds.
- Avoid shrivelled, dry, or moldy rhizomes, as they may fail to sprout.
- You can use store-bought ginger if it’s fresh and hasn’t been treated with growth inhibitors.
- For best results, cut larger rhizomes into 2–3 inch pieces, each with at least one eye.
By choosing healthy rhizomes, you maximize the chances of vigorous growth and large harvests.
Preparing the Rhizomes
Before planting, prepare your ginger pieces carefully:
- Soak in warm water for 24 hours to stimulate sprouting.
- Optionally, you can treat with natural fungicide, like cinnamon powder, to reduce the risk of rot.
- Let the rhizomes dry slightly before planting to prevent excess moisture from causing mold.
Prepared rhizomes are more likely to sprout quickly and develop strong roots.
Choosing the Right Container or Garden Spot
Ginger can be grown in-ground or in containers, making it flexible for any home gardener:
- Containers: Use wide and shallow pots at least 12 inches deep. Wide containers allow the rhizomes to spread naturally.
- Garden beds: Choose well-drained soil with organic matter, in a partially shaded or sunny spot.
- Drainage: Ensure the soil or container allows excess water to drain to prevent root rot.
Container gardening is perfect for beginners, as it allows better control over water, soil, and sunlight.
Planting Ginger
Planting ginger is simple:
- Place the rhizome horizontal, eyes facing upward, just 1–2 inches below the soil surface.
- Space multiple pieces 6–8 inches apart to give each rhizome room to expand.
- Cover with nutrient-rich soil or compost, leaving the tip slightly exposed.
- Water lightly to settle the soil without making it soggy.
Ginger grows slowly at first, so patience is key. Within a few weeks, green shoots emerge, signaling that your plant is thriving.
Soil and Fertilization
Ginger prefers loose, rich, and well-draining soil:
- Mix garden soil with compost, aged manure, or coconut coir to improve fertility.
- pH level: Ideal soil pH is 5.5–6.5 for optimal growth.
- Fertilize every 3–4 weeks with a balanced organic fertilizer or fish emulsion once the shoots are established.
Healthy soil encourages larger rhizomes and vigorous foliage, directly impacting your harvest.
Watering and Sunlight
Proper water and light are essential for homegrown ginger:
- Watering: Keep soil consistently moist, especially during the active growing season. Avoid overwatering, as it can lead to rot.
- Sunlight: Ginger prefers partial to full sun, about 4–6 hours of sunlight daily. Indoors, place near a bright window.
Consistent moisture and light ensure rapid leaf growth, which supports underground rhizome development.
Mulching
Mulching helps retain moisture, suppress weeds, and maintain soil temperature:
- Use straw, dried leaves, or grass clippings around the base of ginger.
- Keep mulch slightly away from shoots to prevent rot.
- Replenish mulch periodically as it decomposes.
Mulching mimics ginger’s natural environment and promotes big, healthy rhizome growth.
Pest and Disease Management
Ginger is generally low-maintenance, but some issues may arise:
- Rhizome rot: Prevent by ensuring proper drainage and avoiding waterlogging.
- Aphids or mites: Spray with neem oil or soapy water.
- Fungal diseases: Maintain good airflow and remove affected leaves promptly.
Healthy plants produce more and larger rhizomes, so early intervention is key.
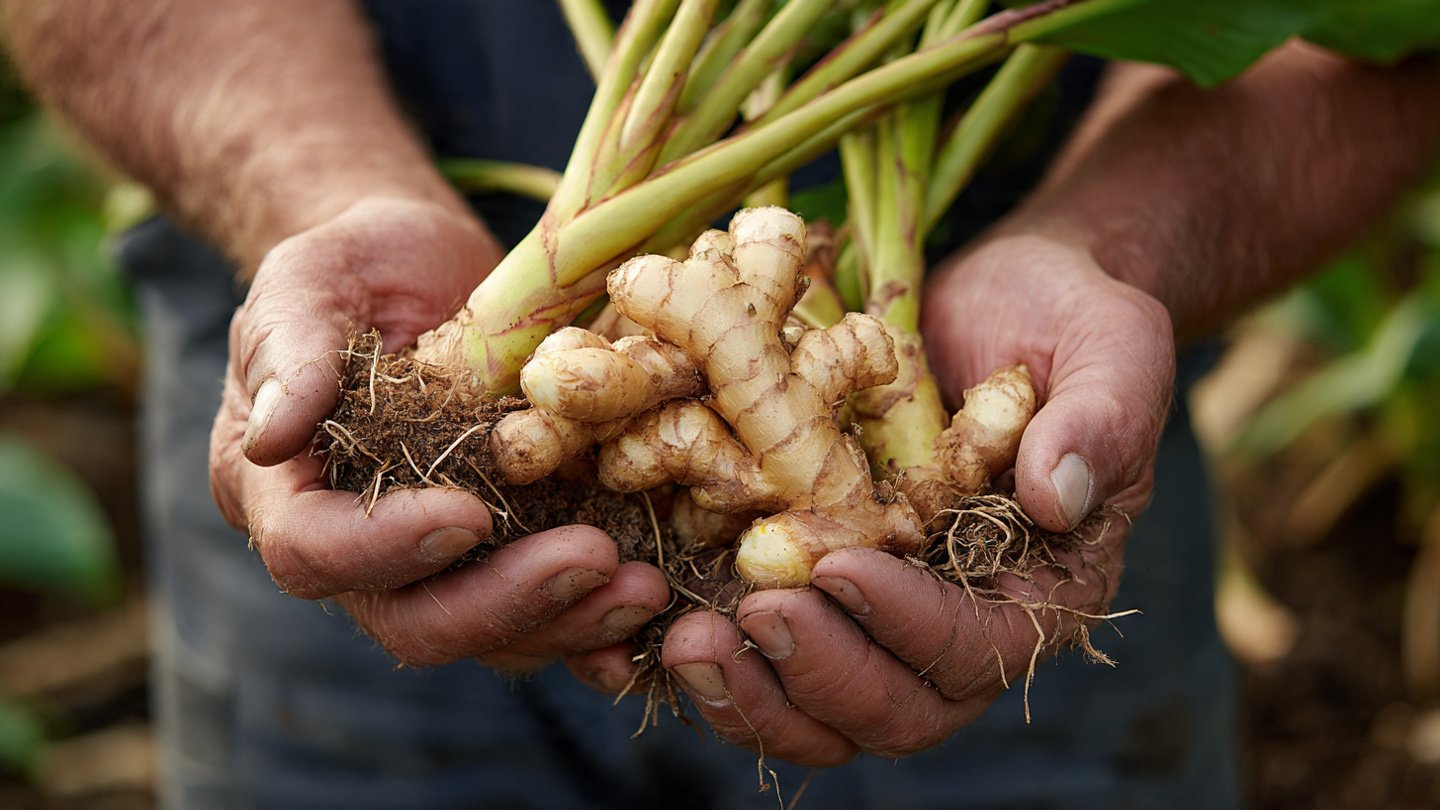
Harvesting Ginger
Knowing when to harvest is crucial for maximum yield and flavor:
- Young ginger: Harvest after 4–6 months for tender, aromatic rhizomes.
- Mature ginger: Wait 8–10 months for larger, fully developed rhizomes.
- To harvest, carefully dig around the base and lift rhizomes without damaging the plant.
- You can replant a portion to continue growing for another season.
Homegrown ginger is fresher, juicier, and more flavorful than store-bought, making it ideal for cooking, teas, and natural remedies.
Tips for a Big, Fresh Harvest
- Start with multiple rhizomes to increase yield.
- Keep soil fertile with regular compost and organic fertilizers.
- Ensure partial sunlight and protection from harsh midday sun in hot climates.
- Water consistently but avoid soggy soil.
- Mulch generously to maintain moisture and warmth.
- Harvest gradually so the plant continues producing new rhizomes.
- Rotate containers or beds occasionally to avoid soil depletion.
Following these simple steps ensures a bountiful harvest of fresh, healthy ginger.
Bonus: Using Homegrown Ginger
Fresh ginger has endless uses:
- Culinary: Stir-fries, soups, curries, and baked goods
- Tea and beverages: Ginger tea, smoothies, and juices
- Medicinal: Digestive aid, immune booster, anti-inflammatory properties
- Preservation: Candied ginger, pickled ginger, and homemade powders
Growing your own ginger guarantees a fresh, chemical-free supply for all these purposes.
Conclusion
Growing ginger at home is beginner-friendly, rewarding, and cost-effective. With the right rhizomes, soil, watering, and care, even first-time gardeners can achieve big, fresh harvests.
Key takeaways:
- Choose healthy, plump rhizomes with visible eyes.
- Use loose, nutrient-rich soil and containers with drainage.
- Plant rhizomes horizontally and water lightly.
- Ensure partial sunlight, consistent moisture, and proper mulching.
- Monitor for pests and diseases to maintain plant health.
- Be patient—harvest young ginger at 4–6 months, mature rhizomes at 8–10 months.
By following this guide, you can enjoy fresh, flavorful ginger year-round, while experiencing the satisfaction of growing one of the most versatile and aromatic plants right in your home garden.