Garlic is one of the most beloved and versatile crops for home gardeners. Its pungent flavor enhances countless dishes, from sauces and soups to roasted vegetables and marinades. Beyond its culinary uses, garlic is valued for its health benefits, including antibacterial, antiviral, and immune-boosting properties. While garlic is generally easy to grow, traditional methods can be slow, with long maturation times and modest yields. However, with a simple breeding and care method, you can accelerate growth, achieve bigger bulbs, and enjoy early harvests that bring fresh garlic to your table faster than ever.
Why Grow Garlic at Home?
Homegrown garlic offers several advantages over store-bought varieties:
- Superior Flavor: Freshly harvested garlic has a more robust and aromatic flavor than supermarket bulbs.
- Cost Savings: Growing garlic yourself reduces grocery expenses, especially if you consume it regularly.
- Chemical-Free: Home cultivation ensures no harmful chemicals or preservatives are used.
- Custom Varieties: By using selective breeding, you can develop garlic plants suited to your climate, soil, and flavor preferences.
Understanding Garlic Growth
Garlic is typically grown from cloves, each capable of producing a whole new bulb. Planting in well-prepared soil, providing consistent care, and using techniques to encourage robust growth can lead to larger, faster-maturing bulbs. Two key factors influence garlic growth:
- Genetics: Selecting the healthiest and largest cloves from previous harvests ensures strong offspring.
- Environment: Sunlight, soil fertility, watering, and temperature play major roles in determining speed and bulb size.
Step 1: Select the Right Garlic Varieties
Choosing the right variety is crucial for fast growth and big bulbs. There are two main types of garlic:
- Softneck Garlic: Ideal for warmer climates. Produces multiple cloves per bulb and is suitable for braiding.
- Hardneck Garlic: Thrives in colder climates. Produces fewer but larger cloves and often has a more intense flavor.
For quick and early harvests, select varieties known for rapid growth, such as ‘California Early,’ ‘Creole,’ or ‘Inchelium Red.’ Using top-quality, disease-free cloves from reputable suppliers or your previous harvest is essential.
Tip: Avoid using grocery store garlic for planting, as it may be treated to prevent sprouting or carry diseases.
Step 2: Prepare Soil for Maximum Growth
Garlic prefers fertile, loose, well-draining soil with a slightly acidic to neutral pH (6.0–7.0). Preparing the soil properly can dramatically accelerate growth.
Steps to Prepare Soil:
- Remove weeds and debris from your planting area.
- Incorporate organic matter such as compost, well-rotted manure, or worm castings.
- Loosen soil to a depth of 8–10 inches to allow root expansion.
- Add balanced organic fertilizer rich in nitrogen for initial leaf growth.
Tip: Garlic roots grow best in loose soil, so avoid compacted areas that hinder nutrient absorption.
Step 3: Use the Simple Breeding Method
One of the most effective ways to grow garlic faster is through selective breeding. This method involves choosing the largest and healthiest cloves from previous harvests for replanting. Over successive generations, this encourages stronger, more vigorous plants with larger bulbs and earlier maturation.
How to Implement:
- After harvesting garlic, select bulbs with the largest cloves and no signs of disease.
- Separate the cloves carefully, keeping their skins intact.
- Plant only the healthiest cloves in your prepared soil.
Tip: Label the cloves by size or origin to track which ones produce the best results for future plantings.
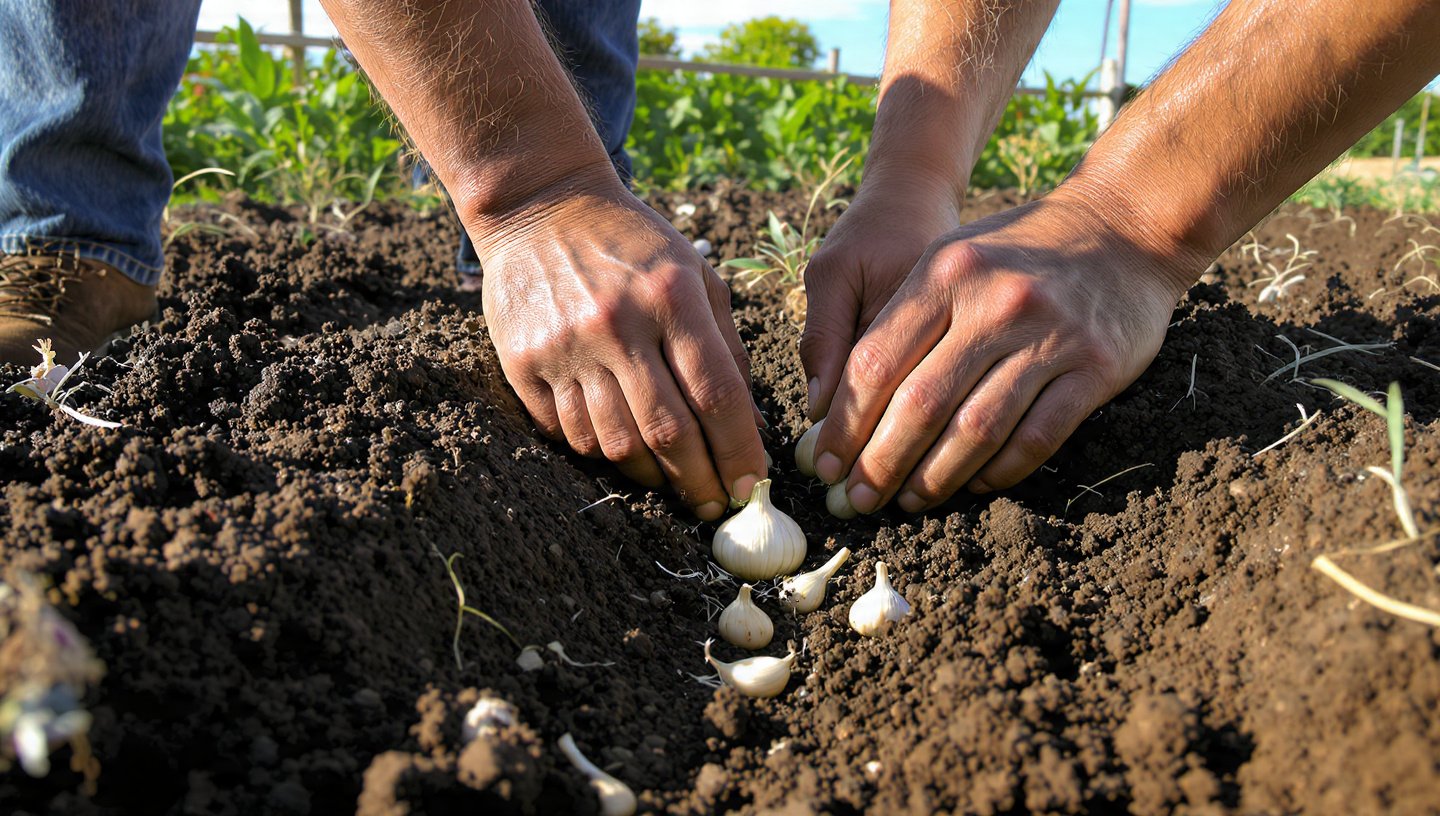
Step 4: Planting Garlic Correctly
Proper planting depth and spacing ensure rapid growth and larger bulbs.
- Depth: Plant cloves 1.5–2 inches deep with the pointed end facing up.
- Spacing: Maintain 4–6 inches between cloves and 12–18 inches between rows to allow sufficient airflow and root development.
- Timing: In most climates, garlic is best planted in the fall for winter growth, or in early spring for summer harvests.
Tip: Mulch your planting bed with straw or leaves to retain moisture, regulate soil temperature, and prevent weeds.
Step 5: Provide Adequate Sunlight
Garlic requires at least 6–8 hours of sunlight per day. Sunlight is essential for photosynthesis, which fuels leaf and bulb development. Containers, raised beds, or garden rows should be positioned in the sunniest part of your space.
Tip: Rotate containers or planting areas if sunlight exposure is uneven to ensure uniform growth.
Step 6: Watering for Speedy Growth
Consistent watering encourages rapid leaf growth, which translates into faster bulb formation. Garlic prefers evenly moist soil but does not tolerate waterlogged conditions.
Watering Guidelines:
- Water deeply once or twice a week, depending on rainfall and temperature.
- Reduce watering as the bulb matures to prevent rot.
- Mulch helps retain moisture, reducing the frequency of watering.
Tip: Avoid overhead watering during humid weather to minimize fungal diseases.
Step 7: Fertilization for Big Bulbs
Feeding garlic at the right time promotes faster growth and larger bulbs. Nitrogen is particularly important during early stages for leaf development, which directly influences bulb size.
Fertilization Schedule:
- Apply nitrogen-rich organic fertilizer 3–4 weeks after planting.
- Side-dress with compost or worm castings midway through the season.
- Stop heavy feeding 4–6 weeks before harvest to allow bulbs to mature properly.
Tip: Over-fertilizing late in the season can cause leafy growth instead of bulb formation.
Step 8: Weed Control
Weeds compete with garlic for nutrients, water, and sunlight. Keeping your garlic bed weed-free accelerates growth.
Tips:
- Hand-pull weeds regularly.
- Apply organic mulch to suppress weed growth naturally.
- Avoid chemical herbicides that may harm garlic roots.
Step 9: Early Harvest Indicators
Knowing when to harvest ensures maximum size and flavor. Garlic is typically ready when the lower leaves turn brown while the upper leaves remain green.
Harvest Tips:
- Loosen soil carefully with a garden fork to avoid bruising bulbs.
- Allow bulbs to cure in a dry, shaded area for 2–3 weeks before storage.
- Store garlic in a cool, dry place for long-term use.
Tip: Hardneck varieties often mature earlier than softneck varieties, so check frequently for the first signs of readiness.
Step 10: Continuous Improvement
Using the simple breeding method allows you to continuously improve your garlic crop:
- Keep records of which cloves produced the largest bulbs and fastest growth.
- Replant top-performing cloves each season.
- Experiment with different soil amendments and watering schedules to find the optimal growth conditions.
Additional Tips for Faster, Bigger Garlic
- Companion Planting: Plant garlic alongside carrots, lettuce, or tomatoes to improve growth and deter pests.
- Raised Beds or Containers: Improve soil warmth and drainage for faster development.
- Temperature Management: Garlic grows faster in mild, cool conditions, so fall or early spring planting is ideal in most regions.
- Pest Management: Keep an eye out for onion flies or aphids and use organic controls like neem oil or insecticidal soap.
Conclusion
Growing garlic faster, bigger, and earlier is entirely achievable with a few simple strategies. By selecting the best cloves, preparing fertile soil, planting correctly, maintaining proper watering and sunlight, and following the simple breeding method, you can significantly reduce maturation time while increasing bulb size and yield. Not only does this provide a continuous supply of fresh, flavorful garlic for your kitchen, but it also adds a rewarding and sustainable element to your gardening routine.
With consistent care and a focus on selective breeding, your garlic harvests can become larger, earlier, and more reliable each season. Start today by choosing healthy cloves, preparing your soil, and implementing these straightforward techniques, and you’ll soon enjoy the satisfaction of homegrown garlic thriving faster than ever before.