Chickpeas, also known as garbanzo beans, are a versatile and nutritious legume loved around the world. They are rich in protein, fiber, vitamins, and minerals, making them a staple in vegetarian and vegan diets. While you can easily buy canned or dried chickpeas, growing them at home ensures a fresh, chemical-free harvest and adds a rewarding touch to your garden or even balcony. With a few simple steps, anyone can cultivate chickpeas and enjoy their health benefits right from home. This guide walks you through the process from seed to harvest.
1. Understanding Chickpeas and Their Benefits
Before planting, it’s helpful to know why chickpeas are worth growing:
- Nutritional Powerhouse: High in protein, fiber, iron, magnesium, and folate.
- Versatile in Cooking: Can be used in salads, soups, hummus, curries, and roasted snacks.
- Soil-Friendly: As legumes, chickpeas fix nitrogen in the soil, improving fertility for future crops.
- Low Maintenance: Chickpeas are hardy and require minimal care compared to other vegetables.
Growing chickpeas at home allows you to enjoy fresh, flavorful beans without preservatives or excess sodium often found in store-bought versions.
2. Choosing the Right Variety
Chickpeas come in two main types:
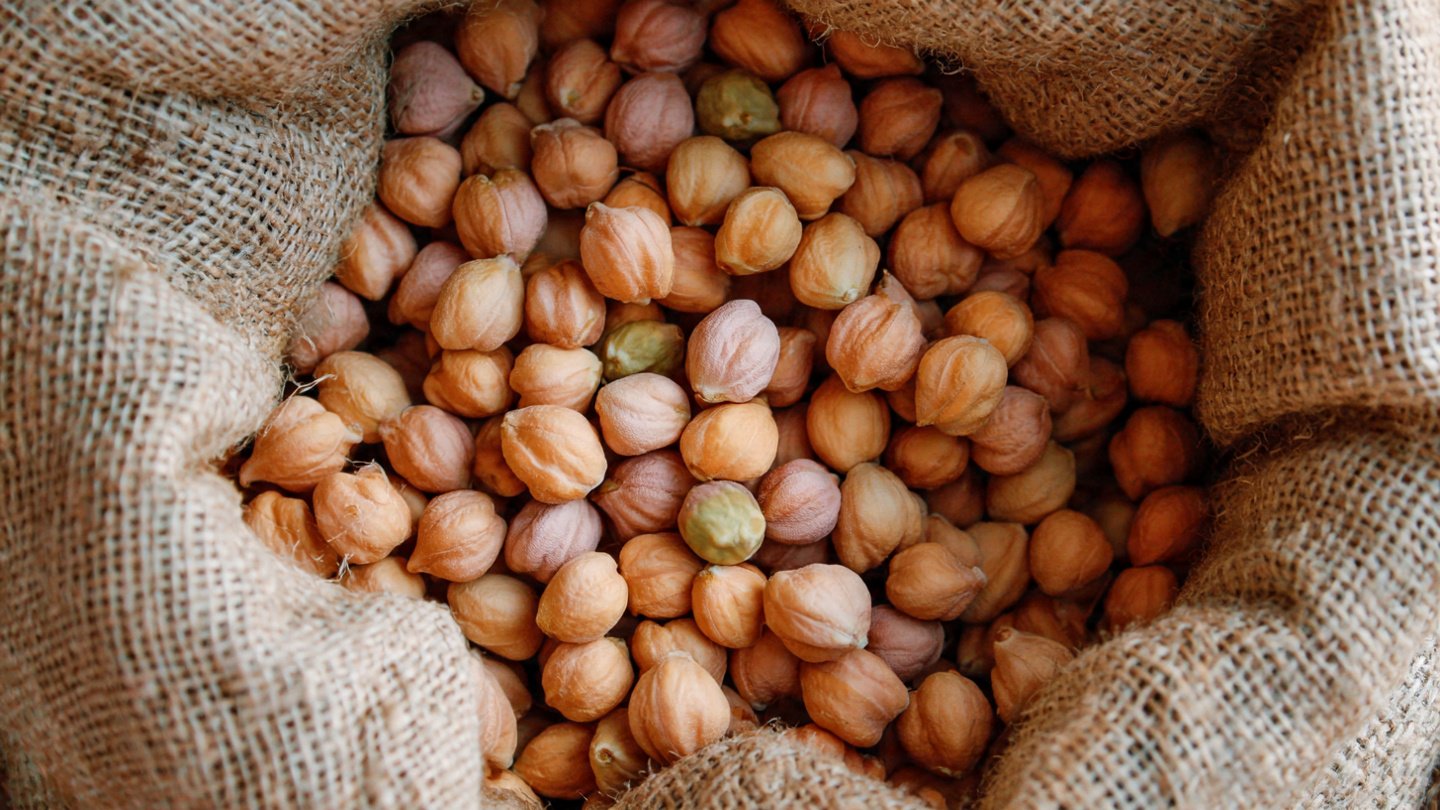
- Desi Chickpeas: Smaller, darker, and rough-skinned. They are often used in Indian and Middle Eastern cooking.
- Kabuli Chickpeas: Larger, lighter, and smooth-skinned. Popular in Mediterranean cuisine.
For home gardens, Kabuli varieties are preferred due to their larger size and quicker cooking time. Select seeds from a trusted source or organic seed suppliers to ensure good germination.
3. Preparing for Planting
Chickpeas grow best in cool-season climates and well-drained soil. Here’s how to prepare:
- Soil Requirements: Light, sandy-loam soil with a pH of 6–7 is ideal.
- Sunlight: Chickpeas require at least 6–8 hours of direct sunlight per day.
- Temperature: The optimum temperature for germination is 18–25°C (64–77°F). Chickpeas are frost-sensitive but tolerate cool weather better than extreme heat.
- Containers or Garden Bed: Chickpeas can be grown in the ground or large pots with good drainage.
Preparing soil and selecting the right location ensures healthy growth and a good yield.
4. Soaking Seeds
Soaking chickpea seeds before planting helps speed up germination:
- Place the seeds in a bowl and cover them with water.
- Soak for 8–12 hours or overnight.
- Drain the water before planting.
Soaking softens the hard seed coat, allowing roots to emerge quickly, which is particularly helpful for indoor or container planting.
5. Sowing Chickpeas
Follow these steps for successful sowing:
- Planting Depth: Sow seeds 1–2 inches deep in the soil.
- Spacing: Space seeds about 6 inches apart, with 12–18 inches between rows in garden beds. In containers, place 2–3 seeds per pot.
- Planting Time: Direct sow outdoors 1–2 weeks before the last expected frost. For indoor growing, start seeds 3–4 weeks before transplanting.
Proper spacing ensures adequate airflow, reduces disease risk, and allows plants to spread without overcrowding.
6. Watering and Mulching
Chickpeas need moderate watering throughout their growth:
- Germination Stage: Keep the soil consistently moist but not waterlogged.
- Growth Stage: Water once or twice a week depending on rainfall and temperature.
- Mulching: Apply a thin layer of straw or organic mulch to retain moisture, regulate soil temperature, and suppress weeds.
Overwatering can cause root rot, so it’s crucial to maintain a balance. Chickpeas are drought-tolerant but perform best with steady moisture.
7. Fertilization and Soil Care
Chickpeas are legumes that naturally enrich soil with nitrogen, but they benefit from initial fertilization:
- Pre-Plant Fertilizer: Mix compost or organic matter into the soil before planting.
- Side Dressing: Apply a balanced fertilizer during flowering if soil fertility is low.
- Avoid Excess Nitrogen: Too much nitrogen encourages leaf growth but reduces pod production.
Regular soil care and occasional fertilization help chickpeas grow strong, healthy plants and produce abundant pods.
8. Supporting the Plants
Chickpea plants are generally bushy and self-supporting, but in windy or exposed locations, they may need light staking:
- Place small stakes near plants to prevent them from toppling over.
- Use soft ties to secure plants if necessary.
- Avoid overcrowding, which reduces air circulation and increases disease risk.
Minimal support is usually enough, making chickpeas an easy crop for beginners.
9. Pest and Disease Management
While hardy, chickpeas are susceptible to certain pests and diseases:
- Pests: Aphids, cutworms, and pod borers can damage plants. Inspect regularly and use organic sprays like neem oil if needed.
- Diseases: Powdery mildew and root rot are common. Ensure proper spacing, avoid overhead watering, and rotate crops annually.
- Prevention: Healthy soil, good sunlight, and moderate watering reduce pest and disease risks.
Regular monitoring helps prevent infestations and ensures a healthy, productive crop.
10. Flowering and Pod Development
Chickpeas typically flower 6–8 weeks after planting. Flowers are small, pale, and grow along the stems. Pollination is mainly self-directed, but bees and other pollinators can improve pod set.
- Pod Formation: After flowering, pods develop along the stems. Each pod contains 1–3 chickpeas.
- Growth Duration: Pods mature in 90–100 days for most varieties.
Providing consistent care during flowering and pod development ensures maximum yield.
11. Harvesting Chickpeas
Harvesting at the right time is crucial for fresh, nutritious beans:
- Signs of Maturity: Pods turn yellow-brown, and leaves may start to dry. Seeds inside the pods should be firm.
- Harvest Method: Pull the whole plant or carefully pick mature pods by hand. For container-grown chickpeas, remove pods individually.
- Drying: Allow pods to dry completely in a ventilated area before shelling. This ensures longer storage life and better taste.
Harvesting at the right stage ensures beans are fully nutritious and ready for cooking.
12. Storing Chickpeas
Proper storage extends shelf life and preserves flavor:
- Dry Chickpeas: Store in airtight containers in a cool, dark place for up to a year.
- Fresh Green Chickpeas: Consume within a week or refrigerate for up to 3–5 days.
- Freezing: Fresh chickpeas can be blanched and frozen for later use.
With proper storage, homegrown chickpeas can be enjoyed year-round.
13. Culinary Uses
Chickpeas are incredibly versatile in the kitchen:
- Hummus: Blend boiled chickpeas with tahini, olive oil, lemon, and garlic.
- Curries and Stews: Add to vegetable or meat-based curries.
- Salads: Toss boiled chickpeas with fresh vegetables, herbs, and vinaigrette.
- Roasted Snacks: Season and roast for crunchy, protein-rich snacks.
- Sprouting: Soak and sprout chickpeas for salads or sandwiches.
Growing your own chickpeas ensures a fresh, wholesome ingredient for countless dishes.
14. Tips for Maximum Yield
To maximize your chickpea harvest:
- Rotate crops yearly to prevent soil-borne diseases.
- Remove weeds regularly to reduce competition for nutrients.
- Harvest promptly when pods mature to prevent seed loss.
- Save seeds from the healthiest plants for the next season.
These small steps can significantly increase productivity and make homegrown chickpeas more rewarding.
Conclusion
Growing chickpeas at home is a simple, rewarding, and sustainable way to enjoy fresh, nutritious beans. With minimal space, moderate care, and a few essential steps, you can cultivate a crop that enhances your diet, supports soil health, and adds value to your gardening experience. From soaking seeds to harvesting pods, every stage of chickpea cultivation is straightforward, making it an ideal project for beginners and experienced gardeners alike. By following this step-by-step guide, you can enjoy crisp, flavorful chickpeas right from your backyard or balcony, elevating both your meals and your connection to homegrown food.