Aloe vera, sometimes playfully called “Elovera” for its role as a plant loved by everyone, is one of the most versatile and rewarding houseplants you can grow. Renowned for its medicinal and cosmetic uses, aloe vera is easy to care for, thrives indoors and outdoors, and adds a touch of greenery to any home. This ultimate guide will walk you through everything you need to know about planting and growing aloe vera at home, from choosing the right pot to harvesting its soothing gel.
Why Grow Aloe Vera at Home?
Aloe vera is more than just a decorative plant—it offers numerous benefits:
- Medicinal Uses: Aloe gel is widely known for treating burns, cuts, and skin irritations.
- Cosmetic Applications: It is a natural moisturizer, anti-aging agent, and ingredient for hair care.
- Air Purification: Aloe vera improves indoor air quality by removing toxins.
- Easy Maintenance: Perfect for beginners, aloe thrives with minimal care.
- Propagating Opportunities: Aloe produces offsets or “pups” that can be used to grow new plants.
Growing aloe at home ensures a ready supply of fresh, chemical-free gel whenever needed.
Selecting the Right Aloe Vera Plant
Before planting, choose the appropriate variety and healthy starter plant:
- Common Aloe Vera (Aloe barbadensis miller): Most popular for medicinal use.
- Aloe arborescens: Known for large clusters and cold tolerance.
- Decorative Varieties: Variegated or smaller aloe types ideal for pots.
Tips for selecting a healthy plant:
- Look for firm, thick leaves with a vibrant green color.
- Avoid plants with soft spots, discoloration, or signs of pests.
- If starting from a pup or offset, choose one with a healthy root system for faster growth.
Choosing the Right Pot and Soil
Aloe vera thrives in containers that allow excellent drainage, as waterlogged roots lead to rot.
Pot Selection
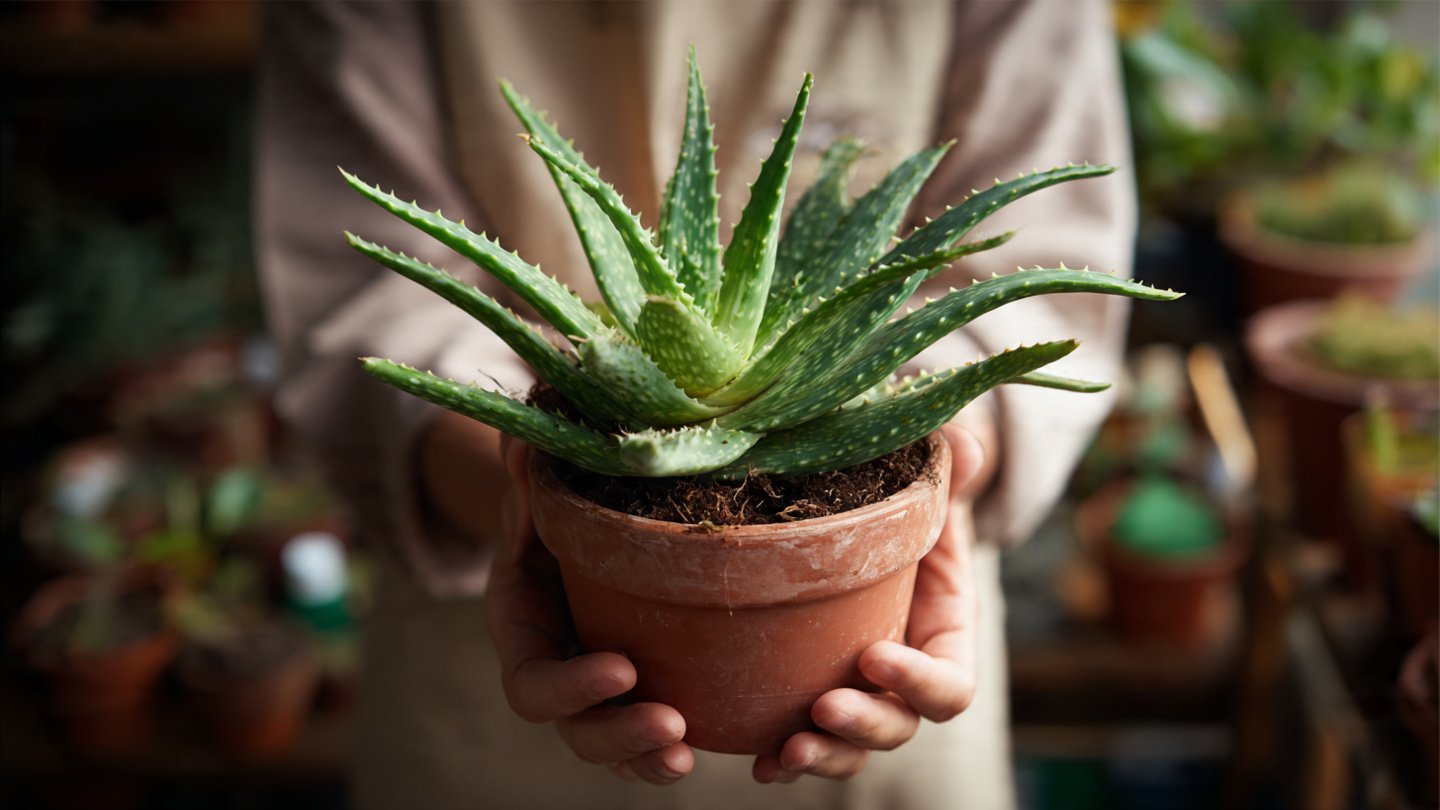
- Material: Terracotta or ceramic pots are ideal because they are porous and prevent excess moisture buildup. Plastic pots are acceptable but ensure drainage holes.
- Size: Start with a pot slightly larger than the plant; aloe does not like cramped roots, but over-sized pots can hold too much water.
- Drainage: Always ensure the pot has a hole at the bottom to prevent water accumulation.
Soil Requirements
Aloe prefers well-draining soil, mimicking its natural desert habitat.
- Use a cactus or succulent mix for optimal drainage.
- Alternatively, create your own mix:
- 2 parts potting soil
- 1 part perlite or coarse sand
- 1 part compost for nutrients
Avoid soils that retain too much moisture or have high clay content.
Planting Aloe Vera
Planting aloe vera correctly is crucial for healthy growth:
- Remove from Nursery Pot: Gently take the plant out, removing excess soil.
- Inspect Roots: Trim any brown or mushy roots. Healthy roots should be white and firm.
- Planting Depth: Place the plant in the new pot so the base of the leaves is just above the soil line.
- Initial Watering: Wait 24–48 hours after planting before watering to allow roots to settle and prevent rot.
Tip: Avoid burying the leaves, as this can cause them to rot.
Caring for Aloe Vera
Aloe vera is low-maintenance, but certain conditions ensure it thrives:
1. Sunlight
- Aloe needs bright, indirect sunlight for 6–8 hours daily.
- Outdoors: Place in a sunny spot with partial shade during hot afternoons.
- Indoors: South or west-facing windows work best. Use sheer curtains if the sun is too intense.
2. Watering
- Aloe is drought-tolerant; overwatering is the most common mistake.
- Water deeply but infrequently—allow soil to dry completely between waterings.
- During winter, reduce watering to once every 3–4 weeks.
3. Fertilizing
- Use a succulent fertilizer or balanced liquid fertilizer diluted to half strength.
- Fertilize once every 2–3 months during active growth (spring and summer).
4. Temperature and Humidity
- Aloe prefers 20–30°C (68–86°F) but can tolerate mild frost if protected.
- Avoid high humidity and excessive rain, which can cause root rot.
Propagating Aloe Vera
One of the easiest ways to multiply aloe at home is through offsets or pups:
- Wait until the offset is at least one-fifth the size of the parent plant.
- Gently remove the pup from the soil, ensuring it has roots attached.
- Let it dry for 24 hours to heal any cuts and reduce rot risk.
- Plant the pup in a new pot with well-draining soil.
- Water sparingly until the plant establishes roots.
Aloe can also be grown from leaf cuttings, but this method is less reliable as leaves may rot before developing roots.
Harvesting Aloe Vera Gel
Aloe gel is the most valued part of the plant. Follow these steps for safe harvesting:
- Choose Mature Leaves: Thick, outer leaves near the base are ideal.
- Cut Close to the Base: Use a clean knife to avoid damaging the plant.
- Extract Gel: Slice open the leaf and scoop out the clear gel.
- Store Properly: Keep gel in an airtight container in the refrigerator for up to a week.
Tip: Avoid harvesting too many leaves at once—leave enough for the plant to continue photosynthesis and growth.
Common Issues and Solutions
| Issue | Solution |
|---|---|
| Leaf Browning or Soft Spots | Reduce watering, check for root rot, ensure proper sunlight. |
| Pests (Aphids, Mealybugs) | Use neem oil or insecticidal soap. Remove pests manually if possible. |
| Slow Growth | Ensure sufficient sunlight, correct soil, and fertilize lightly. |
| Leaves Curling | Often caused by drought; water thoroughly but infrequently. |
Benefits of Growing Aloe Vera at Home
- Health and Skincare: Fresh gel can soothe burns, moisturize skin, and reduce inflammation.
- Air Purification: Removes toxins like formaldehyde from indoor air.
- Cost Savings: No need to buy store-bought aloe products.
- Decorative Appeal: Aloe adds a touch of greenery and elegance indoors or on patios.
- Educational and Therapeutic: Watching aloe grow promotes mindfulness and a connection with nature.
Tips for Thriving Aloe Vera
- Rotate indoor pots occasionally to ensure even sunlight exposure.
- Avoid over-fertilizing—too many nutrients can cause leaf softening.
- Repot every 2–3 years to provide fresh soil and more space for root growth.
- Companion plant with other succulents to create an aesthetically pleasing indoor garden.
Conclusion
Growing aloe vera at home is both easy and rewarding, offering a combination of aesthetic appeal, health benefits, and low-maintenance care. By selecting a healthy plant, providing well-draining soil, giving sufficient sunlight, and following a proper watering and fertilizing routine, you can enjoy a thriving aloe plant for years to come.
Propagation is simple, allowing you to multiply your aloe and share it with friends or expand your indoor garden. With consistent care, harvesting aloe gel becomes a reliable source of natural skincare, medicinal aid, and overall wellness.
Whether you are a beginner or an experienced gardener, aloe vera is the perfect plant to grow at home—a versatile, hardy, and beautiful addition to any space. Start with one pot today, and soon your home will be enriched with nature’s soothing green wonder: the amazing aloe vera.