Parsley is one of the most versatile herbs in the kitchen. Known for its fresh, vibrant flavor and high nutritional value, parsley is commonly used to enhance soups, salads, sauces, and garnishes. Growing your own parsley not only ensures a constant supply of fresh herbs but also provides a satisfying gardening experience. However, germinating parsley seeds can be a bit tricky due to their slow and sometimes inconsistent sprouting. With the right techniques and care, you can easily grow healthy parsley plants from seeds and enjoy their fresh flavor right from your garden. In this guide, we will walk you through the easy steps to successfully germinate parsley seeds and grow a thriving culinary herb garden.
Step 1: Choose the Right Parsley Variety
Before planting, it’s important to select a parsley variety that suits your culinary needs and growing conditions. The two main types are:
- Curly Leaf Parsley – Often used as a garnish due to its decorative, ruffled leaves.
- Flat-Leaf (Italian) Parsley – Preferred for cooking as it has a stronger flavor and is easier to chop.
Consider the flavor you prefer and the climate in your area. Flat-leaf parsley tends to be more heat-tolerant, making it suitable for warmer regions, while curly leaf parsley thrives in cooler climates.
Step 2: Prepare Your Garden or Containers
Parsley can be grown directly in garden beds or in pots and containers. Proper preparation ensures healthy germination and growth:
- Soil: Parsley prefers well-draining, loamy soil rich in organic matter. Mix in compost or aged manure to boost fertility.
- pH Level: Aim for a soil pH between 6.0 and 7.0 for optimal growth.
- Location: Choose a spot with full sun for at least 6–8 hours a day. Parsley tolerates partial shade but may grow more slowly.
- Containers: If planting in pots, ensure they are at least 6–8 inches deep to accommodate parsley’s long taproots. Good drainage holes are essential to prevent waterlogging.
Step 3: Pre-Soak the Parsley Seeds
One of the reasons parsley seeds are slow to germinate is their hard outer coating. Pre-soaking the seeds helps speed up germination:
- Place parsley seeds in a small bowl of lukewarm water.
- Let them soak for 24 hours. Some gardeners extend soaking up to 48 hours for older seeds.
- After soaking, drain the water and plant the seeds immediately.
Pre-soaking softens the seed coat, allowing the seeds to absorb moisture and sprout faster.
Step 4: Sow Parsley Seeds Properly
Correct sowing is crucial for successful germination:
- Planting Depth: Sow seeds about 1/4 inch deep. Parsley seeds need light soil coverage but not too deep, as it can slow germination.
- Spacing: If sowing directly in the garden, plant seeds 6–8 inches apart to allow room for mature growth. For container planting, place 2–3 seeds per hole.
- Soil Contact: Gently press the seeds into the soil to ensure good contact without compacting it too much.
Step 5: Watering for Germination
Watering is one of the most critical steps in parsley seed germination:
- Keep Soil Moist: Parsley seeds need consistent moisture to sprout. Use a spray bottle or gentle watering can to avoid washing away seeds.
- Avoid Overwatering: Waterlogging can cause seeds to rot. Soil should be damp, not soggy.
- Frequency: Check the soil daily and water lightly whenever it starts to dry out.
Using a fine mist ensures even moisture and reduces the risk of displacing seeds.
Step 6: Provide Optimal Germination Conditions
Parsley seeds require patience because they are slow germinators, often taking 2–4 weeks to sprout. To improve success:
- Temperature: Keep soil between 60–70°F (15–21°C). Cold soil slows germination, while excessively hot soil can reduce viability.
- Light: Parsley seeds need indirect light to germinate. Avoid placing trays or containers in full, harsh sunlight during early sprouting.
- Covering Seeds: Lightly cover seeds with a thin layer of fine soil or vermiculite. Optionally, cover with a clear plastic dome or plastic wrap to retain humidity, which helps speed up sprouting. Remove the cover once seedlings emerge.
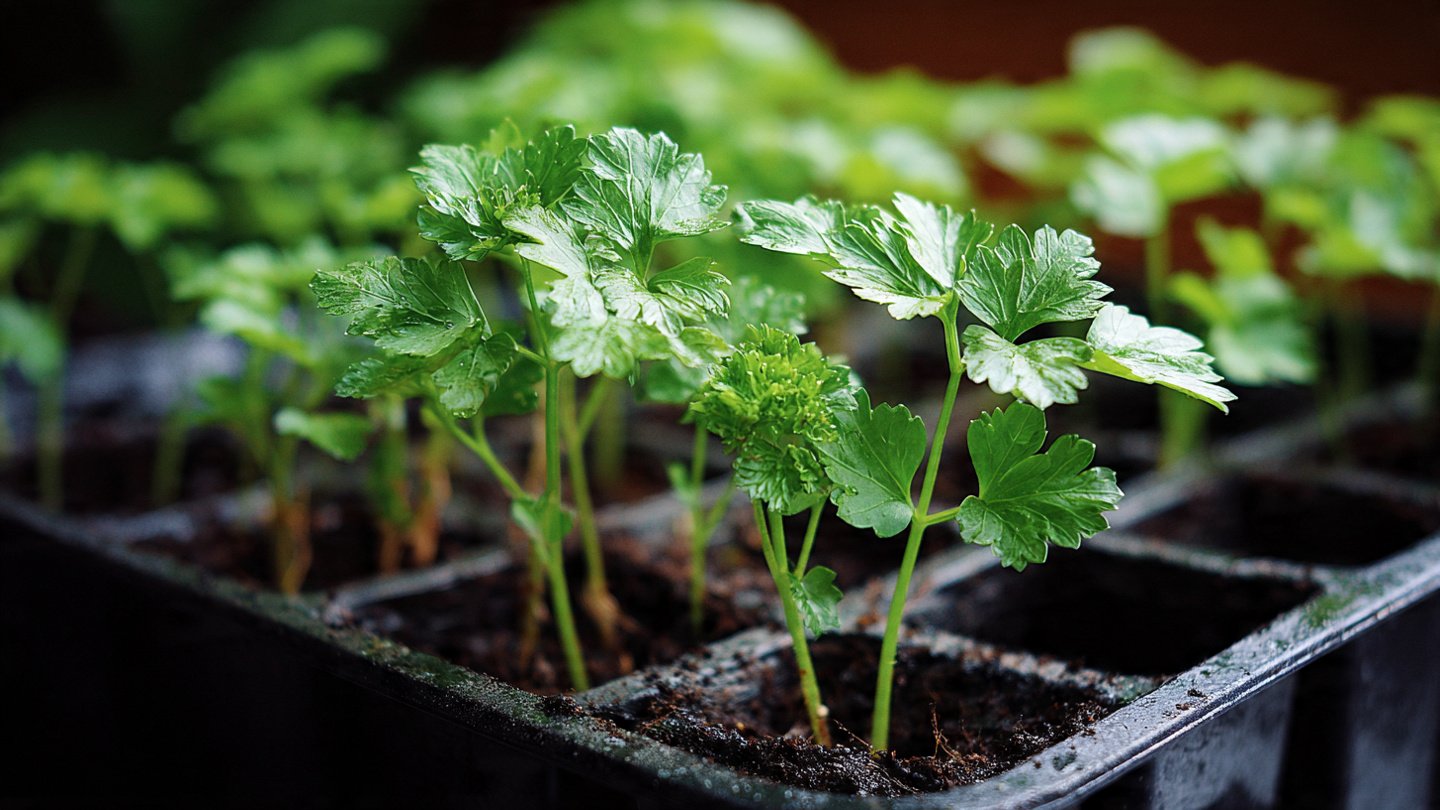
Step 7: Thin Seedlings for Healthy Growth
Once parsley seedlings sprout and develop their first true leaves, it’s time to thin them:
- Thin Carefully: Remove weaker seedlings, leaving the strongest ones spaced about 6–8 inches apart.
- Avoid Disturbing Roots: If possible, gently snip excess seedlings at the base instead of pulling them to prevent disturbing neighboring plants.
Thinning reduces competition for nutrients, water, and light, promoting healthier, bushier parsley plants.
Step 8: Transplanting (Optional)
If you started parsley seeds indoors or in a seed tray, transplanting ensures robust growth:
- Timing: Wait until seedlings have 3–4 sets of true leaves and are strong enough to handle.
- Hardening Off: Gradually acclimate seedlings to outdoor conditions over 5–7 days. Start with a few hours of sunlight and gradually increase exposure.
- Planting: Transplant into prepared garden beds or larger containers. Water immediately after planting to help roots settle.
Step 9: Care for Growing Parsley Plants
After germination and establishment, parsley requires consistent care to thrive:
- Watering: Parsley prefers evenly moist soil. Water deeply once or twice a week, more frequently during hot, dry spells.
- Fertilization: Parsley benefits from light feeding. Apply a balanced liquid fertilizer every 3–4 weeks or enrich the soil with compost.
- Mulching: A layer of mulch helps retain moisture, regulate soil temperature, and suppress weeds.
- Pest Management: Keep an eye out for common pests like aphids and caterpillars. Handpick or use natural remedies to protect your plants.
Step 10: Harvesting Parsley
One of the joys of growing parsley is the fresh harvest:
- Timing: Harvest leaves once the plant has become established and has plenty of foliage. Avoid cutting more than one-third of the plant at a time.
- Method: Use scissors to snip leaves from the outer stems. This encourages new growth from the center.
- Regular Harvesting: Frequent harvesting keeps the plant producing fresh leaves and prevents it from becoming leggy.
Tips to Ensure Germination Success
To maximize your parsley seed germination and overall plant health:
- Use Fresh Seeds: Parsley seeds lose viability over time. Check the expiration date or use seeds harvested within the last year.
- Warm Soil: If planting outdoors in cooler climates, consider starting seeds indoors or using a heated seed mat.
- Patience is Key: Don’t get discouraged if seeds take a few weeks to sprout. Parsley is naturally slow to germinate.
- Experiment with Soaking: For very old seeds, soak them in water for 48 hours or even overnight to boost germination chances.
- Avoid Crowding: Overcrowded seedlings compete for resources and may grow weak or spindly.
Why Grow Parsley from Seeds?
While parsley is available as young plants in nurseries, starting from seeds has multiple advantages:
- Cost-Effective: Seeds are much cheaper than buying plants.
- Wider Variety Choices: You can choose from numerous parsley varieties, including heirloom or specialty types.
- Stronger Plants: Seed-grown parsley often develops stronger roots and adapts better to your garden conditions.
- Continuous Supply: By sowing seeds at intervals, you can enjoy a steady harvest throughout the growing season.
Conclusion
Germinating parsley seeds may require patience, but the rewards are well worth the effort. By selecting the right seeds, preparing the soil, providing optimal germination conditions, and giving seedlings proper care, you can grow a lush, flavorful parsley garden for your culinary adventures. The fresh taste of homegrown parsley enhances everything from salads to soups and makes every dish more vibrant.
Following these easy steps ensures that even beginner gardeners can enjoy a successful parsley harvest. Start small, follow the tips in this guide, and soon you’ll have a thriving supply of fresh, aromatic parsley right in your garden. With a little attention and care, you’ll be harvesting delicious parsley leaves all season long, elevating your dishes and adding a touch of green to your garden space.