Balsam, often called Impatiens balsamina, is a charming annual flower known for its bright, colorful blooms and ease of growth. With flowers in shades of pink, red, white, purple, and even bi-color varieties, balsam can instantly brighten gardens, balconies, and indoor spaces. The best part? You can grow it from seeds at home using simple techniques that don’t require advanced gardening skills.
In this guide, we’ll walk you through everything you need to know to grow balsam successfully from seeds, from selecting quality seeds and preparing soil to germination, transplanting, and care tips for long-lasting blooms.
Why Grow Balsam From Seed?
Growing balsam from seed has several advantages:
- Cost-effective – Seeds are inexpensive compared to buying seedlings.
- Variety selection – You can choose colors and types not available as plants.
- Control over growth – Starting from seed allows you to ensure healthy, strong plants.
- Fun and educational – Watching seeds sprout and bloom is rewarding, especially for kids and beginner gardeners.
Balsam is also low-maintenance and fast-growing, making it an ideal choice for both indoor and outdoor gardens.
Choosing the Right Seeds
The success of your balsam garden begins with selecting high-quality seeds.
Tips for Selecting Seeds:
- Choose seeds from reputable nurseries or seed catalogs.
- Pick fresh seeds—older seeds have lower germination rates.
- Consider the variety: some balsam types are dwarf, ideal for pots, while others grow taller for garden beds.
- Look for disease-resistant strains if possible.
Once you have your seeds, you’re ready to start planting.
Preparing for Seed Sowing
Proper preparation ensures healthy seedlings and a smooth germination process.
Containers:
- Small seed trays, pots, or even recycled containers with drainage holes work well.
- Shallow trays are sufficient as balsam has delicate roots initially.
Soil:
- Use light, well-draining soil or a seed-starting mix.
- Avoid heavy garden soil, which may compact and prevent root growth.
- Adding a little compost improves fertility and supports strong seedlings.
Light:
- Balsam seeds require moderate light to germinate, so place trays near a sunny window or use a grow light.
- Avoid direct intense sunlight for seedlings as it can cause scorching.
Step 1: Preparing the Seeds
Balsam seeds have a hard coat that can delay germination. Pre-soaking is an easy trick to speed up sprouting.
How to Prepare Seeds:
- Soak seeds in lukewarm water for 6–12 hours.
- Gently remove any damaged seeds floating in the water.
- Drain seeds and prepare your sowing trays.
Pre-soaking softens the seed coat, helping moisture penetrate quickly and improving germination rates.
Step 2: Sowing the Seeds
How to Sow Balsam Seeds:
- Fill your tray or container with moist seed-starting mix.
- Spread the seeds evenly on the surface—balsam seeds require light to germinate, so don’t bury them deep.
- Press the seeds lightly into the soil for good contact.
- Mist gently with water to avoid displacing the seeds.
Tips:
- Cover the tray with a thin layer of clear plastic or a humidity dome to retain moisture.
- Keep the soil consistently damp, not waterlogged.
- Maintain a temperature of 20–25°C (68–77°F) for optimal germination.
Step 3: Germination and Early Care
Balsam seeds typically germinate in 7–14 days, depending on conditions.
During Germination:
- Check soil daily and mist if necessary to keep it moist.
- Remove plastic cover once seedlings emerge to prevent damping-off disease.
- Ensure good airflow to prevent mold or fungal problems.
Once seedlings develop two sets of true leaves, they are ready for thinning or transplanting.
Step 4: Thinning and Transplanting
Thinning:
- If multiple seedlings grow close together, thin them to one per space to prevent competition.
- Use scissors to snip weaker seedlings at soil level rather than pulling them out, which may disturb roots of nearby plants.
Transplanting:
- Harden off seedlings by gradually exposing them to outdoor conditions over 7–10 days.
- Choose a sunny or partially shaded garden spot.
- Dig holes slightly larger than the root ball, space seedlings 10–12 inches apart for dwarf varieties, or 12–18 inches for taller types.
- Water thoroughly after transplanting.
Step 5: Watering and Fertilizing
Watering:
- Keep soil consistently moist but not soggy.
- Water at the base of plants to reduce leaf diseases.
Fertilizing:
- Use a balanced liquid fertilizer every 2–3 weeks once seedlings are established.
- Avoid over-fertilization with nitrogen as it encourages leafy growth at the expense of flowers.
Step 6: Maintenance and Care
Pruning:
- Pinch off spent flowers regularly to encourage more blooms.
- Remove yellowing leaves to maintain plant health.
Pest Management:
- Common pests include aphids, spider mites, and whiteflies.
- Spray with neem oil or insecticidal soap if infestations appear.
- Encouraging ladybugs and other beneficial insects helps keep pests in check naturally.
Disease Prevention:
- Balsam is prone to powdery mildew in humid conditions.
- Ensure good airflow by spacing plants properly.
- Water at soil level to keep foliage dry.
Step 7: Maximizing Flower Display
- Dwarf balsam varieties work well in pots, borders, or balcony boxes.
- Taller varieties add dramatic color to garden beds.
- Combine multiple colors for a vibrant summer display.
- Regular deadheading ensures continuous flowering until the first frost.
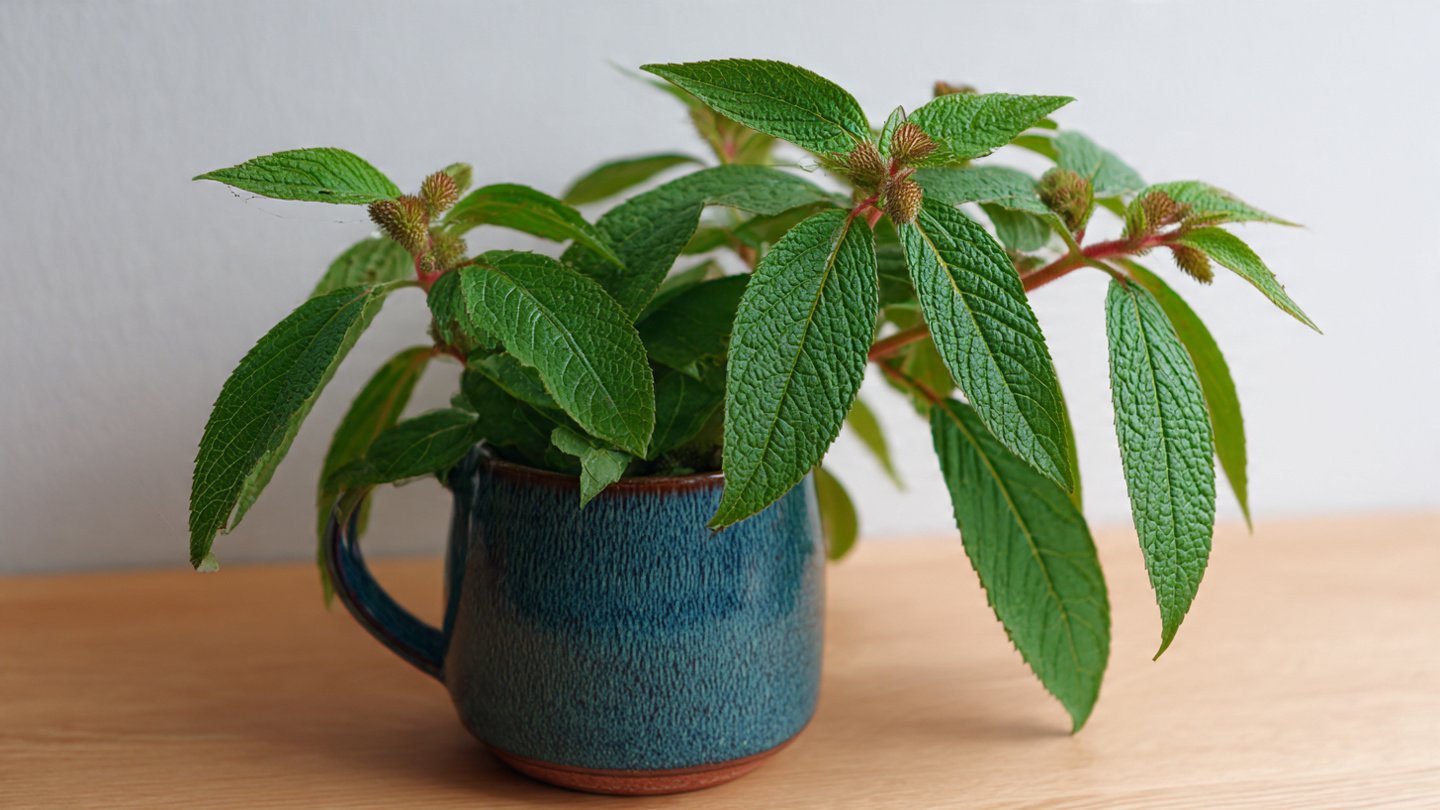
Growing Balsam Indoors
Balsam can also thrive indoors if conditions are right:
- Use deep pots with drainage holes.
- Place near a south-facing window or under grow lights for 6–8 hours of light daily.
- Maintain consistent moisture and avoid letting leaves touch each other to prevent fungal issues.
Indoor balsam is ideal for apartments, patios, or rooms that receive good sunlight.
Harvesting Balsam Seeds
If you want to save seeds for the next season:
- Allow some flowers to mature and form seed pods.
- Pods will turn brown and dry on the plant.
- Collect seeds before they burst open, as balsam pods can explode and scatter seeds.
- Store seeds in a cool, dry place for next year’s planting.
Common Mistakes to Avoid
- Burying seeds too deep – Balsam seeds need light for germination.
- Overwatering – Can cause damping-off or root rot.
- Crowding seedlings – Leads to weak, leggy plants.
- Ignoring pests and diseases – Early intervention is key.
- Fertilizing too much nitrogen – Reduces flower production.
By avoiding these mistakes, you ensure healthy, vibrant balsam plants from seed to bloom.
Why Balsam Is Ideal for Home Gardens
- Quick-growing and low maintenance – Perfect for beginners.
- Vibrant colors – Adds cheer to flower beds and containers.
- Edible flowers and seeds – Leaves and seeds can be used in culinary applications in some varieties.
- Versatile growth – Suitable for gardens, borders, containers, and indoor pots.
Balsam is also a pollinator-friendly plant, attracting bees and butterflies, which benefits your entire garden ecosystem.
Final Thoughts
Growing balsam from seed at home is rewarding, simple, and visually stunning. With basic tools, quality seeds, and attention to moisture, light, and spacing, anyone can enjoy vibrant blooms throughout the summer. By following these easy techniques—from pre-soaking seeds and careful sowing to transplanting, maintenance, and pest management—you can cultivate healthy balsam plants that brighten your garden or indoor space.
Whether you’re planting for color, indoor decor, or pollinator support, balsam is an ideal choice for home gardeners seeking low-maintenance beauty and continuous blooms. Start today, and enjoy watching your seeds grow into a lush, colorful, and cheerful display that delights the eyes and supports a healthy garden ecosystem.