Starting a vegetable garden can feel intimidating, especially if you’re short on space, money, or experience. But what if the secret to successful gardening was already sitting in your recycling bin? Plastic bottles—often discarded without a second thought—can be transformed into productive mini planters that help beginners grow vegetables from seeds with surprising ease. This simple, creative approach makes gardening accessible, affordable, and eco-friendly, turning “I can’t garden” into “Look what I grew.”
This guide walks you step by step through the beginner’s magic of creating a thriving vegetable garden using plastic bottles, starting right from seeds. No backyard is required—just curiosity, sunlight, and a willingness to try.
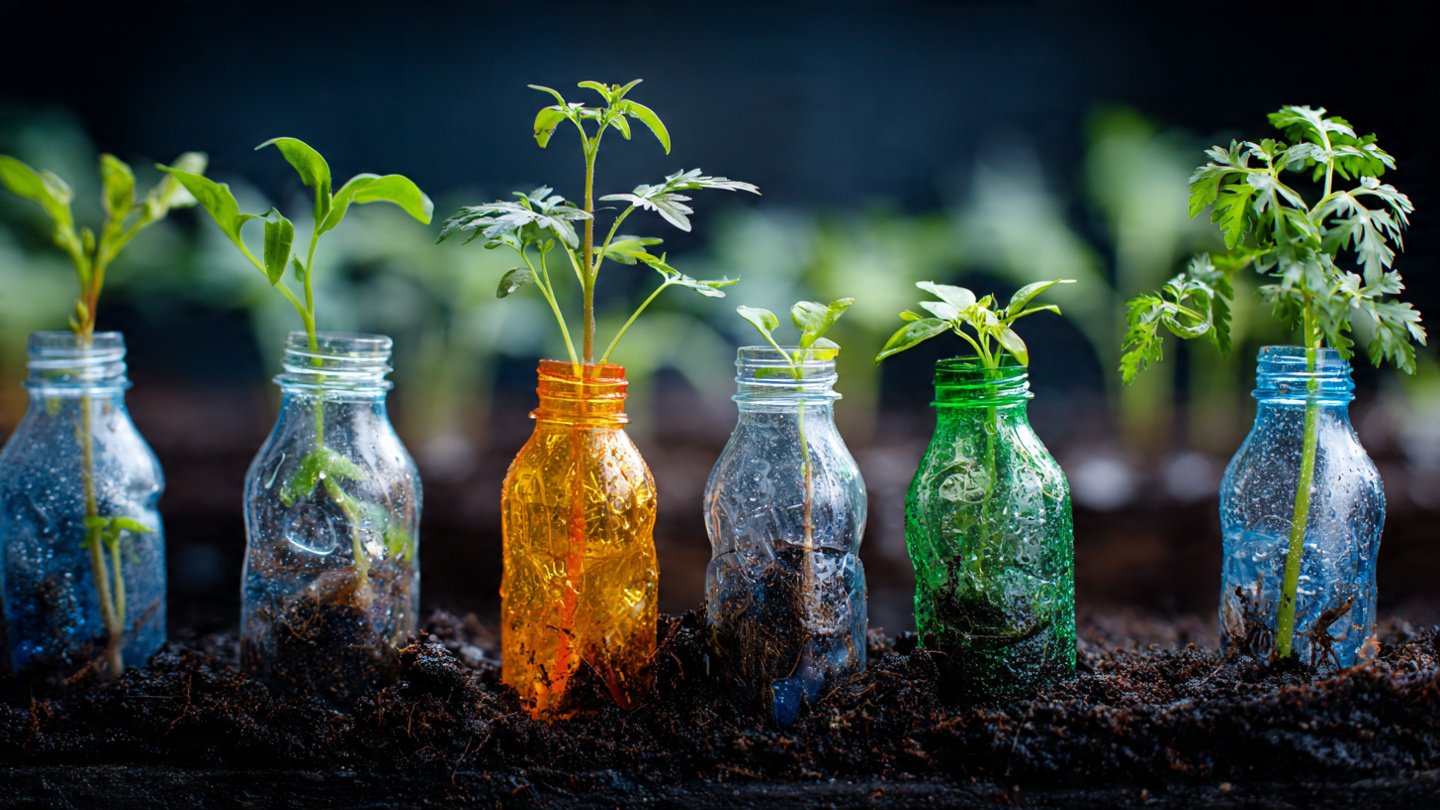
Why Plastic Bottle Gardening Is Perfect for Beginners
Plastic bottle gardening removes many of the barriers that stop people from growing their own food. It’s inexpensive, low-risk, and flexible. If a plant doesn’t grow well, you haven’t lost much, and you can easily adjust and try again.
Bottles are easy to move, making it simple to experiment with sunlight and temperature. They also help beginners learn the basics of watering, soil care, and seed growth on a manageable scale. Most importantly, reusing plastic bottles reduces waste and supports sustainable living—so every small success feels like a win for both you and the planet.
Choosing the Right Vegetables to Grow From Seeds
Not all vegetables are ideal for bottle gardening, especially when starting from seeds. The key is choosing plants that grow quickly and don’t need deep roots.
Excellent beginner-friendly vegetables include lettuce, spinach, arugula, and other leafy greens. Herbs such as basil, cilantro, parsley, and dill also grow well from seed in bottles. Green onions, radishes, cherry tomatoes, and chili peppers can thrive too, with a bit more attention.
Start with two or three types of vegetables rather than many at once. This keeps the process simple and helps you focus on learning what each plant needs.
Gathering Your Materials
One of the most exciting parts of this project is how little you need to get started. Most materials are easy to find at home.
You’ll need clean plastic bottles (1–2 liter bottles work best), a sharp cutter or scissors, a marker, potting soil, compost or organic fertilizer, small stones or gravel for drainage, seeds of your chosen vegetables, and water. Optional items include string, wire, or hooks if you plan to hang the bottles, and a tray if you’re placing them indoors.
Wash the bottles thoroughly and remove labels so light can reach the soil evenly.
Preparing Plastic Bottles for Planting
There are two popular ways to prepare plastic bottles for gardening: horizontal and vertical.
For horizontal planters, lay the bottle on its side and cut a rectangular opening along one side. This opening will hold the soil and plants. Leave enough plastic around the edges to keep the bottle sturdy.
For vertical planters, cut off the top third of the bottle and use the bottom portion as a pot. Poke several small holes in the bottom of the bottle to allow excess water to drain.
No matter the style, drainage holes are essential. Without them, water will collect at the bottom and cause seeds and roots to rot.
Creating the Right Soil Mix
Good soil is the foundation of successful seed growth. Avoid using plain garden soil, which can become compacted in containers.
A simple and effective mix includes potting soil blended with compost. The soil should feel loose, crumbly, and able to hold moisture without becoming soggy. Add a thin layer of gravel or small stones at the bottom of each bottle to improve drainage.
Fill each bottle with soil, leaving about an inch of space at the top to prevent spills during watering.
Planting Seeds the Right Way
Planting seeds is where the real magic begins. Each tiny seed carries the potential for a full-grown vegetable, and watching that transformation is deeply rewarding.
Follow the seed packet instructions for planting depth, as planting too deep or too shallow can affect germination. As a general rule, small seeds should be lightly pressed into the soil or covered with a thin layer, while larger seeds can be planted a bit deeper.
After planting, gently water the soil so it’s evenly moist but not soaked. Label each bottle if you’re planting different vegetables so you don’t forget what’s growing where.
Providing the Right Light and Temperature
Most vegetable seeds need warmth and light to germinate and grow. Place your bottles in a location that receives at least four to six hours of sunlight daily. A sunny windowsill, balcony, or patio works well.
If you’re growing indoors and light is limited, consider using a grow light. Keep seeds warm but not overheated—room temperature is usually perfect for germination.
Rotate bottles occasionally so plants grow straight and receive even light.
Watering Without Overdoing It
Watering is one of the most common challenges for beginners. Seeds need moisture to germinate, but too much water can drown them.
Check the soil daily by touching it. If the top layer feels dry, water gently. Use a spray bottle or small watering can to avoid disturbing seeds. As seedlings grow, water a bit more deeply but allow the soil surface to dry slightly between watering sessions.
Consistency matters more than quantity. A regular watering routine helps plants grow strong and healthy.
Feeding Your Growing Plants
As seedlings develop into young plants, they’ll need nutrients. Compost mixed into the soil provides a good start, but additional feeding may be helpful after a few weeks.
Use a diluted organic liquid fertilizer or compost tea every two to three weeks. Avoid over-fertilizing, as this can lead to weak growth and poor vegetable production.
Transplanting and Spacing Considerations
If multiple seeds sprout in one bottle, thinning is important. Crowded plants compete for nutrients and light, which can stunt growth. Remove weaker seedlings, leaving the strongest one to grow.
Some vegetables may eventually outgrow their bottles. When roots fill the container or growth slows, consider transplanting into a larger pot or garden bed if available.
Managing Common Problems Naturally
Beginner gardeners may encounter issues like yellow leaves, slow growth, or small pests. These problems are usually easy to fix.
Yellow leaves often indicate overwatering or nutrient deficiency. Slow growth may mean the plant needs more sunlight. Small pests like aphids can be removed by spraying plants with water or using a mild soap solution.
Regular observation helps you catch problems early, before they become serious.
Harvesting and Enjoying the Results
One of the greatest joys of bottle gardening is harvesting vegetables you grew from seeds. Leafy greens can often be harvested gradually by picking outer leaves, allowing the plant to keep producing.
Herbs grow back quickly when trimmed regularly. Even a small harvest feels special because you nurtured it from the very beginning.
Growing Confidence Along With Vegetables
Turning plastic bottles into a thriving vegetable garden isn’t just about food—it’s about confidence. Each sprout, leaf, and harvest proves that you can grow something with your own hands.
This beginner-friendly method teaches essential gardening skills in a simple, forgiving way. It reduces waste, saves money, and brings nature closer to everyday life. With plastic bottles, seeds, and a little care, beginner’s magic truly comes alive—showing that anyone can grow a garden, one bottle at a time.