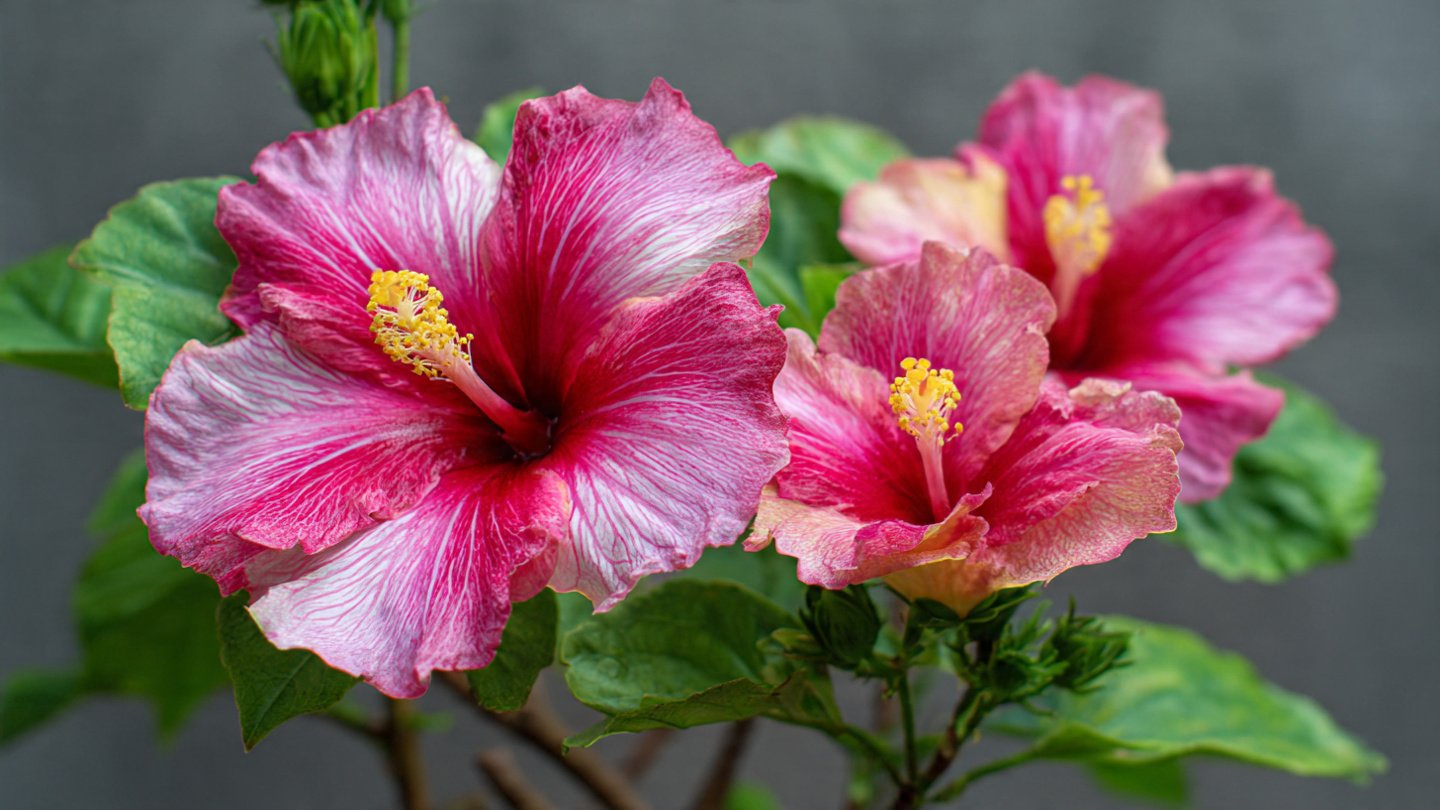
Hibiscus plants are celebrated for their vibrant blooms, tropical appeal, and ornamental beauty. Whether you’re aiming to brighten your garden, create stunning container displays, or share your favorite plant with friends, propagating hibiscus from cuttings is a cost-effective and rewarding way to grow new plants. By using organic methods, you can avoid synthetic chemicals, improve plant health, and cultivate a more environmentally friendly garden. This guide will walk you through the step-by-step process of hibiscus cutting propagation, providing tips to ensure your success from the very first cut.
Why Propagate Hibiscus from Cuttings?
While hibiscus can grow from seeds, cuttings offer several distinct advantages:
- Faster flowering: Cuttings often bloom within a year, whereas seed-grown hibiscus can take several years to flower.
- Genetic consistency: Plants grown from cuttings retain the characteristics of the parent plant, ensuring the same flower color, size, and growth habit.
- Cost-effective: Creating new plants from existing ones saves money compared to purchasing nursery-grown specimens.
- Sustainable gardening: Propagating your own plants reduces the need for commercial production, supporting eco-friendly practices.
Organic propagation is especially beneficial because it encourages natural root growth without harsh chemicals, improving plant resilience and soil health.
Choosing the Right Hibiscus Cutting
The success of your propagation begins with selecting the right stem for a cutting. Not all parts of the hibiscus plant are ideal for rooting.
Key considerations:
- Timing:
The best time to take cuttings is during the spring or early summer, when the plant is actively growing. Avoid late fall or winter cuttings, as slower growth can reduce rooting success. - Stem selection:
Choose healthy, semi-hardwood stems — firm but flexible, not too woody or soft. Semi-hardwood stems usually grow in the current season and are strong enough to root. - Length and nodes:
Cuttings should be 4–6 inches long with at least two to three nodes (the points where leaves emerge). Nodes are critical because roots often develop near them. - Leaf health:
Select cuttings with healthy, undamaged leaves. Avoid stems with disease, pests, or yellowing leaves, as these factors can reduce rooting success.
Preparing Your Hibiscus Cuttings
Proper preparation of your cuttings ensures better rooting and faster growth.
Steps for preparation:
- Make a clean cut:
Use sharp, sterilized scissors or pruning shears to make a cut just below a node. Sterilization (using rubbing alcohol or boiling water) prevents disease transmission. - Remove lower leaves:
Strip off leaves from the bottom 1–2 nodes, leaving a few at the top. This reduces water loss and allows the cutting to focus energy on root development. - Optional trimming:
Trim larger leaves in half if they are likely to lose too much moisture, especially in warmer conditions. - Rooting hormone alternative (organic):
While commercial rooting hormones work, you can use organic alternatives:- Honey: Natural antifungal and promotes rooting.
- Willow water: Contains natural rooting hormones.
- Aloe vera gel: Helps prevent infection and stimulates root growth.
Dip the bottom of the cutting into your chosen organic rooting agent before planting.
Choosing the Right Medium for Organic Propagation
The growing medium is critical for aeration, moisture retention, and root development.
Recommended organic media:
- Coconut coir: Light, retains moisture, and prevents rot.
- Peat moss: Acidic and holds moisture; combine with perlite for aeration.
- Perlite or vermiculite: Improves drainage and prevents waterlogging.
- Sand and compost mix: Provides nutrients while ensuring proper drainage.
Mixing mediums in a ratio such as 2 parts coir or peat moss + 1 part perlite or sand creates an ideal organic rooting environment.
Planting Hibiscus Cuttings
Once prepared, it’s time to plant your cuttings:
- Fill containers: Use small pots or trays with drainage holes, filled with your chosen organic medium.
- Planting depth: Insert the cutting 1–2 inches deep, ensuring at least one node is buried in the medium.
- Firm the medium: Lightly press around the cutting to eliminate air pockets but avoid compacting too tightly.
- Water gently: Mist or pour water carefully to moisten the medium without washing the cutting.
Creating the Ideal Environment for Rooting
Hibiscus cuttings need a warm, humid environment to encourage root formation.
Techniques for success:
- Humidity dome or plastic bag: Cover the cutting loosely with a plastic bag or small propagation dome to retain moisture. Make sure the plastic doesn’t touch the leaves.
- Indirect sunlight: Place the cuttings in bright, indirect light. Avoid direct sunlight, which can scorch tender cuttings.
- Consistent moisture: Mist the medium regularly. Keep it damp but not soggy to prevent rot.
- Temperature: Maintain 70–80°F (21–27°C). A heating mat can help if the environment is cooler.
Monitoring and Care
Hibiscus cuttings require patience and attention during the rooting phase.
Key care tips:
- Check for root growth: Roots usually start forming within 4–6 weeks. Gently tug on the cutting to feel resistance — a sign of developing roots.
- Remove wilted leaves: If leaves turn yellow or brown, trim them to prevent disease.
- Avoid overwatering: Too much moisture can cause rot. The medium should be moist, not waterlogged.
- Air circulation: Ensure good airflow around cuttings to reduce fungal issues. Vent the humidity dome occasionally.
Transplanting and Long-Term Care
Once roots are well-established, it’s time to transplant your new hibiscus plants.
- Choose the right pot or garden space: Use larger pots with well-draining soil or a sunny garden bed enriched with compost.
- Acclimate gradually: Gradually reduce humidity and transition the plant to outdoor conditions over a week or two.
- Water and feed: Keep the soil evenly moist initially, and start organic fertilization after a few weeks using compost tea or liquid seaweed.
- Prune to shape: Encourage bushy growth by trimming tips and removing weak stems.
Proper care ensures your new hibiscus cuttings grow into vibrant, flowering plants ready to enhance your garden.
Troubleshooting Common Issues
Even with careful preparation, some cuttings may struggle. Common issues include:
- Wilting or drying: Often caused by low humidity or excessive leaf area. Mist more frequently or reduce leaf size.
- Root rot: Caused by overwatering or poor drainage. Ensure well-draining medium and avoid waterlogging.
- Slow root growth: Could result from insufficient warmth or low light. Increase temperature slightly or provide indirect sunlight.
By addressing these issues promptly, you can significantly improve the success rate of your organic propagation.
Tips for Success
- Use sharp, clean tools for every cut to prevent infections.
- Select strong, healthy parent plants for cuttings.
- Label your cuttings to keep track of different hibiscus varieties.
- Be patient — propagation takes time, but consistent care yields rewarding results.
- Experiment with different organic rooting agents to find what works best in your environment.
Conclusion
Propagating hibiscus through organic cuttings is a rewarding way to multiply plants, preserve genetics, and nurture a sustainable garden. By carefully selecting cuttings, using organic rooting agents, preparing the right medium, and maintaining proper care, even beginner gardeners can successfully grow vibrant new hibiscus plants.
With patience, attention, and the tips shared in this guide, your garden can soon be filled with stunning hibiscus blooms, each a testament to the power of propagation and the beauty of organic gardening. Whether for your home, gifts, or community gardens, organic hibiscus propagation is a technique every plant lover should master.