Jamun (Syzygium cumini), also known as black plum or Indian blackberry, is a tropical fruit tree highly prized for its delicious, slightly tangy fruits and numerous health benefits. Jamun is rich in vitamins, minerals, and antioxidants, and it is known for supporting blood sugar regulation and digestion. While traditionally grown in gardens and orchards, it is possible to grow a healthy Jamun tree in a pot, making it ideal for homes with limited space, balconies, or patios.
Growing a Jamun tree from seed is both cost-effective and rewarding. With proper care, a pot-grown Jamun tree can thrive for years, providing shade, ornamental value, and eventually, a small harvest of juicy fruits. This guide provides a step-by-step approach to successfully growing a Jamun tree from seed in a pot, even in small spaces.
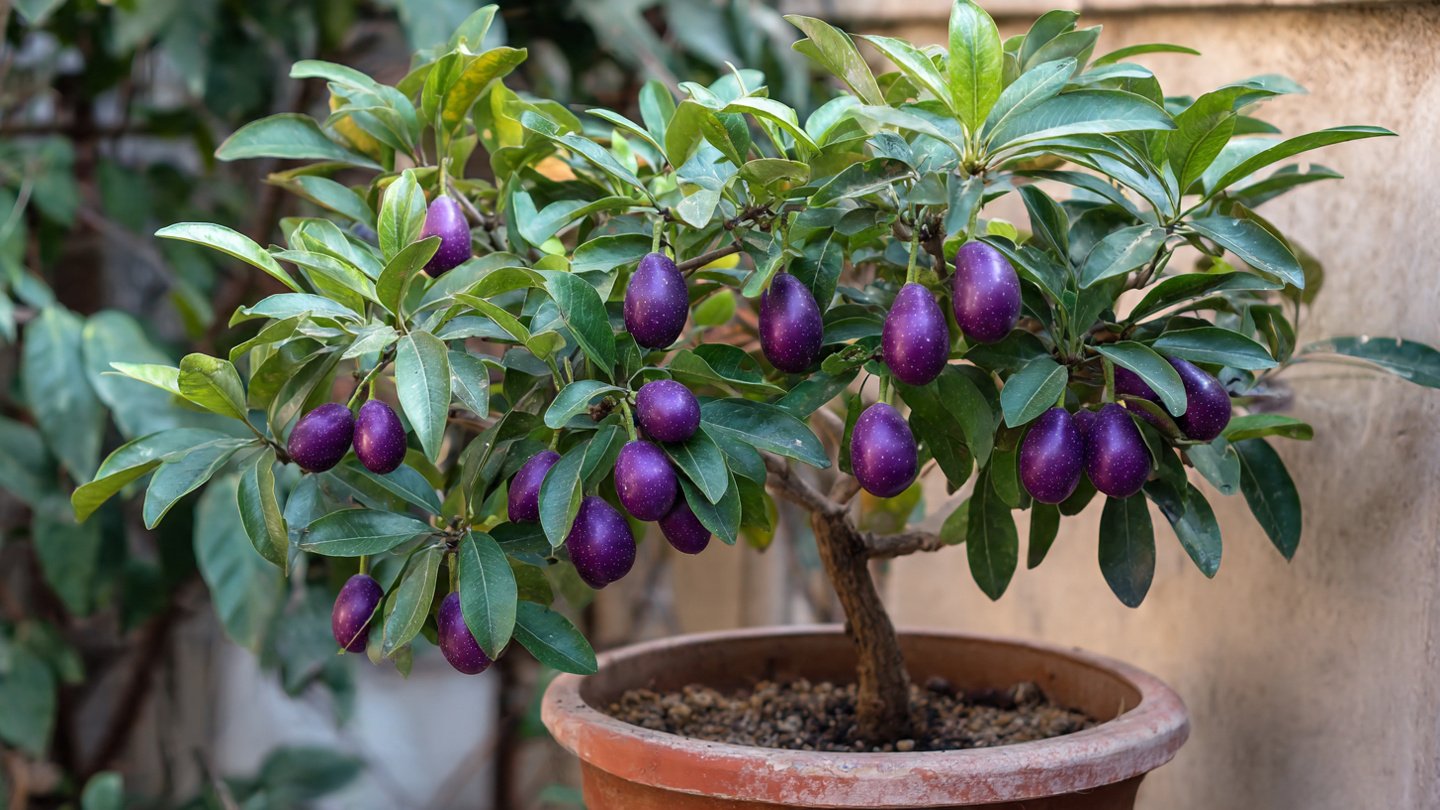
Why Grow Jamun in a Pot?
Pot cultivation offers several advantages:
- Space Efficiency: Ideal for balconies, terraces, or small gardens.
- Mobility: Potted trees can be moved to optimal sunlight or protected from extreme weather.
- Control Over Soil: Ensures well-draining, nutrient-rich soil, preventing root rot.
- Pest and Disease Management: Easier monitoring and prevention of infestations compared to ground planting.
Although growing Jamun in a pot may produce fewer fruits than full-sized orchard trees, the convenience and health benefits make it an excellent option for urban gardeners.
Step 1: Selecting the Right Seed
Choosing the right seed is crucial for healthy germination:
- Pick a Ripe Jamun Fruit: Select fully ripe, dark purple Jamuns. Avoid overripe or spoiled fruits.
- Extract the Seed: Remove the pulp carefully without damaging the seed. Wash the seeds thoroughly under running water.
- Check for Viability: Healthy seeds are firm, free of cracks, and slightly glossy. Discard any shriveled or damaged seeds.
Fresh seeds germinate faster than older ones, so it is best to use seeds immediately after extraction.
Step 2: Preparing Seeds for Germination
Jamun seeds have a hard outer coat, which may slow germination. Simple preparation can improve success rates:
- Soak the Seeds: Place seeds in lukewarm water for 24 hours to soften the seed coat and improve water absorption.
- Optional Scarification: Gently nick the seed coat with a small file or sandpaper to help water penetrate. Avoid damaging the inner seed.
- Keep Moist: After soaking, seeds should be kept moist and ready for planting.
Proper seed preparation ensures faster and more uniform germination.
Step 3: Choosing the Right Pot
The pot is the foundation for a healthy Jamun tree in a small space:
- Size: Start with a 12–16 inch pot for seedlings. As the tree grows, gradually upgrade to larger pots, eventually reaching 20–24 inches in diameter for a mature plant.
- Material: Terracotta or plastic pots work well. Terracotta allows better air circulation, while plastic retains moisture longer.
- Drainage: Ensure the pot has adequate drainage holes to prevent waterlogging, which can cause root rot.
Step 4: Preparing the Potting Mix
Jamun trees prefer well-draining, fertile soil. A good potting mix supports healthy root growth:
- Ingredients: Mix garden soil, compost, and sand in a 2:1:1 ratio.
- pH: Slightly acidic to neutral soil (pH 5.5–7) is ideal.
- Optional Fertilizer: Add a small amount of slow-release organic fertilizer to boost seedling growth.
Fill the pot with the prepared soil, leaving 1–2 inches free at the top to allow watering.
Step 5: Planting the Seed
Planting correctly is key to successful germination:
- Planting Depth: Sow the seed 1–2 inches deep into the soil, with the pointed end facing downward.
- Cover Lightly: Cover with soil and gently press to remove air pockets.
- Watering: Water lightly but thoroughly to moisten the soil. Avoid overwatering, which can rot the seed.
- Positioning: Place the pot in a warm, shaded area with indirect sunlight for the first few weeks.
Step 6: Germination and Early Growth
Jamun seeds typically germinate in 2–4 weeks, depending on temperature and care.
- Moisture: Keep the soil consistently moist, but not soggy. Use a spray bottle to mist seedlings if needed.
- Temperature: Warm temperatures (25–30°C or 77–86°F) promote faster germination.
- Light: Once seedlings emerge, gradually introduce them to bright indirect sunlight to prevent leaf burn.
- Protection: Shield young seedlings from strong winds or direct afternoon sun.
Step 7: Caring for Seedlings
After germination, young Jamun seedlings require proper care for strong growth:
- Watering: Water 2–3 times a week, adjusting based on soil moisture and temperature.
- Fertilization: Apply a diluted, balanced liquid fertilizer once a month to encourage healthy leaf and stem development.
- Thinning: If multiple seeds were planted in one pot, thin to leave the strongest seedling.
- Transplanting: When seedlings reach 6–8 inches in height, consider transplanting to a larger pot to allow root expansion.
Step 8: Pruning and Training in a Pot
Pot-grown Jamun trees need pruning and training to maintain shape and maximize growth:
- Remove Weak Branches: Trim small, weak, or damaged branches to focus energy on stronger growth.
- Control Size: Regular pruning prevents the tree from outgrowing the pot.
- Encourage Branching: Pinching off the growing tip stimulates lateral branches, leading to a fuller plant.
- Support: Use a small stake for young trees to prevent bending or breaking.
Proper pruning ensures your Jamun tree remains compact, healthy, and visually appealing.
Step 9: Fertilization for Mature Trees
As the tree grows, it requires adequate nutrients to remain healthy and produce fruits:
- Nitrogen: Promotes leaf and branch growth.
- Phosphorus: Supports flowering and fruit formation.
- Potassium: Enhances fruit size, color, and taste.
- Micronutrients: Iron, magnesium, and zinc support overall plant health.
Use organic compost or balanced slow-release fertilizers every 2–3 months for pot-grown Jamun trees. Avoid over-fertilizing, which can damage roots and reduce fruiting.
Step 10: Flowering and Fruit Production
Jamun trees grown from seed in pots may take 5–8 years to bear fruits. While patience is required, proper care ensures strong, productive trees:
- Sunlight: Full sun exposure encourages flowering and fruiting.
- Pollination: Indoor or pot-grown trees may need manual pollination using a soft brush to transfer pollen from flowers.
- Watering: Maintain consistent soil moisture during flowering and fruit development.
- Pest Control: Monitor for aphids, mealybugs, and caterpillars. Use neem oil or organic sprays if necessary.
With careful attention, even a small potted Jamun tree can yield a modest harvest of delicious fruits.
Tips for Successful Jamun Growth in Small Spaces
- Choose Compact Varieties: Some Jamun varieties are naturally smaller and more suitable for pots.
- Rotate Pots: For uniform growth, rotate pots periodically to ensure all sides receive sunlight.
- Mulching: Add a layer of organic mulch to retain moisture and regulate soil temperature.
- Protect from Frost: Jamun is tropical; in colder regions, bring the pot indoors or provide frost protection.
- Repotting: Every 2–3 years, upgrade to a larger pot to accommodate root growth and maintain vigor.
- Patience: Seed-grown Jamun trees take years to fruit. Focus on nurturing a healthy tree first.
Benefits of Growing Jamun in Pots
- Health Benefits: Enjoy fresh, antioxidant-rich fruits at home.
- Ornamental Value: Jamun trees have attractive evergreen foliage and provide shade in small spaces.
- Accessibility: Fresh fruit at your fingertips without needing a garden or orchard.
- Sustainable Gardening: Reduce dependence on commercial fruit and encourage eco-friendly practices.
- Learning Experience: Growing a tree from seed teaches patience, care, and horticultural skills.
Conclusion
Growing a healthy Jamun tree from seed in a pot is both practical and rewarding for gardeners with limited space. By selecting healthy seeds, preparing them properly, and providing the right soil, water, sunlight, and care, even beginners can cultivate a thriving Jamun tree. Pot cultivation allows you to control environmental factors, protect your tree from pests, and enjoy fresh fruits at home.
While it requires patience—seed-grown Jamun trees may take several years to fruit—the journey is full of learning and satisfaction. With the steps outlined in this guide, you can enjoy a compact, thriving Jamun tree in your balcony, terrace, or small garden, offering not only delicious berries but also greenery and ornamental value.
Growing Jamun in a pot proves that limited space is no barrier to successful fruit cultivation. With consistent care, attention to soil, pruning, and fertilization, your potted Jamun tree can become a long-lasting, productive, and beautiful addition to your home garden.