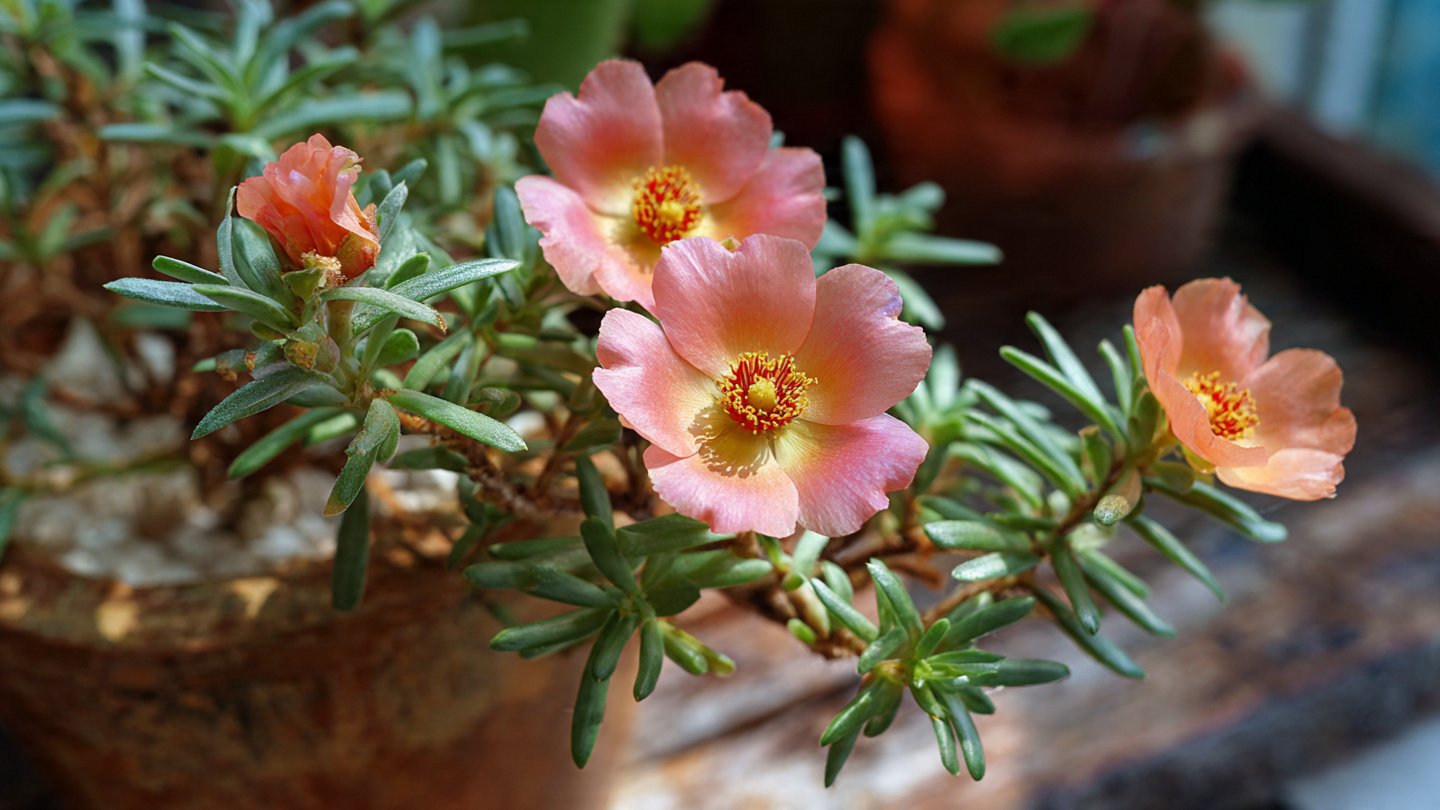
Portulaca, commonly known as moss rose, is a vibrant, sun-loving succulent plant renowned for its bright, colorful flowers and low-maintenance nature. Its trailing growth habit makes it perfect for hanging baskets, garden borders, and rock gardens. While Portulaca can be grown from seeds, propagating from cuttings is a faster and more reliable method to produce healthy plants with abundant blooms. This guide explores effective techniques for growing Portulaca from cuttings, helping gardeners achieve beautiful, flowering plants with minimal effort.
1. Why Choose Cuttings Over Seeds
Growing Portulaca from cuttings has several advantages compared to starting from seeds:
- Faster Growth: Cuttings develop into mature plants more quickly than seeds, allowing earlier flowering.
- Genetic Consistency: Cuttings produce plants identical to the parent, ensuring consistent flower color and form.
- Higher Success Rate: Seed germination can be unpredictable, while healthy cuttings root reliably.
- Cost-Effective: You can multiply your favorite Portulaca plants without buying seeds or new plants.
By using cuttings, gardeners can quickly expand their Portulaca collection with vibrant, thriving plants.
2. Selecting the Right Portulaca Cuttings
Choosing healthy cuttings is crucial for successful propagation:
- Parent Plant Health: Select strong, disease-free, and pest-free plants for cuttings. Avoid weak or stressed plants.
- Cutting Size: Take 3–4 inch stem cuttings, ensuring each has 2–3 nodes (points where leaves grow).
- Mature Stems: Semi-hardwood stems work best. Avoid very young shoots, which may wilt easily, or old woody stems, which root poorly.
- Leaf Preparation: Remove the lower leaves to expose nodes, leaving 1–2 leaves at the top.
Healthy cuttings increase the likelihood of fast root formation and vigorous growth.
3. Preparing the Cuttings
Proper preparation ensures the cutting survives and grows roots efficiently:
- Clean Cut: Use sterilized scissors or pruning shears to prevent disease transmission.
- Trim Ends: Make a clean, angled cut at the bottom to increase surface area for rooting.
- Optional Rooting Hormone: Dip the base in rooting hormone powder or gel to stimulate root growth. Natural alternatives like honey or willow extract may also help.
- Reduce Leaf Area: Removing extra leaves reduces water loss and prevents the cutting from drying out before rooting.
Well-prepared cuttings have a much higher success rate in rooting and establishing healthy plants.
4. Choosing the Right Propagation Medium
Portulaca cuttings require a well-draining medium to thrive:
- Soil Mix: Use a mix of coarse sand, perlite, and potting soil in equal parts.
- Alternative Media: Cocopeat, vermiculite, or a mixture of sand and compost also work well.
- Container Choice: Shallow trays, small pots, or even seedling flats are suitable. Ensure drainage holes to prevent waterlogging.
- Sterility: Using clean soil or medium reduces the risk of fungal infections and diseases.
A well-draining propagation medium is critical, as Portulaca roots are prone to rot if kept too wet.
5. Planting the Cuttings
Step-by-step planting ensures proper rooting:
- Insert Cuttings: Place the cuttings into the medium so that at least one node is buried.
- Firm the Soil: Gently press soil around the base to provide stability and eliminate air pockets.
- Spacing: Leave 1–2 inches between cuttings to allow air circulation and prevent fungal growth.
- Initial Watering: Lightly water the medium to settle it without causing sogginess.
Correct planting ensures the cuttings remain upright and are ready to develop roots.
6. Providing Optimal Rooting Conditions
Portulaca thrives under specific conditions that encourage rapid root development:
- Sunlight: Place cuttings in bright, indirect sunlight initially. Avoid direct harsh sun to prevent wilting.
- Temperature: Maintain a warm environment of 22–28°C (72–82°F) for optimal rooting.
- Humidity: High humidity encourages root formation. Cover the cuttings with a clear plastic dome or bag, leaving ventilation holes to prevent fungal growth.
- Moisture: Keep the medium slightly damp but not waterlogged. Overwatering can cause the cutting to rot.
Providing ideal conditions accelerates root growth and reduces the risk of cutting failure.
7. Root Development Timeline
Roots typically begin forming within 10–14 days under optimal conditions:
- Early Signs: Look for slight resistance when gently tugging the cutting, indicating root initiation.
- Root Appearance: Healthy roots are white and firm. Avoid cutting with brown, mushy roots, which indicates rot.
- Leaf Growth: New leaf formation at the top is a sign that the cutting has successfully rooted.
Monitoring root development helps you determine when the cuttings are ready for transplanting.
8. Transplanting Rooted Cuttings
Once cuttings have developed strong roots and new growth, they can be moved to larger containers or garden beds:
- Prepare Soil: Use a well-draining, nutrient-rich soil mix with compost or organic matter.
- Planting Depth: Bury the cutting just deep enough to cover the roots and maintain stability.
- Spacing: Allow 6–8 inches between plants to give them room to spread.
- Watering: Water immediately after transplanting and maintain consistent moisture until the plant establishes.
Proper transplantation minimizes stress and promotes healthy, flowering plants.
9. Container Gardening Tips for Portulaca
Portulaca thrives in containers if provided with proper care:
- Sunlight: Ensure full sun exposure (6–8 hours daily) for prolific flowering.
- Watering: Water sparingly; Portulaca is drought-tolerant. Avoid waterlogging, which can rot roots.
- Fertilization: Use a balanced, slow-release fertilizer once a month during the growing season.
- Pruning: Pinch off spent flowers and trim leggy stems to encourage bushier growth and more blooms.
Container-grown Portulaca adds vibrant color to patios, balconies, and windowsills, making them perfect for urban gardeners.
10. Dealing with Pests and Diseases
Portulaca is relatively pest-resistant, but a few problems may arise:
- Aphids: Small insects that suck sap from new growth. Treat with insecticidal soap or neem oil.
- Mealybugs: White cottony insects that can weaken plants. Remove manually or spray with neem oil.
- Fungal Issues: Root rot or leaf spot can occur in overly wet conditions. Ensure proper drainage and avoid overhead watering.
- Preventive Measures: Maintain airflow, avoid overcrowding, and use sterile propagation media.
Healthy plants will flower more profusely and remain vibrant throughout the season.
11. Flowering and Bloom Care
Portulaca cuttings can bloom within 6–8 weeks of rooting if given proper care:
- Deadheading: Remove faded flowers to encourage continuous blooming.
- Sunlight Exposure: Full sun promotes bright, vibrant flowers.
- Soil Nutrition: Occasional light fertilization supports sustained flowering.
- Watering Practices: Water deeply but infrequently to simulate natural conditions.
Proper flowering care ensures long-lasting, colorful blooms that brighten any garden space.
12. Advantages of Growing Portulaca from Cuttings
- Faster Maturity: Cuttings produce blooms more quickly than seeds.
- Consistency: Flowers maintain the same color and traits as the parent plant.
- Cost-Effective: Multiply your plants without buying seeds or new plants.
- Easy Propagation: Minimal materials and simple steps make it beginner-friendly.
- Vibrant Display: Trailing growth and prolific flowering make it ideal for decorative containers, hanging baskets, and borders.
This method allows gardeners to quickly create a colorful, low-maintenance display.
13. Tips for Maximum Success
- Always use healthy, disease-free parent plants.
- Choose semi-hardwood cuttings for the best rooting response.
- Maintain warm temperatures and bright indirect sunlight during rooting.
- Keep the propagation medium slightly moist but well-draining.
- Transplant only after strong roots and new growth appear.
- Regularly prune and deadhead to encourage bushy growth and continuous blooms.
By following these tips, gardeners can achieve lush, flowering Portulaca plants in record time.
Conclusion
Propagating Portulaca from cuttings is a simple, effective, and rewarding technique for gardeners looking to create vibrant and colorful displays. With proper cutting selection, preparation, planting, and care, even beginners can enjoy fast-growing, flowering plants that thrive in containers or garden beds.
From choosing healthy cuttings to maintaining proper sunlight, watering, and fertilization, each step contributes to vigorous growth and abundant blooms. By multiplying plants through cuttings, you can enjoy continuous color, fragrance, and aesthetic appeal in your garden, patio, or balcony.
Whether you are an experienced gardener or just starting, growing Portulaca from cuttings is a reliable and enjoyable way to add vibrant beauty and charm to any space. With patience, attention, and the right techniques, your Portulaca collection will flourish, rewarding you with stunning flowers throughout the growing season.