Peppers are one of the most versatile and rewarding plants to grow at home. From sweet bell peppers to fiery chili varieties, these plants add flavor, color, and nutrition to your meals while also providing the satisfaction of homegrown produce. Growing peppers from seed allows you to control quality, experiment with varieties, and extend your harvest season, making it an excellent choice for home gardeners.
This comprehensive guide will take you step by step from seed to spice, covering everything from selecting seeds to harvesting and storing peppers, ensuring your homegrown peppers thrive.
Why Grow Peppers at Home
Homegrown peppers are not only fresher and more flavorful than store-bought varieties, but they also offer several benefits:
- Variety: Choose from sweet, hot, or specialty peppers that may not be available at local markets.
- Nutritional Value: Peppers are rich in vitamin C, vitamin A, antioxidants, and capsaicin in hot varieties, which have numerous health benefits.
- Cost-Effective: Growing your own peppers reduces grocery bills, especially if you consume them frequently.
- Pesticide-Free: You can control the growing environment and avoid harmful chemicals.
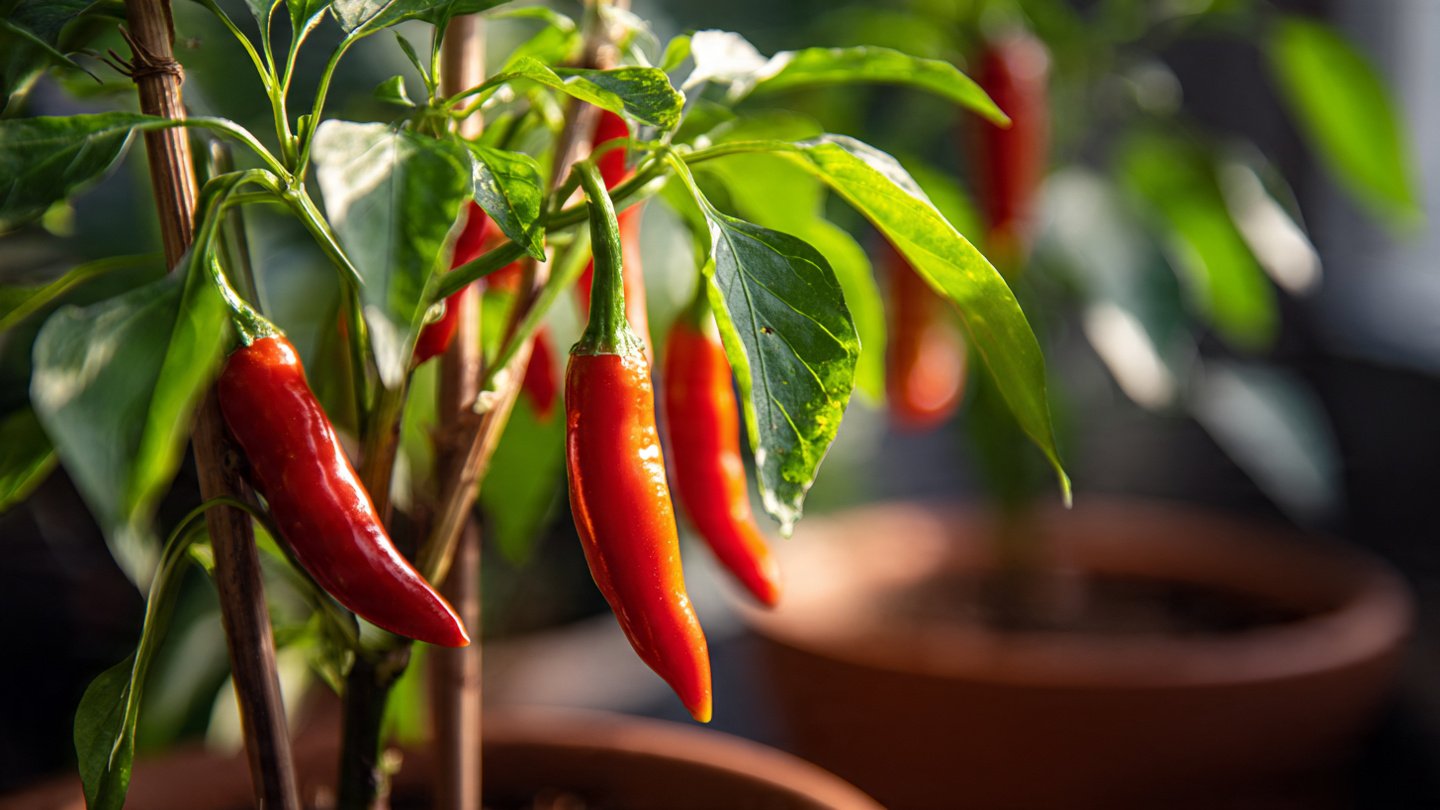
- Decorative: Many pepper plants produce colorful fruits and flowers, adding beauty to your garden or balcony.
Whether you have a backyard garden, rooftop space, or indoor pots, peppers can thrive with the right care.
Step 1: Selecting the Right Pepper Seeds
Choosing the right seeds is the foundation for a successful pepper harvest. Consider:
- Variety: Determine whether you want sweet peppers (bell, banana, or mini sweet peppers) or hot peppers (jalapeño, cayenne, habanero, or ghost peppers).
- Growing Conditions: Some varieties prefer cooler climates, while others need warmer temperatures.
- Size and Space: Dwarf varieties are ideal for container gardening, while larger varieties require more space.
Always purchase high-quality seeds from reputable suppliers to ensure germination and healthy growth.
Step 2: Starting Seeds Indoors
Starting peppers from seeds indoors gives them a head start, especially in regions with short growing seasons.
Materials Needed:
- Seed trays or small pots
- Seed-starting mix (light, well-draining, and nutrient-rich)
- Plastic dome or clear cover to maintain humidity
- Water spray bottle
Planting Seeds:
- Fill trays with seed-starting mix.
- Plant seeds ¼ inch deep in the soil.
- Water gently to avoid displacing seeds.
- Cover with a plastic dome to retain moisture.
- Place in a warm, sunny location (70–85°F) or use a heat mat.
Germination typically occurs 7–21 days, depending on the variety. Keep the soil consistently moist but not waterlogged.
Step 3: Caring for Seedlings
Once seedlings emerge, proper care ensures strong, healthy plants:
- Lighting: Provide 12–16 hours of bright light daily using grow lights if natural sunlight is insufficient.
- Watering: Keep soil moist but avoid soggy conditions. Overwatering can lead to damping-off disease.
- Thinning: If multiple seeds germinate in one spot, thin to one strong seedling per cell or pot.
- Hardening Off: Before transplanting outdoors, gradually expose seedlings to outdoor conditions over 7–10 days to reduce transplant shock.
Healthy seedlings develop strong stems and leaves, preparing them for outdoor growth.
Step 4: Preparing for Transplanting
Peppers need well-drained soil and plenty of sunlight to thrive.
Soil Preparation:
- Choose a location with 6–8 hours of sunlight per day.
- Amend soil with organic compost or well-rotted manure for nutrients.
- Maintain a slightly acidic to neutral pH (6.0–7.0).
- Improve drainage by adding sand or perlite if necessary.
Container Gardening:
- Use pots 12–16 inches in diameter for larger varieties and 8–10 inches for dwarf types.
- Ensure pots have drainage holes to prevent waterlogging.
- Use a quality potting mix enriched with compost or slow-release fertilizer.
Step 5: Transplanting Seedlings
- Dig a hole slightly larger than the seedling root ball.
- Gently remove the seedling from the tray, keeping the soil around the roots intact.
- Place the seedling in the hole and firm the soil around it.
- Water thoroughly to settle the roots.
- Space plants 12–18 inches apart in garden beds or maintain similar spacing in pots.
Transplanting during cool morning hours reduces stress on the young plants.
Step 6: Ongoing Care and Maintenance
Consistent care is key to healthy pepper plants and bountiful harvests.
1. Watering
- Keep soil evenly moist, watering at the base to prevent fungal diseases.
- Mulch around plants to retain moisture and regulate soil temperature.
2. Fertilization
- Start with a balanced fertilizer (NPK 10-10-10) two weeks after transplanting.
- Switch to a high-phosphorus and potassium fertilizer during flowering and fruiting to encourage blooms and larger fruits.
- Apply fertilizer every 3–4 weeks or follow label instructions.
3. Pruning
- Remove damaged or yellowing leaves to improve airflow and reduce disease risk.
- Pinch early flower buds in the first 4–6 weeks to encourage stronger vegetative growth.
4. Pest and Disease Control
Common pests include:
- Aphids
- Whiteflies
- Spider mites
- Pepper weevils
Control pests naturally using insecticidal soap, neem oil, or companion planting with pest-repellent herbs like basil or marigolds.
Fungal diseases like powdery mildew or blossom end rot can be prevented with proper watering, sunlight, and nutrient management.
Step 7: Flowering and Pollination
- Peppers produce small, white flowers that eventually develop into fruits.
- Encourage pollination by gently shaking flowers or using a soft brush to transfer pollen.
- Ensure adequate sunlight and warmth; peppers thrive at temperatures 70–85°F during the day and 60–70°F at night.
Successful pollination leads to fruit set, and proper care ensures maximum fruit size and quality.
Step 8: Harvesting Peppers
Peppers can be harvested at different stages depending on your preference:
- Green Stage: Slightly immature, firm, and less sweet.
- Fully Colored Stage: Red, yellow, or orange peppers are sweeter and more flavorful.
- Hot Peppers: Color development indicates peak capsaicin levels.
Use a sharp knife or scissors to cut fruits, leaving a small stem attached. Avoid pulling fruits to prevent damage to the plant.
Step 9: Storing and Using Your Peppers
- Short-term Storage: Refrigerate fresh peppers for up to 2 weeks.
- Long-term Storage: Freeze, dry, or pickle peppers for extended use.
- Culinary Uses: Use peppers fresh in salads, sauces, stir-fries, or as dried spices for chili powders.
Homegrown peppers retain more flavor and nutrients than store-bought ones, making them ideal for cooking.
Tips for Maximizing Pepper Yield
- Succession Planting: Plant seeds in intervals to enjoy a continuous harvest.
- Companion Planting: Grow peppers near tomatoes, basil, or marigolds for natural pest control and healthier growth.
- Regular Harvesting: Picking peppers promptly encourages the plant to produce more fruits.
- Support Structures: Use stakes or cages to support tall varieties and prevent stems from breaking under fruit weight.
- Temperature Control: Protect plants from frost and extreme heat using shade cloths or cloches.
By following these tips, you can enjoy a bountiful, year-round supply of homegrown peppers.
Conclusion
Growing peppers at home is both rewarding and practical. From seed to spice, each step—from selecting seeds, starting seedlings, transplanting, and providing proper care—contributes to a healthy, productive plant. With attention to sunlight, water, nutrients, and pest management, home gardeners can produce vibrant, flavorful peppers that elevate any dish while keeping the garden natural and chemical-free.
Whether you prefer sweet bell peppers or fiery chilies, growing peppers at home allows you to experiment with varieties, control quality, and enjoy fresh, nutrient-packed fruits all season long. With patience, care, and consistent maintenance, your garden can become a spice haven, bursting with colorful peppers and culinary delights.