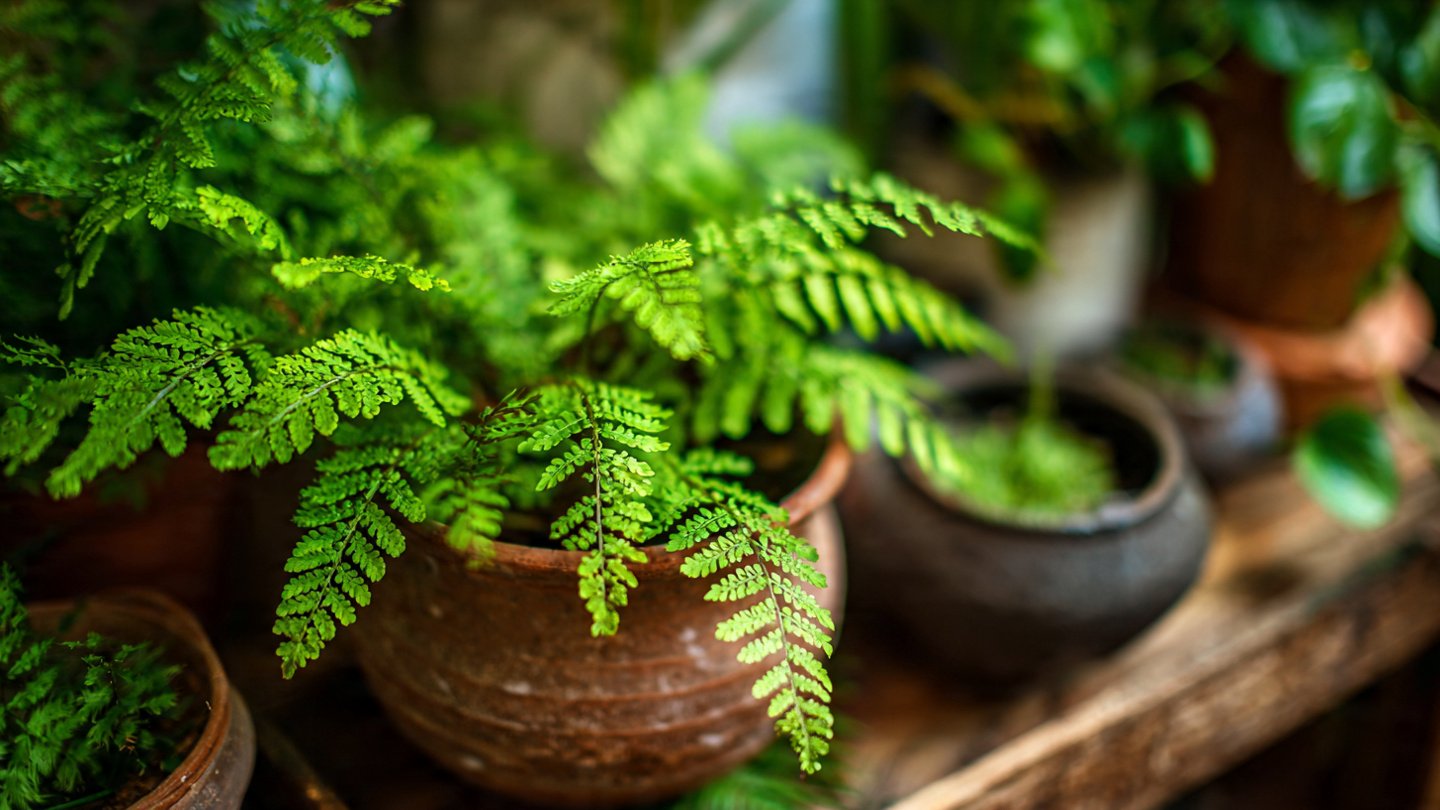
Ferns are timeless plants that bring softness, texture, and lush greenery to indoor spaces. Unlike flowering plants, ferns reproduce through spores instead of seeds, which often makes them seem mysterious or difficult to grow. In reality, sowing ferns from spores at home is a fascinating, rewarding process that allows you to grow plants entirely from scratch.
With patience, cleanliness, and the right conditions, anyone can successfully grow ferns from spores and create a thriving indoor garden. This step-by-step guide will walk you through everything you need to know—from collecting spores to nurturing young fern plants—so you can enjoy the magic of fern propagation at home.
Understanding Fern Spores and Their Life Cycle
Before sowing fern spores, it helps to understand how ferns grow.
Ferns have a two-stage life cycle:
- Spores grow into a tiny, heart-shaped structure called a prothallus
- The prothallus produces new fern plants after fertilization
This process takes longer than seed germination, but it’s also incredibly satisfying because you witness the entire life cycle of the plant.
Fern spores are extremely fine—more like dust than seeds—and require specific conditions to germinate successfully.
Why Grow Ferns from Spores at Home?
Growing ferns from spores offers several unique benefits:
- Allows you to grow rare or unusual fern varieties
- Produces many plants from a single spore source
- Costs far less than buying mature plants
- Creates stronger, well-adapted plants
- Offers a rewarding and educational gardening experience
For indoor gardeners who enjoy patience and detail, fern spore sowing is a perfect project.
Step 1: Choosing the Right Fern for Spore Sowing
Not all ferns are equally easy to grow from spores. Beginners should start with hardy, adaptable species.
Good fern choices for beginners include:
- Boston fern (Nephrolepis)
- Maidenhair fern (Adiantum)
- Bird’s nest fern (Asplenium)
- Button fern (Pellaea)
Choose healthy parent plants with mature fronds for spore collection.
Step 2: Collecting Fern Spores
Fern spores are found on the underside of mature fronds, usually in small brown or black clusters called sori.
How to Collect Spores:
- Select a healthy frond with dark, mature sori
- Cut the frond and place it inside a paper envelope
- Leave it in a dry, warm place for several days
- Spores will naturally fall off as a fine powder
Avoid plastic containers, as moisture can cause mold.
Step 3: Preparing a Sterile Growing Medium
Cleanliness is critical when sowing fern spores. Spores are extremely sensitive to fungi and bacteria.
Ideal Growing Medium:
- Fine peat moss or coco peat
- Sterile potting mix for seedlings
- Optional: a small amount of vermiculite
Sterilization Methods:
- Microwave damp soil for 2–3 minutes
- Bake soil at low heat (around 180°F / 80°C) for 30 minutes
- Allow soil to cool completely before use
Sterilizing the medium dramatically increases success rates.
Step 4: Choosing Containers for Spore Sowing
Use shallow containers with drainage holes.
Good options include:
- Plastic seed trays
- Shallow pots
- Clear plastic food containers with holes
Clean containers thoroughly with hot water or diluted vinegar to remove contaminants.
Step 5: Sowing Fern Spores
This step requires a gentle touch.
How to Sow Spores:
- Fill containers with sterilized, damp soil
- Level the surface without compacting
- Sprinkle spores lightly over the soil surface
- Do not cover spores with soil
- Mist gently using a fine spray
Fern spores need light to germinate, so surface sowing is essential.
Step 6: Creating the Right Growing Environment
Fern spores require consistent warmth, moisture, and humidity.
Ideal Conditions:
- Temperature: 65–75°F (18–24°C)
- Bright, indirect light
- High humidity
- No direct sunlight
Cover containers with:
- Clear plastic wrap
- A humidity dome
- A clear lid with small air holes
This creates a mini greenhouse that keeps moisture levels stable.
Step 7: Watering and Moisture Control
Watering fern spores is different from watering mature plants.
- Keep soil consistently moist, never soggy
- Use misting instead of pouring water
- Avoid letting soil dry out
- Use distilled or rainwater if possible
Too much water encourages mold, while dryness stops germination.
Step 8: Watching for Germination
Patience is essential. Fern spores do not germinate quickly.
What to Expect:
- Green film appears after 2–6 weeks
- This film develops into tiny heart-shaped prothalli
- Prothalli remain flat and low to the soil
At this stage, your fern is not yet a fern—it’s the first phase of its life cycle.
Step 9: Encouraging Fertilization
Fertilization occurs naturally when moisture is present.
- Light misting helps sperm cells swim between structures
- High humidity supports fertilization
- Avoid airflow that dries the surface
Soon after fertilization, tiny fern fronds (called sporophytes) begin to appear.
Step 10: Caring for Young Fern Plants
Once baby ferns appear, gradual changes are needed.
Care Tips:
- Reduce humidity slowly over several weeks
- Increase airflow slightly to prevent mold
- Maintain indirect light
- Continue gentle misting
Avoid sudden environmental changes, which can stress young plants.
Step 11: Transplanting Baby Ferns
When young ferns develop several true fronds, they’re ready to move.
How to Transplant:
- Use a spoon or tweezers to lift gently
- Plant into small pots with light potting mix
- Space plants to avoid crowding
- Water lightly after transplanting
Handle carefully—young fern roots are extremely delicate.
Step 12: Growing Ferns as Indoor Plants
Once established, ferns can be treated like regular houseplants.
Indoor Fern Care:
- Bright, indirect light
- Consistent moisture
- Moderate humidity
- Occasional feeding with diluted fertilizer
Avoid drafts, direct sun, and dry air to keep ferns lush and healthy.
Common Problems and Solutions
Mold or Algae Growth
- Improve air circulation
- Reduce moisture slightly
- Ensure sterile soil
Poor Germination
- Spores may be immature
- Temperature may be too low
- Light may be insufficient
Slow Growth
- This is normal—ferns grow slowly
- Maintain patience and stable conditions
Why Ferns from Spores Are Worth the Effort
Growing ferns from spores requires time, but the rewards are unmatched.
You gain:
- A deeper understanding of plant life cycles
- Stronger, better-adapted plants
- Dozens of ferns from a single sowing
- A sense of accomplishment few gardening projects offer
It’s one of the most satisfying indoor gardening experiences available.
Final Thoughts
Sowing ferns at home from spores may seem intimidating, but with the right approach, it’s completely achievable—even for beginners. By maintaining cleanliness, patience, humidity, and gentle care, you can successfully grow ferns from microscopic spores into lush indoor plants.
This step-by-step process transforms fern growing into a peaceful, almost meditative journey. If you enjoy slow gardening, detailed observation, and nurturing plants from their earliest stages, fern spore propagation is a perfect project for your indoor garden.
With time, consistency, and care, your home can be filled with graceful, thriving ferns—grown entirely by you.