Growing your own garlic doesn’t require a backyard garden or fancy equipment. In fact, you can successfully grow healthy, flavorful garlic right at home using something as simple as a box, two carefully chosen substrates, and a support stake. This method is ideal for small spaces, balconies, patios, or anyone looking for a clean and controlled way to produce homegrown garlic.
Garlic is low-maintenance, rewarding, and incredibly versatile in the kitchen. When grown in a box, it becomes even easier to manage soil quality, drainage, and plant spacing. Let’s walk through everything you need to know—from materials and setup to planting, care, and harvesting.
Why Grow Garlic in a Box?
Growing garlic in a box offers several advantages over traditional garden beds:
- Space-efficient: Perfect for balconies, rooftops, and patios
- Better soil control: You decide exactly what goes into your growing medium
- Improved drainage: Reduces the risk of rot and fungal disease
- Easy maintenance: Less bending, fewer weeds, and simpler monitoring
- Portable: You can move the box to follow sunlight or protect plants from extreme weather
This method is especially helpful for beginners or gardeners dealing with poor native soil.
What You’ll Need
Before planting, gather these basic materials:
- A sturdy box or container (wooden, plastic, or fabric grow box) at least 8–10 inches deep
- Garlic bulbs (organic, untreated cloves work best)
- Two substrates (explained below)
- Support stake (bamboo, wooden dowel, or garden stake)
- Drill or tool for drainage holes (if not pre-made)
- Watering can or spray bottle
Choosing the Right Box
The box doesn’t need to be fancy, but it must meet a few requirements:
- Depth: At least 8 inches, ideally 10–12 inches
- Drainage holes: Essential to prevent waterlogging
- Width: Wide enough to space cloves 4–6 inches apart
Wooden boxes are popular because they breathe well, but plastic or fabric containers work just as effectively as long as drainage is good.
The Two-Substrate Method Explained
One of the secrets to growing strong garlic in a box is using two different substrates layered together. This combination supports both root development and nutrient availability.
Substrate 1: Drainage and Root Support Layer
This bottom layer ensures excess water drains away easily and roots don’t sit in soggy soil.
Good options include:
- Coarse sand
- Coco chips
- Perlite or pumice
- Small gravel mixed with coco coir
Lay about 2–3 inches of this substrate at the bottom of the box.
Substrate 2: Nutrient-Rich Growing Medium
This is where the garlic will do most of its growing.
Ideal mix:
- 40% garden soil or potting soil
- 30% compost or well-rotted manure
- 20% coco peat or leaf mold
- 10% sand or perlite
This substrate should be loose, fertile, and well-draining. Garlic prefers soil that is rich but not heavy.
Preparing Garlic for Planting
Use individual cloves, not whole bulbs. Choose the largest, healthiest cloves for best results.
Before planting:
- Keep the papery skin intact
- Avoid damaged or soft cloves
- If desired, soak cloves for a few hours in water to encourage faster rooting (optional)
Garlic varieties are usually divided into softneck and hardneck. Both grow well in containers, though softneck varieties adapt slightly better to warmer climates.
Planting Garlic in the Box
Follow these steps for proper planting:
- Fill the box halfway with the nutrient-rich substrate
- Place cloves pointed end up, flat end down
- Space cloves 4–6 inches apart
- Push each clove about 2 inches deep
- Cover with remaining soil mix
- Water gently until soil is moist but not soaked
Once planted, place the box in a location that receives at least 6 hours of sunlight daily.
Using a Support Stake: Why It Matters
Garlic grows tall, slender leaves that can bend or fall over, especially in windy conditions or during heavy rain.
A support stake helps by:
- Keeping plants upright
- Preventing stem breakage
- Improving air circulation
- Making watering and inspection easier
Insert a bamboo or wooden stake along one side of the box. As garlic grows, loosely tie the leaves using soft garden ties or twine. Avoid tying too tightly—garlic needs room to expand.
Watering and Care
Garlic prefers consistent moisture but hates soggy soil.
Watering tips:
- Water when the top inch of soil feels dry
- Reduce watering once bulbs begin forming
- Avoid overhead watering late in the day
Fertilizing:
- Add compost tea or diluted organic fertilizer every 3–4 weeks
- Stop feeding once leaves start yellowing near harvest time
Managing Pests and Problems
Garlic is naturally pest-resistant, but container plants still need monitoring.
Common issues:
- Yellow leaves: Overwatering or nutrient deficiency
- Moldy soil surface: Poor air circulation
- Slow growth: Lack of sunlight or compacted soil
Keep the box clean, ensure good airflow, and remove dead leaves promptly.
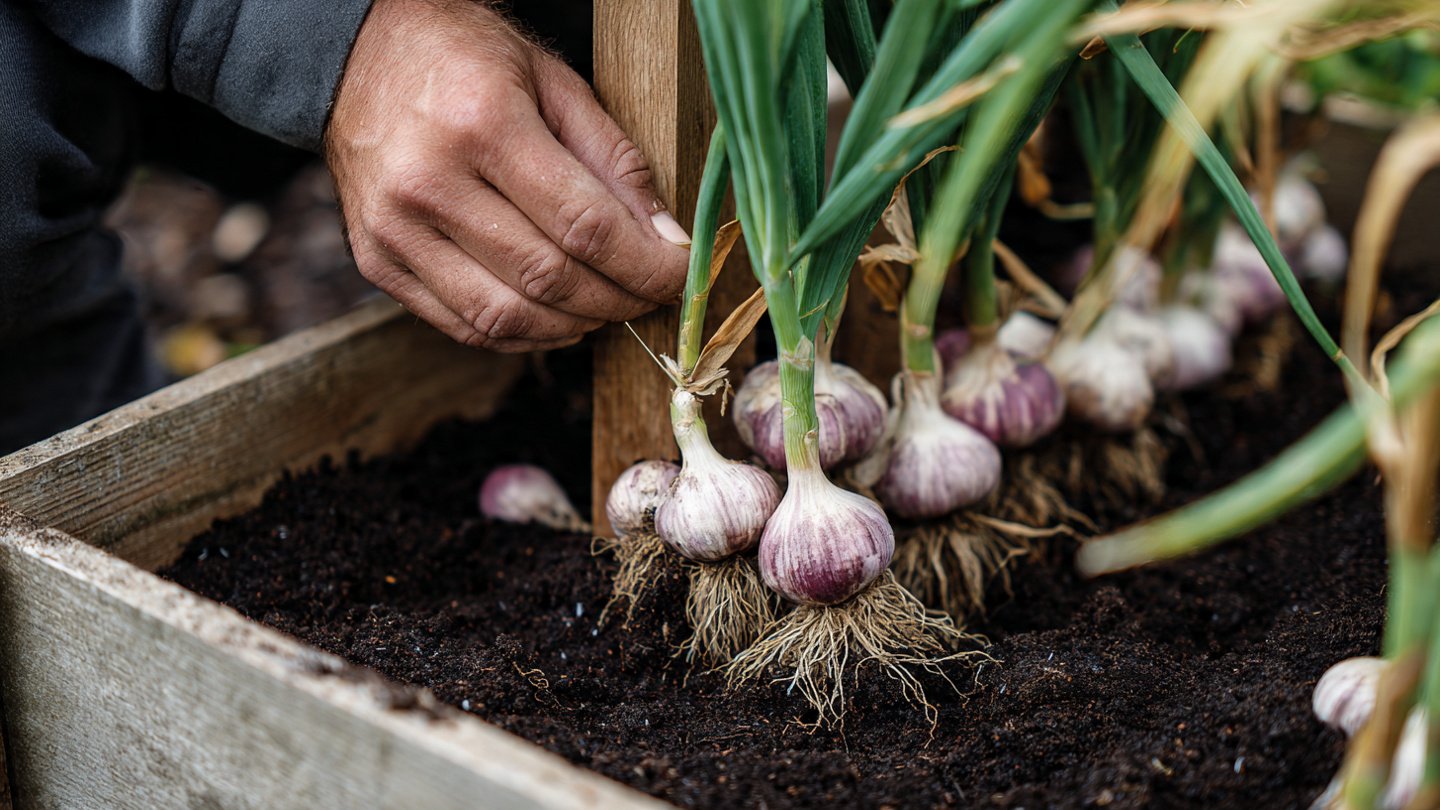
When and How to Harvest Garlic
Garlic is usually ready to harvest 7–9 months after planting, depending on variety and climate.
Signs garlic is ready:
- Lower leaves turn yellow or brown
- Upper leaves are still green
- Bulbs feel firm beneath the soil
To harvest:
- Stop watering a week before harvesting
- Loosen soil gently with your hands
- Lift bulbs carefully—don’t pull by the stem
- Brush off excess soil
Curing and Storing Garlic
Curing improves flavor and shelf life.
- Hang garlic in a dry, shaded, well-ventilated area
- Cure for 2–3 weeks
- Trim roots and stems after curing
- Store in a cool, dry place
Properly cured garlic can last 6–8 months.
Final Thoughts
Growing garlic in a box using two substrates and a support stake is a simple, effective technique that delivers impressive results—even in small spaces. With minimal effort, you gain full control over soil quality, moisture, and plant health, while enjoying fresh, chemical-free garlic straight from your home.
Whether you’re a beginner or an experienced gardener, this method proves that great harvests don’t require large gardens—just smart techniques and a little patience.