Chickpeas, also known as garbanzo beans, are a nutritious and versatile legume used in many popular dishes such as hummus, curries, salads, and soups. While they are commonly grown on farms, many people don’t realize that chickpeas can be successfully grown at home—even in a simple garden pot. With the right conditions and basic care, container-grown chickpeas can thrive and produce a rewarding harvest.
Growing chickpeas in pots is an excellent option for gardeners with limited space, balconies, patios, or small backyards. It also promotes sustainable living by encouraging home food production and reducing dependence on store-bought legumes. This guide will walk you through every step of growing chickpeas in a pot, from choosing seeds to harvesting and storage.
Understanding Chickpea Growth Requirements
Before planting chickpeas, it’s helpful to understand their basic needs. Chickpeas are cool-season legumes that grow best in mild, dry climates. They prefer full sunlight, well-draining soil, and moderate watering.
Chickpea plants are relatively hardy and low-maintenance once established. However, they do not tolerate excess moisture or heavy soil. When grown in containers, providing proper drainage and airflow is especially important.
Choosing the Right Chickpea Variety
There are two main types of chickpeas: Desi and Kabuli. Desi chickpeas are smaller, darker, and commonly used in Indian and Middle Eastern cooking. Kabuli chickpeas are larger, lighter in color, and more familiar in Western cuisine.
Both types can be grown in pots, but Kabuli varieties are often preferred for container gardening because they tend to grow more uniformly and are easier to harvest. When selecting seeds, use organic dried chickpeas or seeds labeled specifically for planting. Avoid chickpeas treated for cooking or long-term storage, as they may not germinate.
Selecting the Ideal Pot or Container
Choosing the right container is a key step in successful chickpea cultivation. Chickpea plants develop deep roots, so the pot should be at least 10–12 inches deep and 12 inches wide.
Plastic, ceramic, or terracotta pots all work well, as long as they have drainage holes at the bottom. Fabric grow bags are also an excellent option because they improve root aeration and prevent waterlogging.
Make sure the container is clean before planting to reduce the risk of disease.
Preparing the Best Soil Mix
Chickpeas grow best in light, well-draining soil. Heavy or compacted soil can cause root problems and poor growth.
A good soil mix for pot-grown chickpeas includes:
- 40% garden soil or potting mix
- 30% compost or well-rotted organic matter
- 20% sand or perlite
- 10% coco peat (optional, for moisture balance)
The soil should be slightly acidic to neutral, with a pH between 6.0 and 7.5. Avoid adding too much nitrogen-rich fertilizer, as chickpeas naturally fix nitrogen and excessive nitrogen promotes leaf growth over pod formation.
Preparing and Planting Chickpea Seeds
Soaking chickpea seeds before planting helps improve germination. Soak the seeds in clean water for 8–12 hours, then drain them before planting.
Fill the pot with soil, leaving about an inch of space at the top. Plant the seeds 1–2 inches deep, spacing them about 3 inches apart. If using a medium-sized pot, plant two to three seeds and thin to the strongest seedling later.
Water lightly after planting to settle the soil.
Providing the Right Sunlight and Temperature
Chickpeas need 6–8 hours of direct sunlight each day. Place the pot in a sunny location such as a balcony, terrace, or garden area that receives plenty of light.
The ideal temperature range for chickpeas is between 60–85°F (15–30°C). They can tolerate mild cold but are sensitive to frost, especially during flowering. If frost is expected, move the pot indoors or cover the plant for protection.
Watering Chickpeas in Pots
Proper watering is one of the most important factors in growing chickpeas successfully in containers. Chickpeas prefer moderate watering and do not like soggy soil.
Water the plant when the top inch of soil feels dry. During early growth, regular watering helps establish strong roots. Once the plant begins flowering and forming pods, reduce watering slightly to prevent rot and disease.
Always water at the base of the plant and avoid wetting the leaves, as this can encourage fungal problems.
Fertilizing Chickpea Plants
Chickpeas are legumes and can fix nitrogen from the soil with the help of beneficial bacteria. Because of this, they do not require heavy fertilization.
Before planting, mixing compost into the soil is usually sufficient. If the plant shows slow growth, you can apply a light dose of organic fertilizer or compost tea once during the growing season.
Avoid high-nitrogen fertilizers, as they can delay flowering and reduce yield.
Supporting and Caring for the Plant
Chickpea plants are bushy and usually do not require staking, but taller varieties may benefit from light support. A small bamboo stick can help keep the plant upright, especially in windy conditions.
Regularly remove weeds from the pot and check the plant for pests such as aphids or caterpillars. Neem oil or mild soap spray can be used as an organic pest control solution if needed.
Good air circulation around the plant helps prevent disease.
Common Problems and How to Fix Them
Yellowing leaves may indicate overwatering or poor drainage. Reduce watering and ensure excess water can escape from the pot.
If the plant produces many leaves but few flowers, it may be receiving too much nitrogen or not enough sunlight. Adjust fertilizer use and move the pot to a brighter location.
Fungal diseases can occur in humid conditions. To prevent this, avoid overhead watering and ensure proper spacing and airflow.
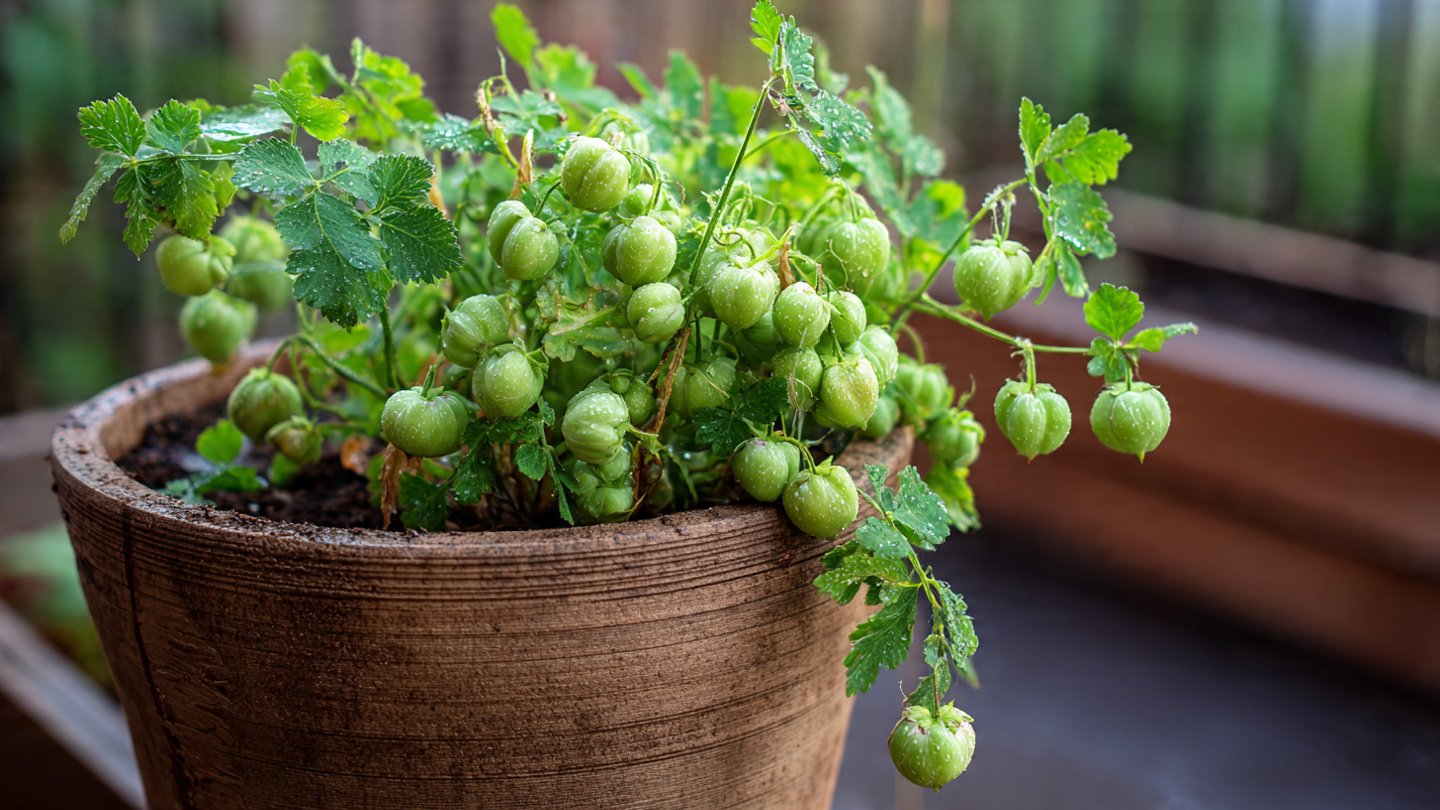
Harvesting Chickpeas
Chickpeas are typically ready to harvest 90–120 days after planting. For fresh green chickpeas, harvest when the pods are plump and green.
For dried chickpeas, allow the pods to turn brown and dry on the plant. Once most pods are dry, cut the plant at the base and hang it upside down in a dry, well-ventilated area for one to two weeks.
Remove the dried seeds from the pods and store them in an airtight container.
Storing and Using Homegrown Chickpeas
Dried chickpeas should be stored in a cool, dry place away from sunlight. Properly stored chickpeas can last for several months.
Before cooking, soak dried chickpeas overnight to reduce cooking time. Homegrown chickpeas often have better flavor and texture than store-bought ones.
Conclusion
Growing chickpeas in a simple garden pot is an easy and rewarding way to produce your own healthy, plant-based protein at home. With the right container, soil, sunlight, and care, even beginner gardeners can enjoy a successful harvest.
This sustainable gardening practice saves space, reduces food miles, and deepens your connection to the food you eat. Whether you’re growing chickpeas for fresh cooking or dry storage, the process is both educational and satisfying.
Start with one pot, learn from the experience, and enjoy the journey of growing your own chickpeas from seed to harvest.