Oranges are more than just a tasty snack—they are a gateway to one of the most rewarding gardening experiences. Imagine biting into a juicy, sweet orange that you grew yourself from the seed of the fruit you just ate! While it may sound ambitious, growing an orange tree from a fresh orange is completely possible with the right care, patience, and techniques. This guide will take you step by step from peeling an orange to nurturing a thriving citrus tree.
Why Grow an Orange Tree From Seed?
Starting an orange tree from seed has several advantages:
- Cost-effective: You don’t need to buy a young tree; the seeds inside your fresh orange are free.
- Educational: It’s a fascinating way to learn about plant life cycles and seed germination.
- Personal satisfaction: Watching a tree grow from a tiny seed into a fruit-bearing tree is immensely rewarding.
- Control over growing conditions: By starting from seed, you can nurture the plant from the very beginning, making it adaptable to your environment.
However, it’s important to note that orange trees grown from seeds may take longer to bear fruit (usually 3–6 years), and the fruit may differ slightly from the parent orange. Still, the process is fulfilling and creates a lasting addition to your garden or home.
Choosing the Right Orange
Not all oranges are ideal for seed propagation. Here’s what to consider:
- Use fresh, organic oranges: Seeds from chemically treated or store-bought oranges may not germinate.
- Select healthy fruit: Look for oranges with firm flesh and no signs of mold or disease.
- Avoid juice-only oranges: Oranges grown for commercial juice often have sterile seeds that won’t sprout.
Popular seed-friendly varieties include Valencia, Navel, and Blood oranges, but most edible oranges work fine as long as the seeds are viable.
Extracting and Preparing Orange Seeds
The next step is to extract seeds and prepare them for germination:
- Cut and remove seeds: Slice your orange and gently remove the seeds. Handle them carefully to avoid damage.
- Clean the seeds: Rinse seeds under lukewarm water to remove pulp, sugar, or juice. Residual fruit can encourage mold growth.
- Optional seed scarification: Lightly nick or sand the seed coat to improve water absorption and speed germination. This step is not mandatory but can help if germination is slow.
- Soak seeds: Place seeds in a cup of water for 12–24 hours to soften the outer coat. This increases germination success.
Germinating Orange Seeds
Germination is a delicate stage, and conditions must be carefully controlled:
- Use a moist medium: Fill a small pot with seed-starting mix, peat, or a light, well-draining soil blend.
- Plant seeds shallowly: Push seeds about ½ inch deep into the soil.
- Maintain warmth: Orange seeds germinate best at 21–27°C (70–80°F). Using a seed heating mat can help in cooler climates.
- Keep soil moist: Water gently to avoid washing seeds away. Cover the pot with plastic wrap or a clear lid to retain humidity.
- Provide light: Once sprouts appear (typically 2–3 weeks), move them to a sunny windowsill or under grow lights for at least 6–8 hours of light daily.
Patience is essential—some seeds take up to 8 weeks to sprout.
Transplanting Seedlings
After your seedlings develop 2–3 true leaves, it’s time to transplant them into larger containers:
- Choose a pot with drainage holes: Start with a 6–8 inch pot.
- Use well-draining citrus soil: A mix of potting soil, sand, and compost works well.
- Plant carefully: Avoid damaging the fragile roots. Ensure the seedling is upright and stable.
- Water lightly: Keep soil consistently moist but not soggy.
As seedlings grow, gradually increase pot size. Larger containers allow root systems to expand, which supports strong growth.
Sunlight and Temperature Requirements
Orange trees thrive in warm, sunny environments:
- Full sunlight: At least 6–8 hours per day is ideal. Indoor growers should consider supplemental grow lights during winter.
- Warm temperatures: Optimal growth occurs at 20–30°C (68–86°F). Protect seedlings from frost.
- Humidity: Citrus trees prefer moderate humidity. Indoor trees benefit from occasional misting, especially in dry climates.
If you live in a colder region, container-grown oranges can be moved indoors during winter to maintain warmth.
Watering and Fertilizing Your Young Orange Tree
Consistent care is key to a healthy citrus tree:
- Watering: Keep soil moist, not waterlogged. Overwatering leads to root rot, while underwatering can stunt growth.
- Fertilizing: Feed young trees with a citrus-specific fertilizer every 4–6 weeks during the growing season. Once the tree matures, follow a slower feeding schedule.
- Pruning: Lightly prune to encourage bushy growth. Remove any dead, damaged, or crossing branches.
Container-grown orange trees need more frequent care than those planted in the ground because nutrients and water are more limited.
Repotting as the Tree Grows
As your orange tree matures, it will require larger pots to thrive:
- Move to a 12–16 inch pot once seedlings outgrow small pots.
- Eventually, use 20–24 inch pots for semi-mature trees.
- Use fresh soil during repotting to replenish nutrients and ensure proper drainage.
Repotting is best done in early spring before new growth begins.
Encouraging Flowering and Fruit
Growing fruit from seed requires patience:
- Flowering: Orange trees may take 3–6 years to produce their first flowers. Encourage blooms by providing ample sunlight, warmth, and regular feeding.
- Pollination: Most oranges are self-pollinating, but indoor trees may need gentle hand pollination with a soft brush.
- Fruit care: Once flowers become tiny fruits, ensure consistent watering and protect them from pests.
Remember, the first harvest may be modest, but with consistent care, production will increase over time.
Dealing With Pests and Diseases
Orange trees are susceptible to some common problems:
- Pests: Aphids, spider mites, and scale insects can damage foliage. Regularly inspect leaves and treat infestations promptly using insecticidal soap or neem oil.
- Fungal issues: Overwatering or poor airflow can lead to root rot or leaf spots. Use well-draining soil and maintain moderate humidity.
- Nutrient deficiencies: Yellow leaves may indicate iron or nitrogen deficiencies. Fertilize appropriately to keep the tree healthy.
Preventive care and vigilance are more effective than reactive treatments.
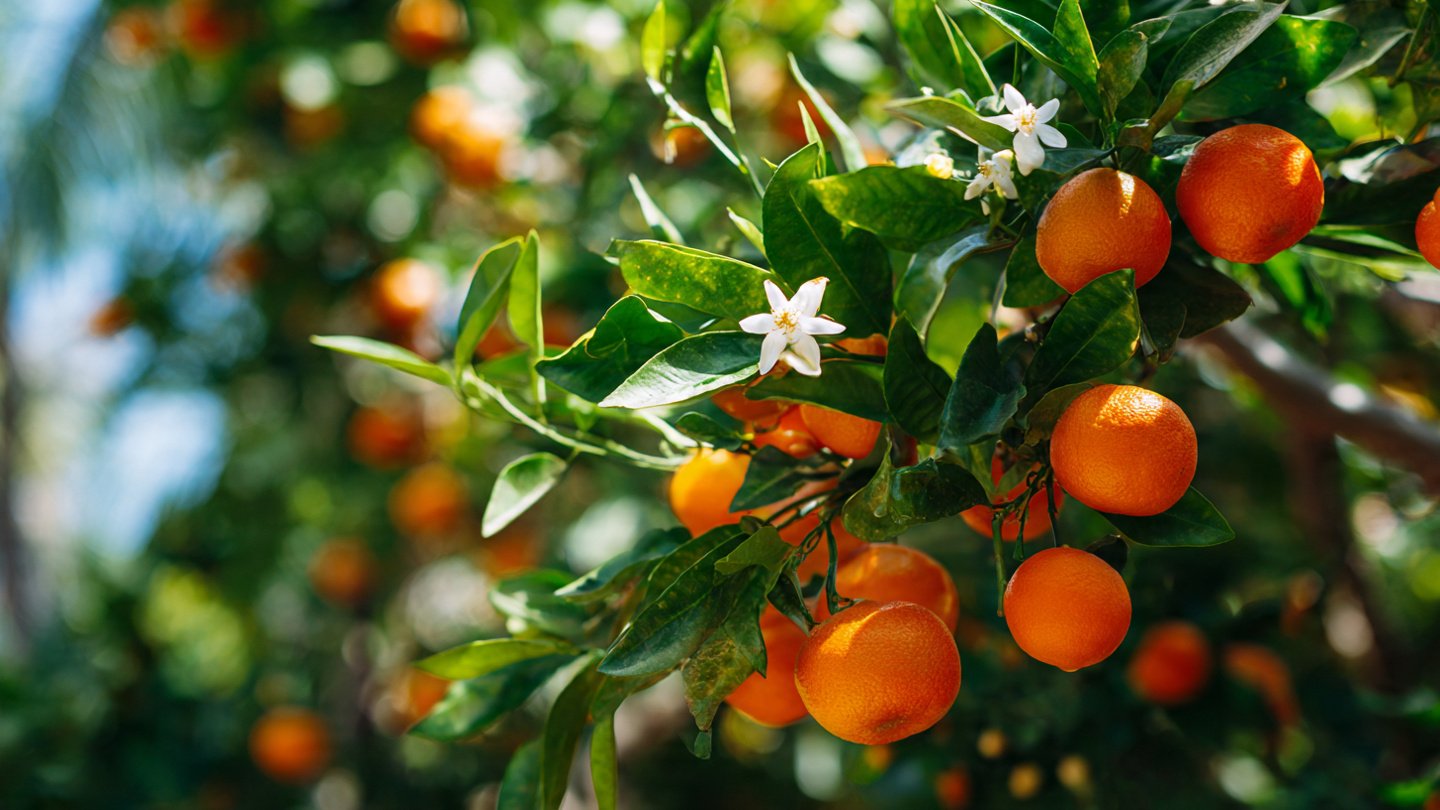
Harvesting Your Homegrown Oranges
Patience pays off when your tree finally produces fruit:
- Oranges are ready to harvest when fully colored, slightly soft, and aromatic.
- Taste tests are the best indicator—if it’s sweet and juicy, it’s ready.
- Gently twist or cut fruit from branches to avoid damage.
Freshly harvested oranges are perfect for snacking, juicing, or even gifting.
Final Thoughts
Growing an orange tree from a fresh orange seed is a journey of patience, care, and wonder. While it may take years to see fruit, the process teaches invaluable lessons about plant life, responsibility, and the joy of nurturing life from a tiny seed. By following these steps—choosing the right seeds, germinating carefully, providing optimal light, water, and nutrients, and maintaining vigilance against pests—you can grow a healthy, thriving citrus tree anywhere in the world, even if you live in an apartment or a region with seasonal cold.
From a simple snack to a full-grown citrus tree, your journey with oranges is a living testament to the rewards of home gardening. And when the day comes that you taste the first fruit of your labor, you’ll know every moment of care was worth it.