Pansies are usually treated as short-lived seasonal flowers—bought in trays, planted out, enjoyed for a few months, and then forgotten. But what if you could grow huge, vigorous pansy plants almost for free, with thicker stems, more blooms, and better cold tolerance than store-bought seedlings?
The secret lies in summer cuttings.
Growing pansies from summer cuttings is one of the most underrated tricks in gardening. It’s easy, surprisingly fast, and gives you stronger plants that are already mature by the time autumn and winter arrive. Whether you want overflowing containers, bold borders, or show-stopping winter color, this method can completely change how your pansies perform.
Let’s break it down step by step.
Why Summer Cuttings Create Bigger, Better Pansies
Most gardeners grow pansies from seed in late winter or early spring. While that works, seedlings take time to establish and often struggle in heat or cold extremes. Cuttings, on the other hand, are clones of mature plants.
Here’s why that matters:
- Faster growth – cuttings skip the seedling stage
- Stronger root systems – better nutrient uptake
- Earlier and larger blooms
- Uniform size and color
- More cold-hardy plants
By late autumn, cutting-grown pansies are already well established, which allows them to explode with flowers when temperatures cool.
When Is the Best Time to Take Pansy Cuttings?
Timing is critical.
The ideal window is mid-summer to late summer, usually from July through early September, depending on your climate.
Why summer works:
- Plants are actively growing
- Stems root faster in warm conditions
- Cuttings have time to bulk up before winter
Avoid taking cuttings during heatwaves. Early morning or evening is best, when plants are hydrated and stress levels are low.
Choosing the Right Parent Plant
Not all pansies are equal when it comes to cuttings. Choose carefully.
Look for plants that are:
- Healthy and disease-free
- Compact and bushy
- Producing strong side shoots
- Free from pests like aphids or spider mites
Avoid leggy, weak, or flowering-exhausted plants. Strong parents create strong offspring.
Pro tip: If a pansy looks impressive in spring, that’s a perfect candidate for summer propagation.
How to Take Perfect Pansy Cuttings
This step is simpler than most people expect.
What You’ll Need
- Sharp scissors or pruners
- Small pots or trays
- Free-draining compost (seed compost works well)
- Optional: rooting hormone
Step-by-Step Method
- Select a non-flowering shoot
Choose a side shoot about 5–8 cm (2–3 inches) long. - Cut just below a leaf node
Nodes are where roots form most easily. - Remove lower leaves
Leave 2–3 small leaves at the top. - Trim large leaves in half
This reduces moisture loss while rooting. - Dip in rooting hormone (optional)
Not essential, but it can speed things up. - Insert into compost
Firm gently so the cutting stands upright.
Spacing matters—crowded cuttings rot easily. Give them breathing room.
Creating the Perfect Rooting Environment
Pansy cuttings don’t need fancy equipment, but they do need the right conditions.
Light
- Bright, indirect light
- Avoid direct midday sun
Temperature
- Ideal range: 15–22°C (59–72°F)
- Too hot = wilting
- Too cold = slow rooting
Moisture
- Keep compost slightly moist
- Never waterlog
- Mist lightly if air is dry
A clear plastic cover or propagator helps retain humidity, but always allow ventilation to prevent mold.
How Long Do Pansy Cuttings Take to Root?
Under good conditions:
- Roots form in 2–3 weeks
- Fully established in 4–5 weeks
You’ll know they’ve rooted when:
- New leaves appear
- Cuttings resist a gentle tug
Once rooted, gradually remove any cover and let plants harden up.
Potting On for Massive Growth
This step is where many gardeners go wrong.
As soon as roots fill the initial pot:
- Move cuttings into individual pots
- Use a richer compost with added nutrients
- Avoid oversized pots—too much compost stays wet
Pinch out the growing tip once or twice to:
- Encourage bushy growth
- Create more flowering stems
- Prevent legginess
This pinching is key to growing big, compact pansy plants instead of tall, floppy ones.
Feeding for Huge Leaves and Blooms
Cutting-grown pansies respond extremely well to feeding.
Best Feeding Strategy
- Start feeding 2 weeks after potting on
- Use a balanced liquid fertilizer
- Feed every 10–14 days
Once buds form, switch to:
- Higher potassium feed
- Encourages flower size and longevity
Avoid high nitrogen late in the season—it promotes leaves at the expense of flowers.
Hardening Off for Autumn and Winter Success
Before planting outside, your pansies must be hardened off properly.
Gradually expose them to:
- Cooler nights
- Outdoor airflow
- Light rain
This process takes about 7–10 days and dramatically improves winter survival.
Once planted out, cutting-grown pansies establish faster and shrug off cold snaps far better than shop-bought plants.
Common Mistakes to Avoid
Even though this method is easy, a few errors can ruin results:
- Taking cuttings from stressed plants
- Overwatering (the biggest killer)
- Leaving flowers on cuttings
- Skipping pinching
- Planting outside too early
Fix these, and success rates skyrocket.
Why Cutting-Grown Pansies Outperform Store-Bought Ones
Gardeners who try this once rarely go back.
Cutting-grown pansies:
- Flower earlier in autumn
- Produce larger blooms
- Stay compact and tidy
- Survive winter better
- Cost almost nothing
You also get exact copies of your favorite varieties—no surprises.
Final Thoughts: Is It Worth the Effort?
Absolutely.
Growing massive pansies from summer cuttings is one of those rare gardening tricks that is:
- Easy
- Cheap
- Highly effective
- Perfect for beginners and experts alike
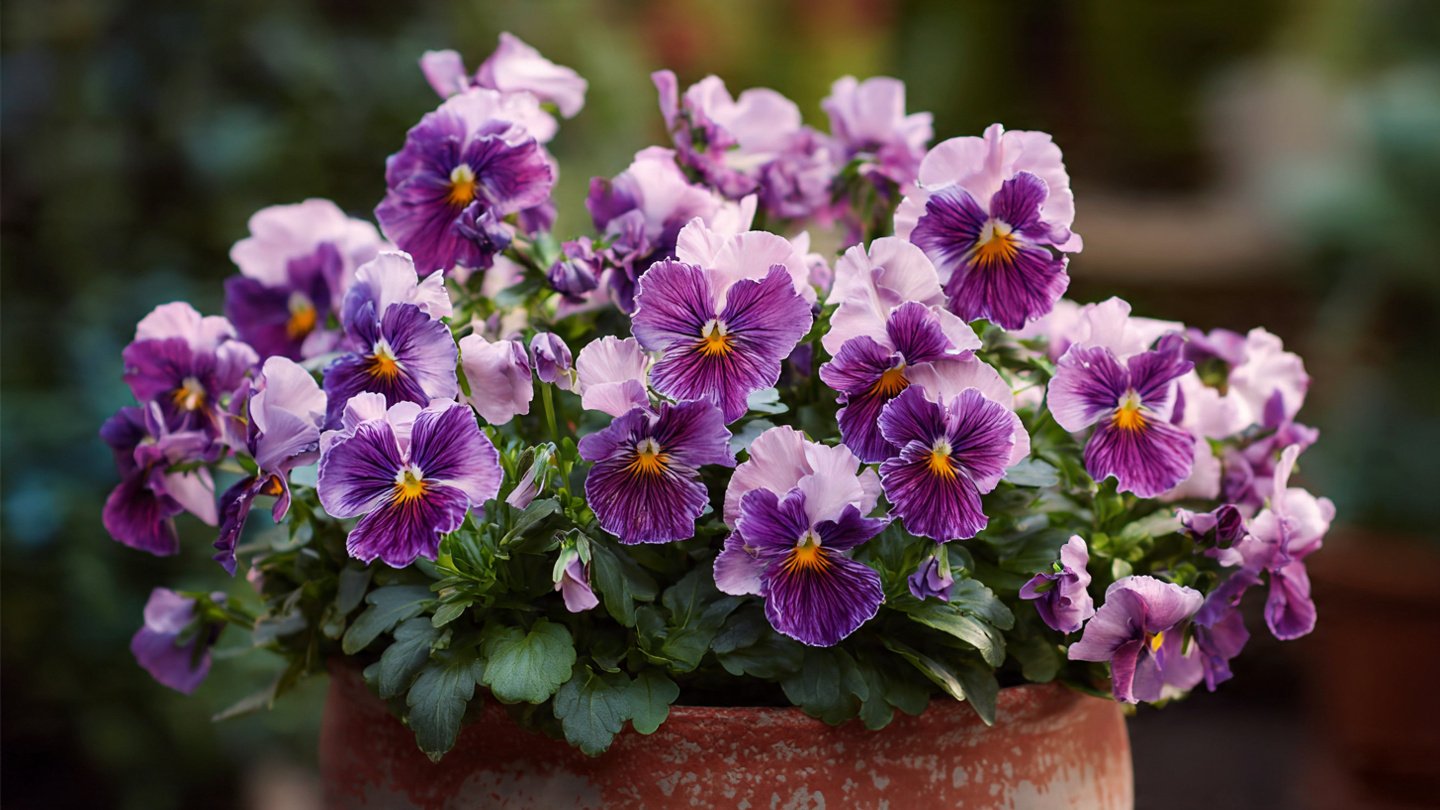
With just a few healthy plants and a little care, you can fill your garden with bold, long-lasting pansies that look like they came straight from a professional nursery.