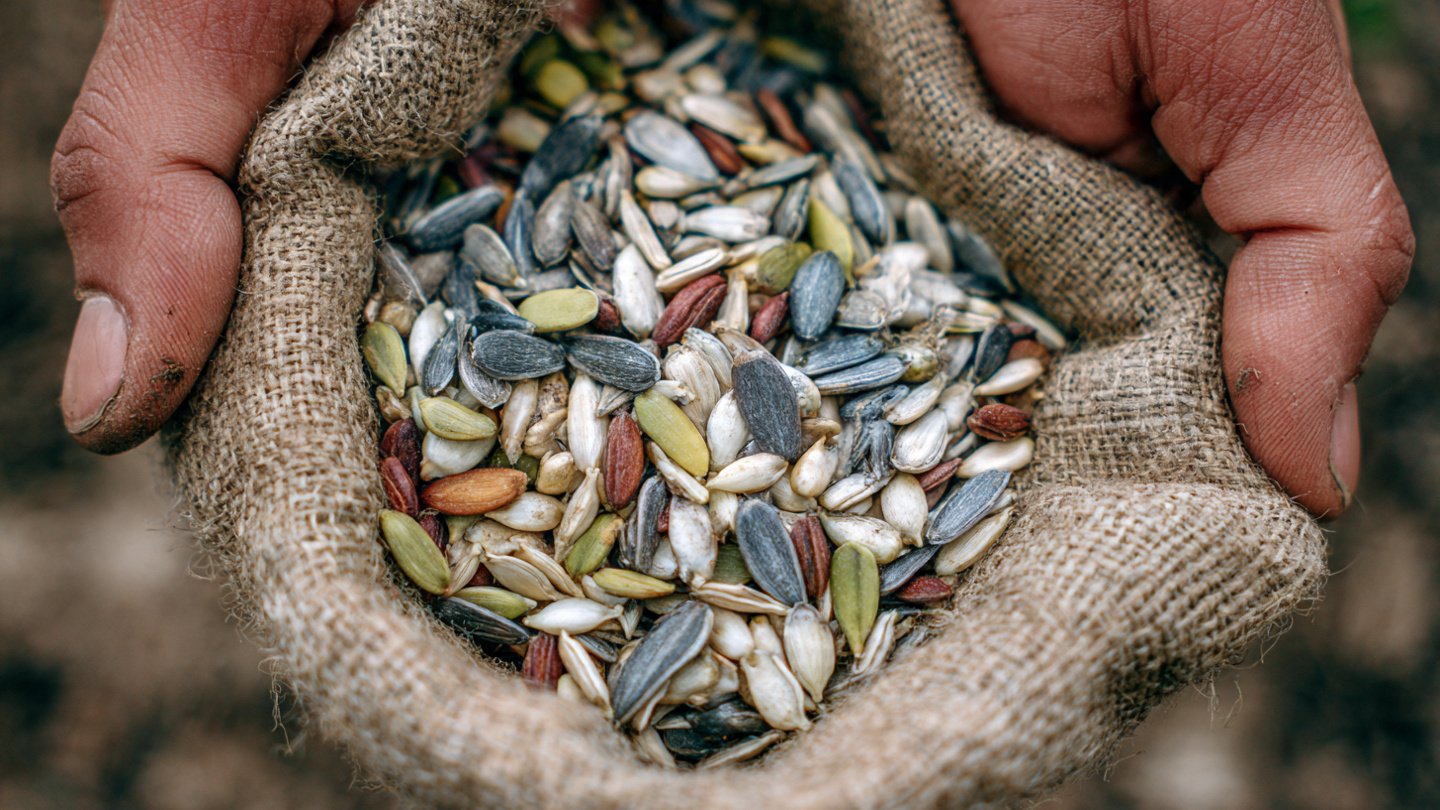
Harvesting seeds from your own garden is one of the most rewarding and cost-effective gardening skills you can learn. It saves money, preserves plant varieties you love, and allows you to grow stronger plants adapted to your local conditions. However, many gardeners struggle with a common problem: seeds are tiny, delicate, and incredibly easy to lose if they aren’t harvested correctly.
Wind, moisture, timing mistakes, and improper handling can quickly turn a successful harvest into a missed opportunity. The good news is that with the right techniques and a bit of preparation, you can collect, store, and protect your garden seeds efficiently—without losing them.
This guide walks you through everything you need to know, step by step.
Why Harvesting Seeds the Right Way Matters
Seeds are living material. When harvested improperly, they can:
- Blow away before collection
- Mold during storage
- Germinate too early
- Lose viability
- Mix with other varieties unintentionally
Effective seed harvesting ensures:
- High germination rates next season
- Clean, dry, healthy seeds
- Reliable plant traits
- Long-term seed storage success
Step 1: Choose the Right Plants for Seed Saving
Not every plant is ideal for seed harvesting, especially for beginners.
Best Plants for Easy Seed Harvesting
- Tomatoes
- Peppers
- Beans
- Peas
- Lettuce
- Zinnias
- Marigolds
- Sunflowers
Start with open-pollinated or heirloom varieties, as they grow true to seed. Hybrid plants often produce unpredictable results.
Step 2: Time Your Harvest Correctly
Timing is the single most important factor in not losing seeds.
When to Harvest Seeds
- Seeds should be fully mature
- Pods or flowers should be dry or nearly dry
- Fruits should be overripe, not just ripe
Harvesting too early results in weak or nonviable seeds. Harvesting too late risks losing seeds to wind, birds, or natural dispersal.
Step 3: Harvest Seeds Before Nature Does
Many plants are designed to spread their seeds naturally. To avoid losing them:
Smart Prevention Techniques
- Bag seed heads with paper bags or mesh before they fully dry
- Tie the bag loosely around the stem
- Harvest early in the morning when seeds are less likely to scatter
- Avoid harvesting on windy days
Paper bags are ideal because they allow airflow while catching falling seeds.
Step 4: Use the Right Harvesting Method
Different plants require different harvesting approaches.
Dry-Seed Plants (Beans, Lettuce, Flowers)
- Cut seed heads or pods into a container or bag
- Allow them to dry fully indoors
- Gently crush pods over a bowl or tray
- Separate seeds from chaff
Wet-Seed Plants (Tomatoes, Cucumbers)
- Scoop seeds into a container
- Ferment seeds in water for 1–3 days
- Rinse thoroughly
- Dry completely on a paper towel or screen
Always work over a tray or bowl to catch stray seeds.
Step 5: Work in a Controlled Environment
One of the biggest reasons seeds are lost is harvesting outdoors without control.
Best Places to Process Seeds
- Indoors near a window
- On a table covered with paper
- In a shallow tray or baking pan
Avoid fans, open windows, and pets during seed cleaning. Even a light breeze can scatter seeds instantly.
Step 6: Dry Seeds Thoroughly Without Damage
Seeds must be completely dry before storage.
Safe Drying Tips
- Spread seeds in a single layer
- Use paper towels, plates, or mesh screens
- Keep them out of direct sunlight
- Allow 1–3 weeks depending on seed type
Never rush drying with heat—it can kill seed embryos.
A good test: seeds should snap, not bend.
Step 7: Label Immediately to Avoid Confusion
Seeds look surprisingly similar once cleaned. Labeling late often leads to lost information.
What to Label
- Plant name
- Variety
- Harvest date
- Location (optional but helpful)
Use envelopes, paper packets, or small jars. Write labels before storing seeds to avoid mistakes.
Step 8: Store Seeds Properly to Prevent Loss
Even well-harvested seeds can be ruined by improper storage.
Ideal Storage Conditions
- Cool
- Dry
- Dark
Best Storage Containers
- Paper envelopes (short-term)
- Glass jars with silica packets
- Airtight containers for long-term storage
Avoid plastic bags unless seeds are extremely dry—they trap moisture.
Step 9: Protect Seeds From Pests and Moisture
Seeds attract insects and rodents.
Protection Tips
- Add silica gel or dry rice for moisture control
- Store in sealed containers
- Keep away from heat sources
- Check periodically for mold or pests
A refrigerator can extend seed life for many varieties if moisture is controlled.
Step 10: Keep a Simple Seed Inventory
To avoid forgotten or wasted seeds:
- Keep a written or digital seed list
- Note germination success each year
- Rotate older seeds first
This habit prevents loss and improves future harvests.
Common Mistakes That Cause Seed Loss
Avoid these pitfalls:
- Harvesting on windy days
- Letting seeds dry on plants too long
- Using plastic containers too early
- Skipping labels
- Storing seeds before fully dry
Small oversights often lead to complete seed loss.
Benefits of Mastering Seed Harvesting
Once you get the hang of it, seed harvesting becomes second nature and offers long-term rewards:
- Free plants year after year
- Stronger, locally adapted varieties
- Self-sufficient gardening
- Preservation of rare or heirloom plants
It’s one of the most empowering gardening skills you can learn.
Final Thoughts
Effectively harvesting seeds without losing them comes down to timing, control, patience, and proper storage. By harvesting at the right moment, working in a protected environment, drying seeds thoroughly, and storing them correctly, you can build a reliable seed collection season after season.
Instead of letting seeds scatter or spoil, you’ll be preserving the future of your garden—one carefully collected seed at a time.